The design would be constrained by several factors. The first was the fastener hardware that I had on hand. The other factor was the motors. I happen to have some 18-8 stainless 3mm socket cap screws in various lengths, along with 3mm lock nuts. A while back I got some motors from Sparkfun while they were on sale. Although Sparkfun no longer stocks those motors, here is a link to them for reference.
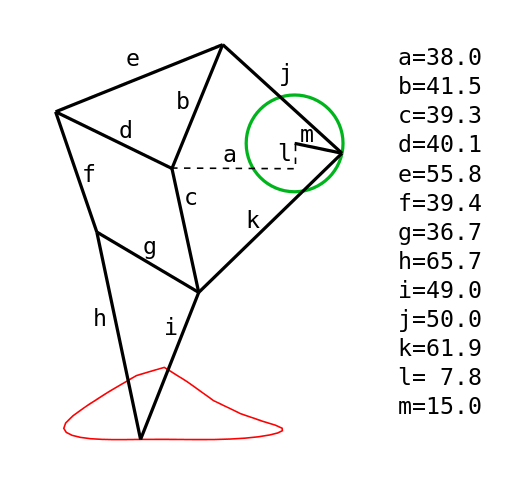
The first step would be to determine the linkage lengths. Using the reference linkage dimensions and a variable scaling factor I was able to create a equation driven design in Solidworks. I went for a scale factor of 2, which seemed to be a good size.
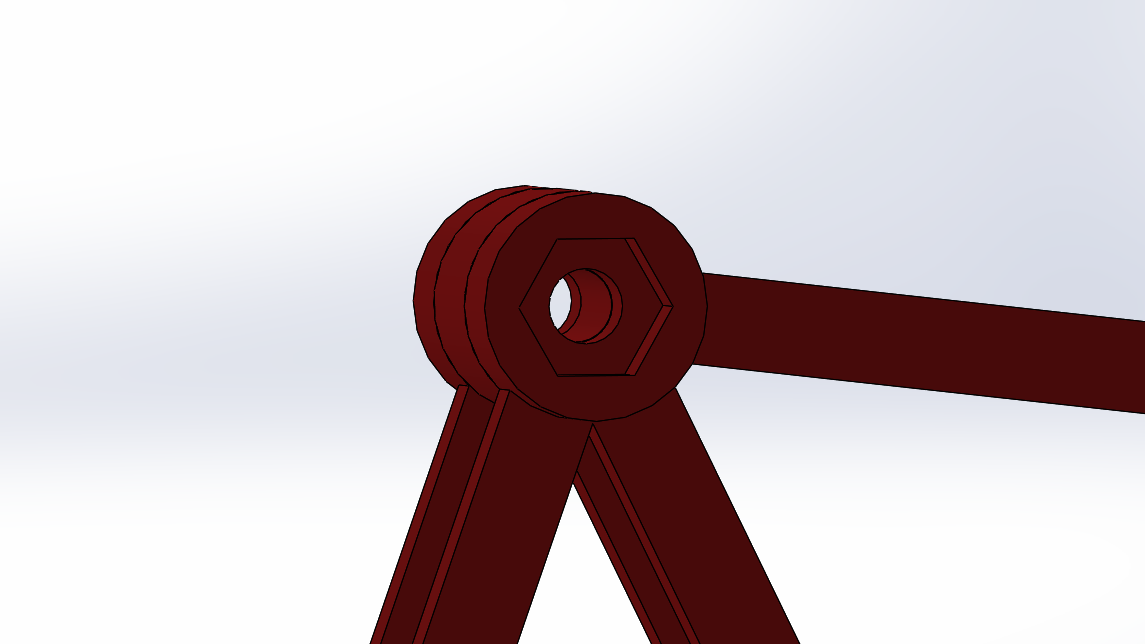
I'm not going to go in-depth on how I designed the linkages, but it was very much an iterative process to figure out what worked best as a 3D printed design. I would like to point out a few interesting features that were incorporated into the design. First were hexagonal recesses that would allow the nut to be captured and reduce the overall thickness of each joint.
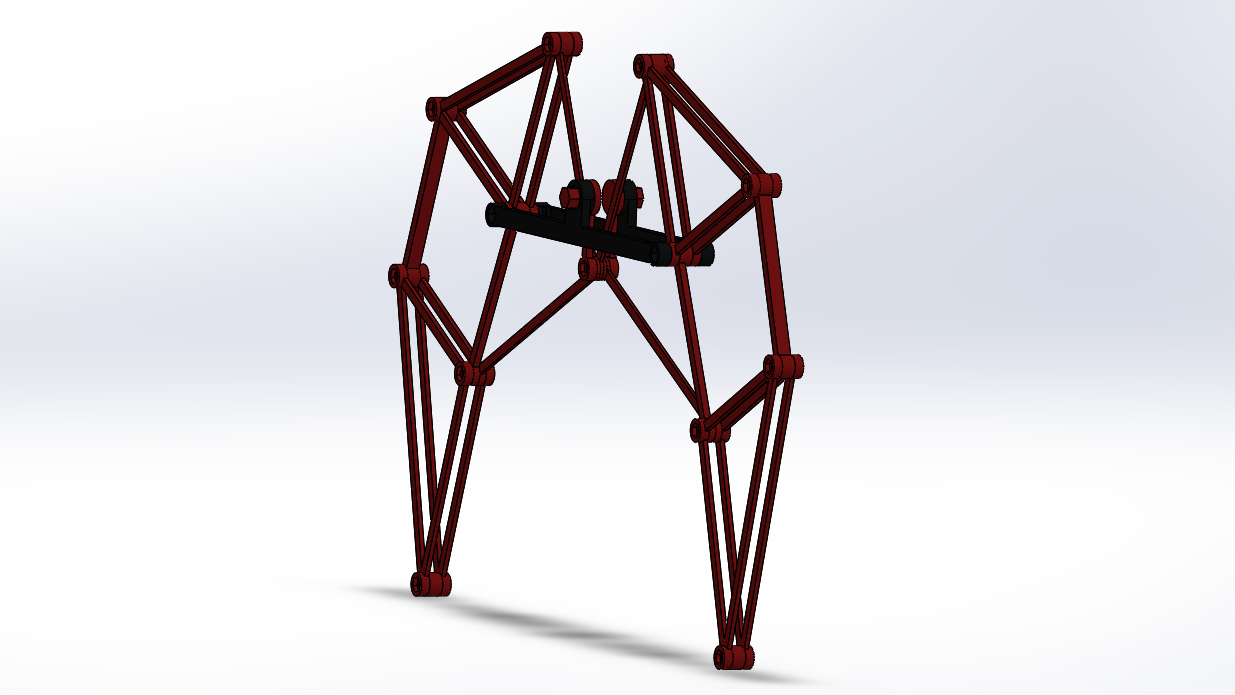
The linkages are symmetrical on both sides, with one side mirrored and a unique drive linkage on each side. I named each component so simplify the fabrication and assembly procedure in the future.
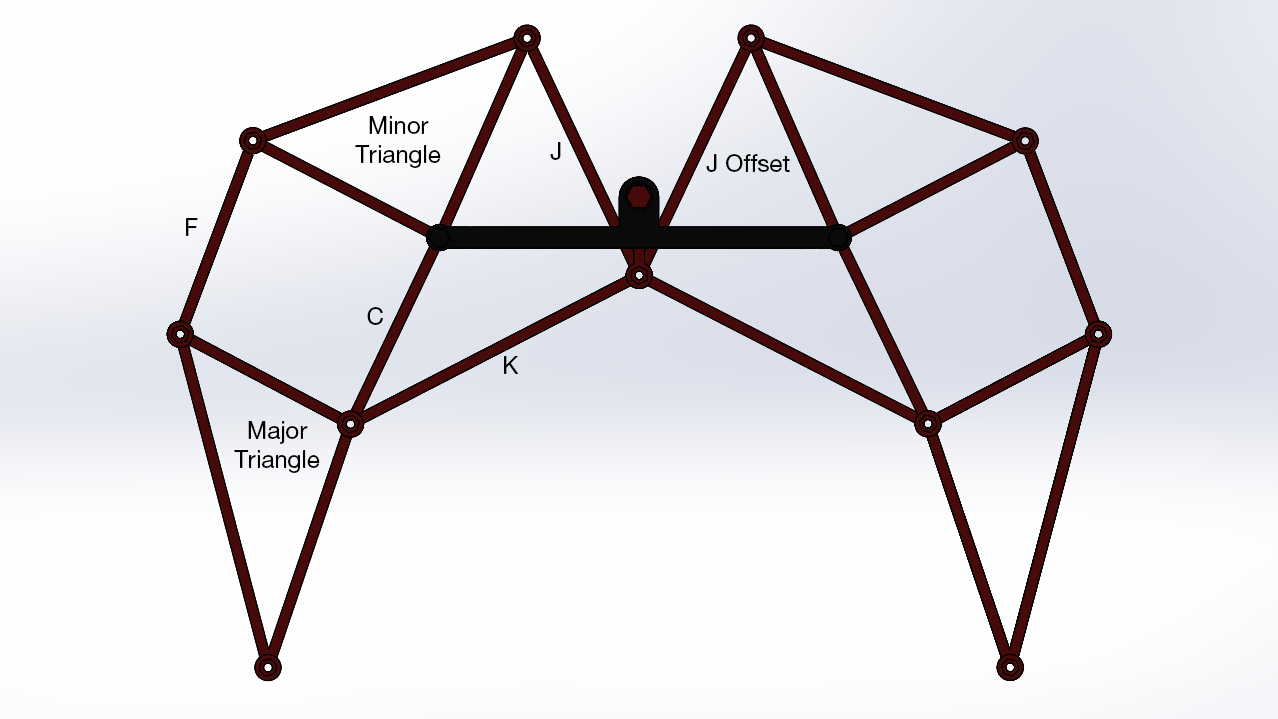
The central crank is made up two parts that mate into their own bearing holes built into the main support frames. Each set of legs would be independent and linked to the next set via a hex coupler. Since it's a hexagonal shape, its easy to offset each leg section by the 60 degrees needed.
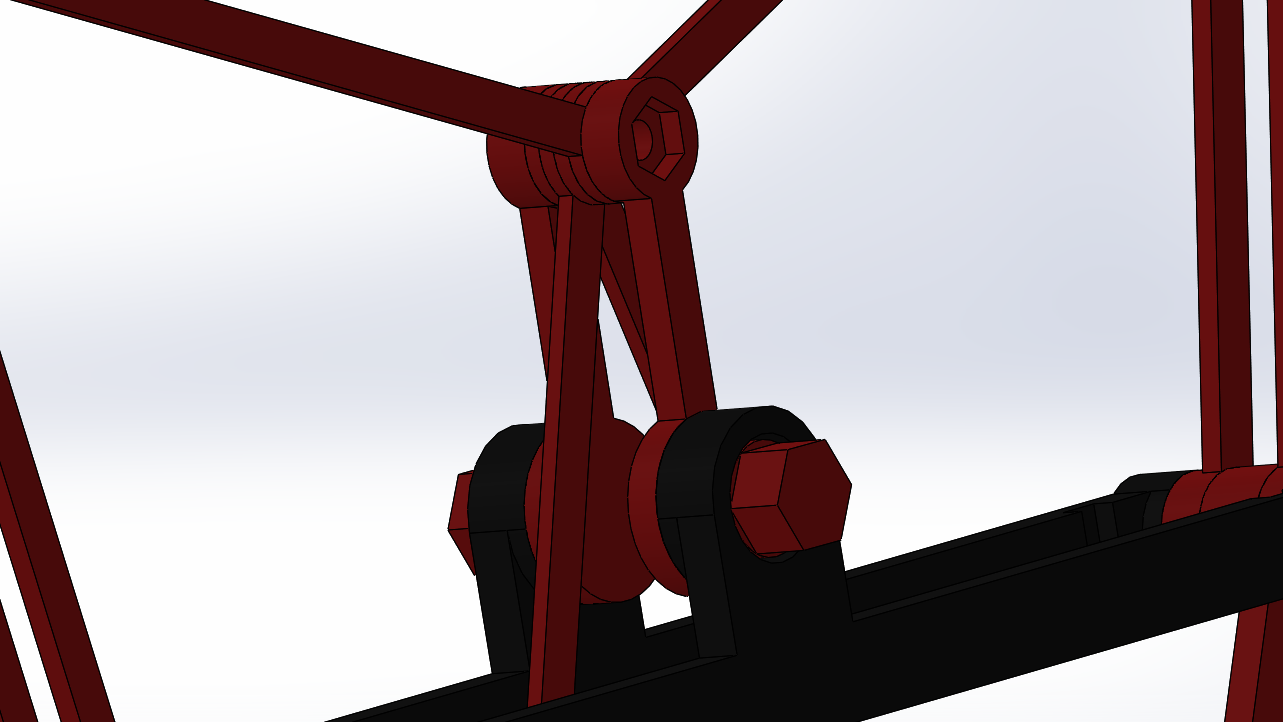
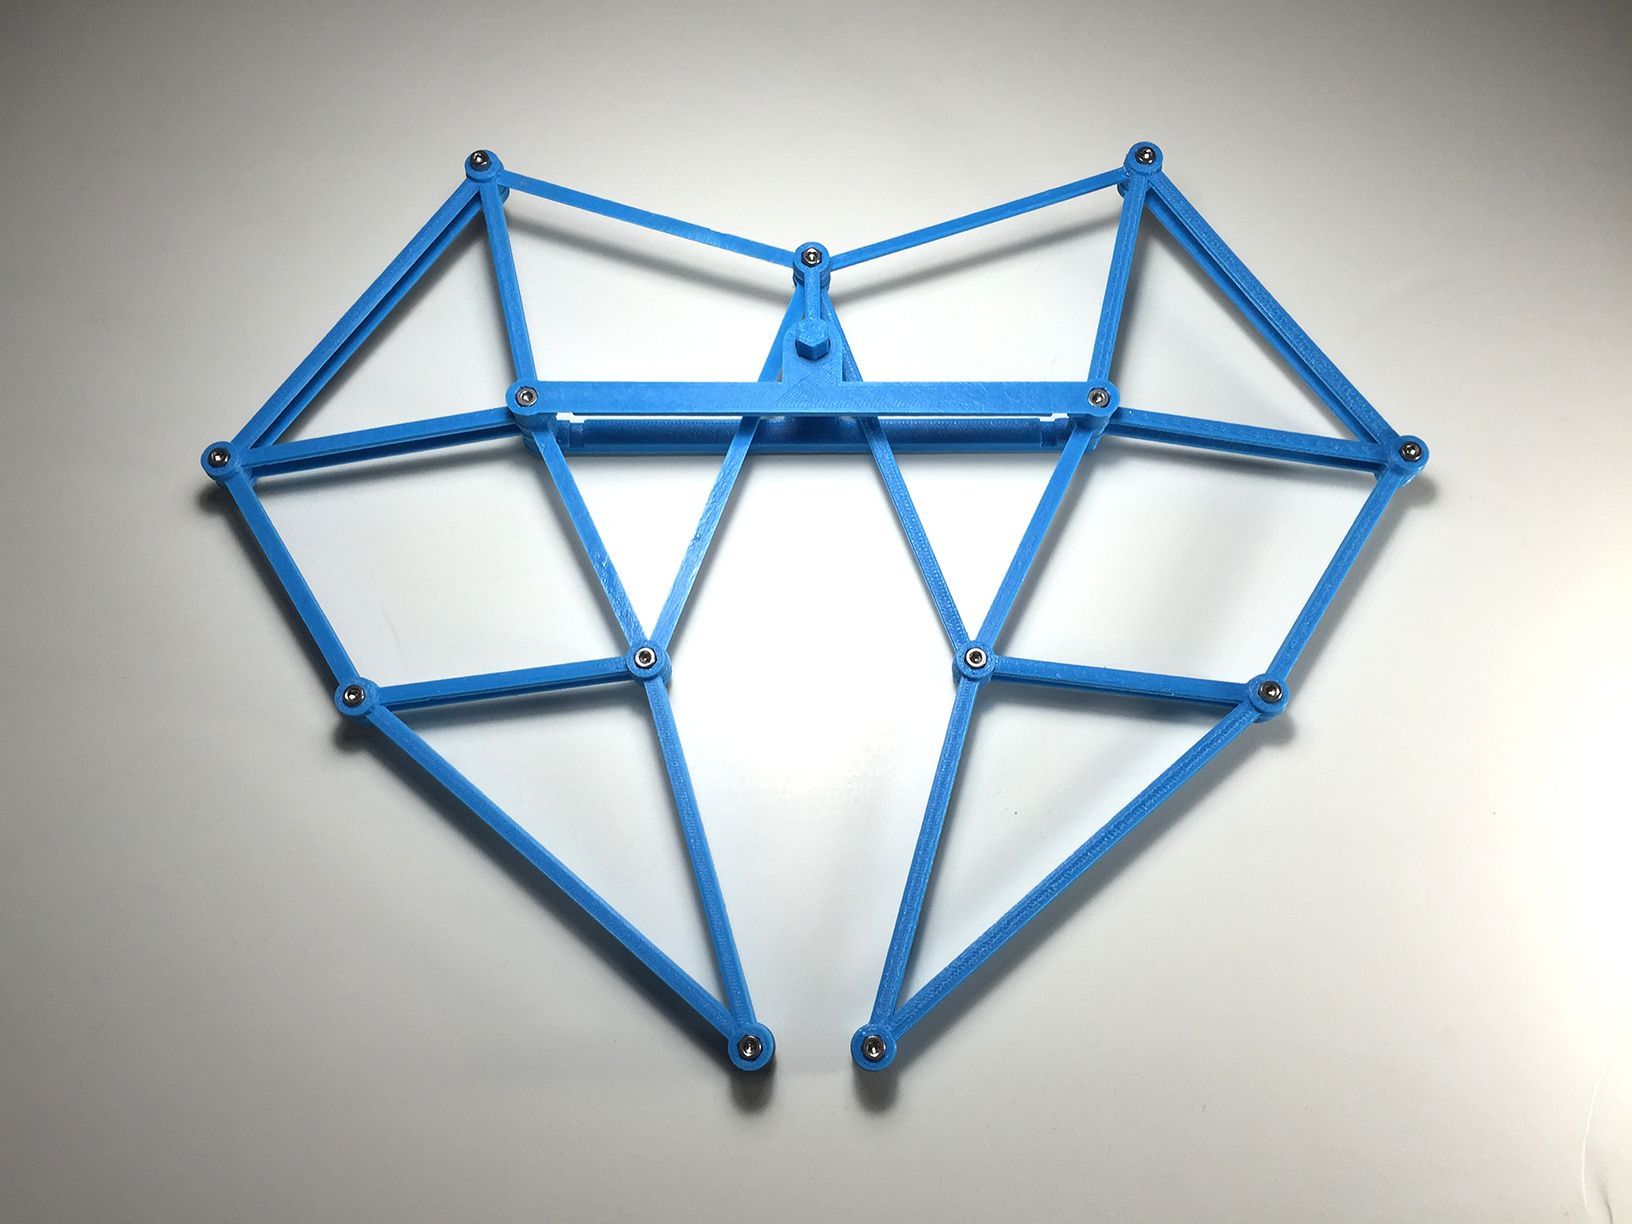
In the end, all the parts are relatively thin and can be printed reliably. The only caveat to that is that reaming the holes through with 3mm drill creates a better fit. A final test mockup was printed and assembled. Comparing the CAD model and the real physical object was pretty interesting.
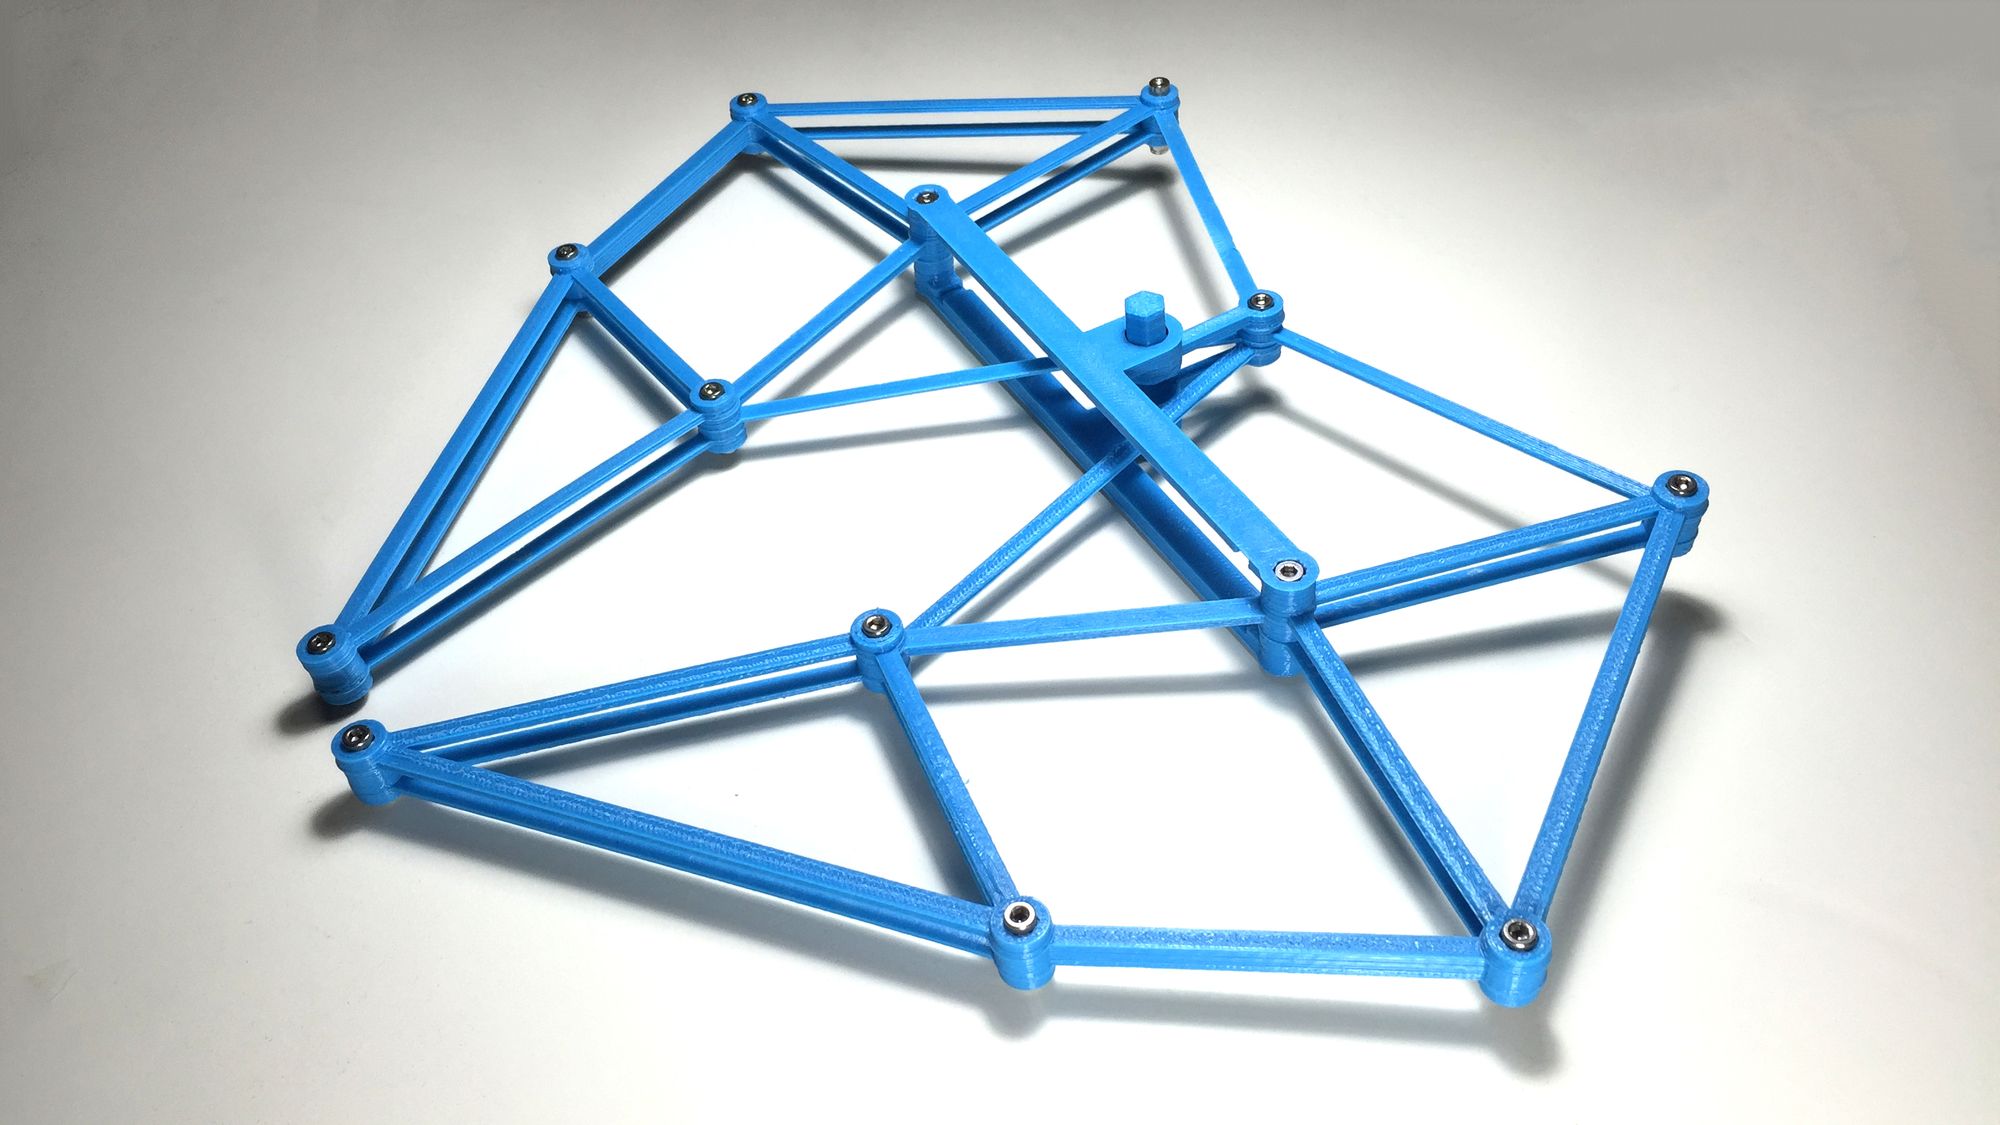
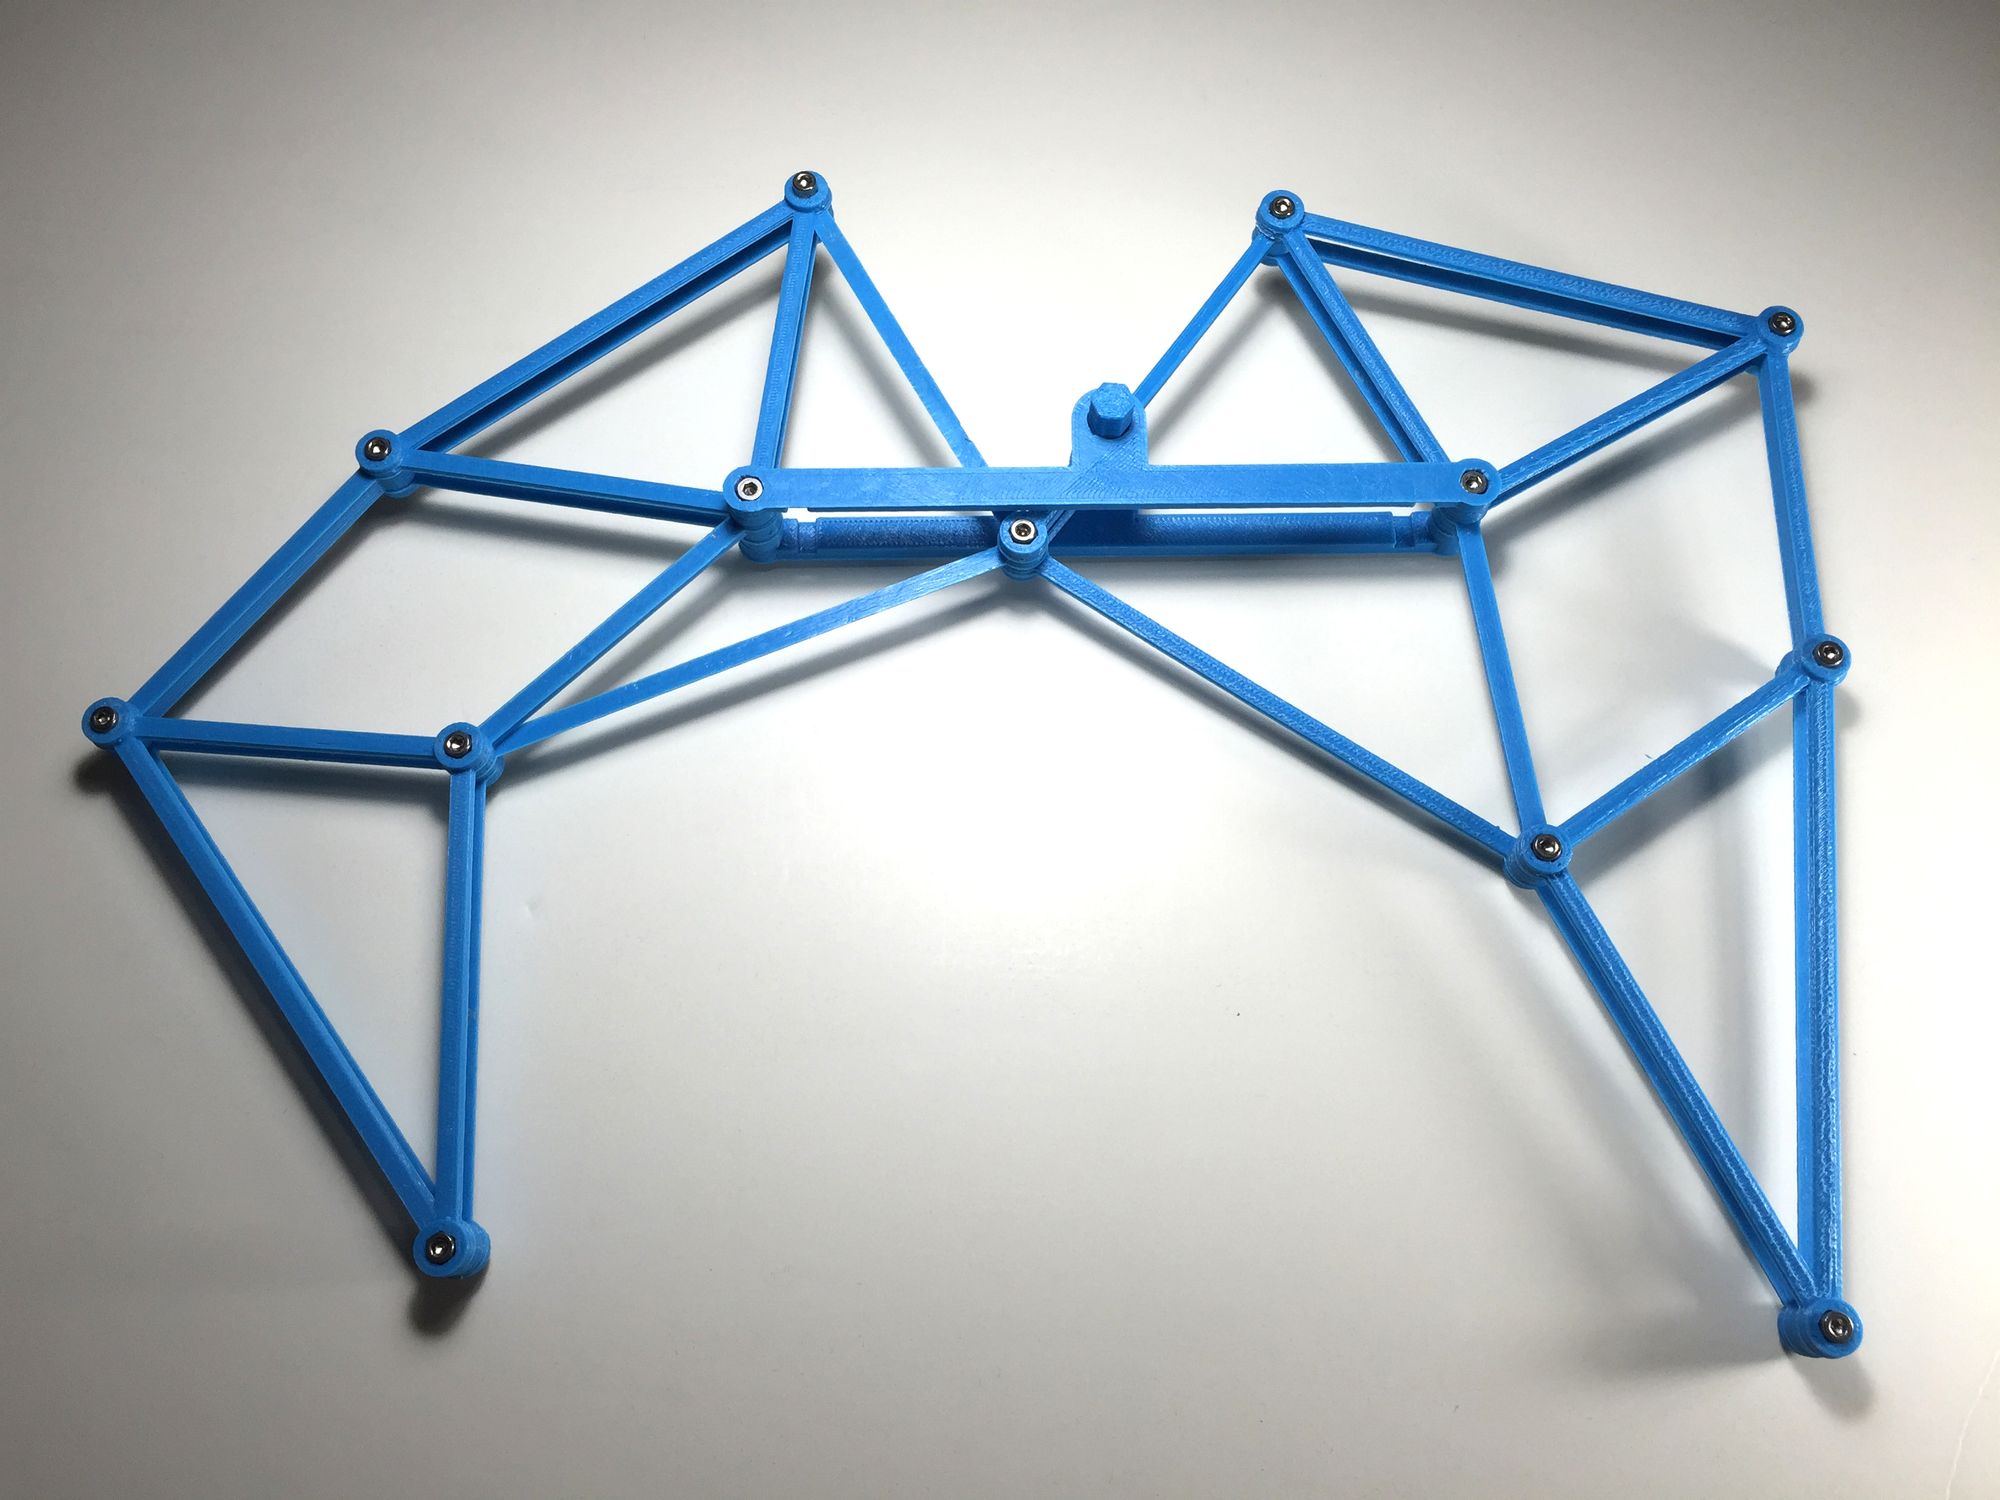
The next step is to put several of these leg sections together.