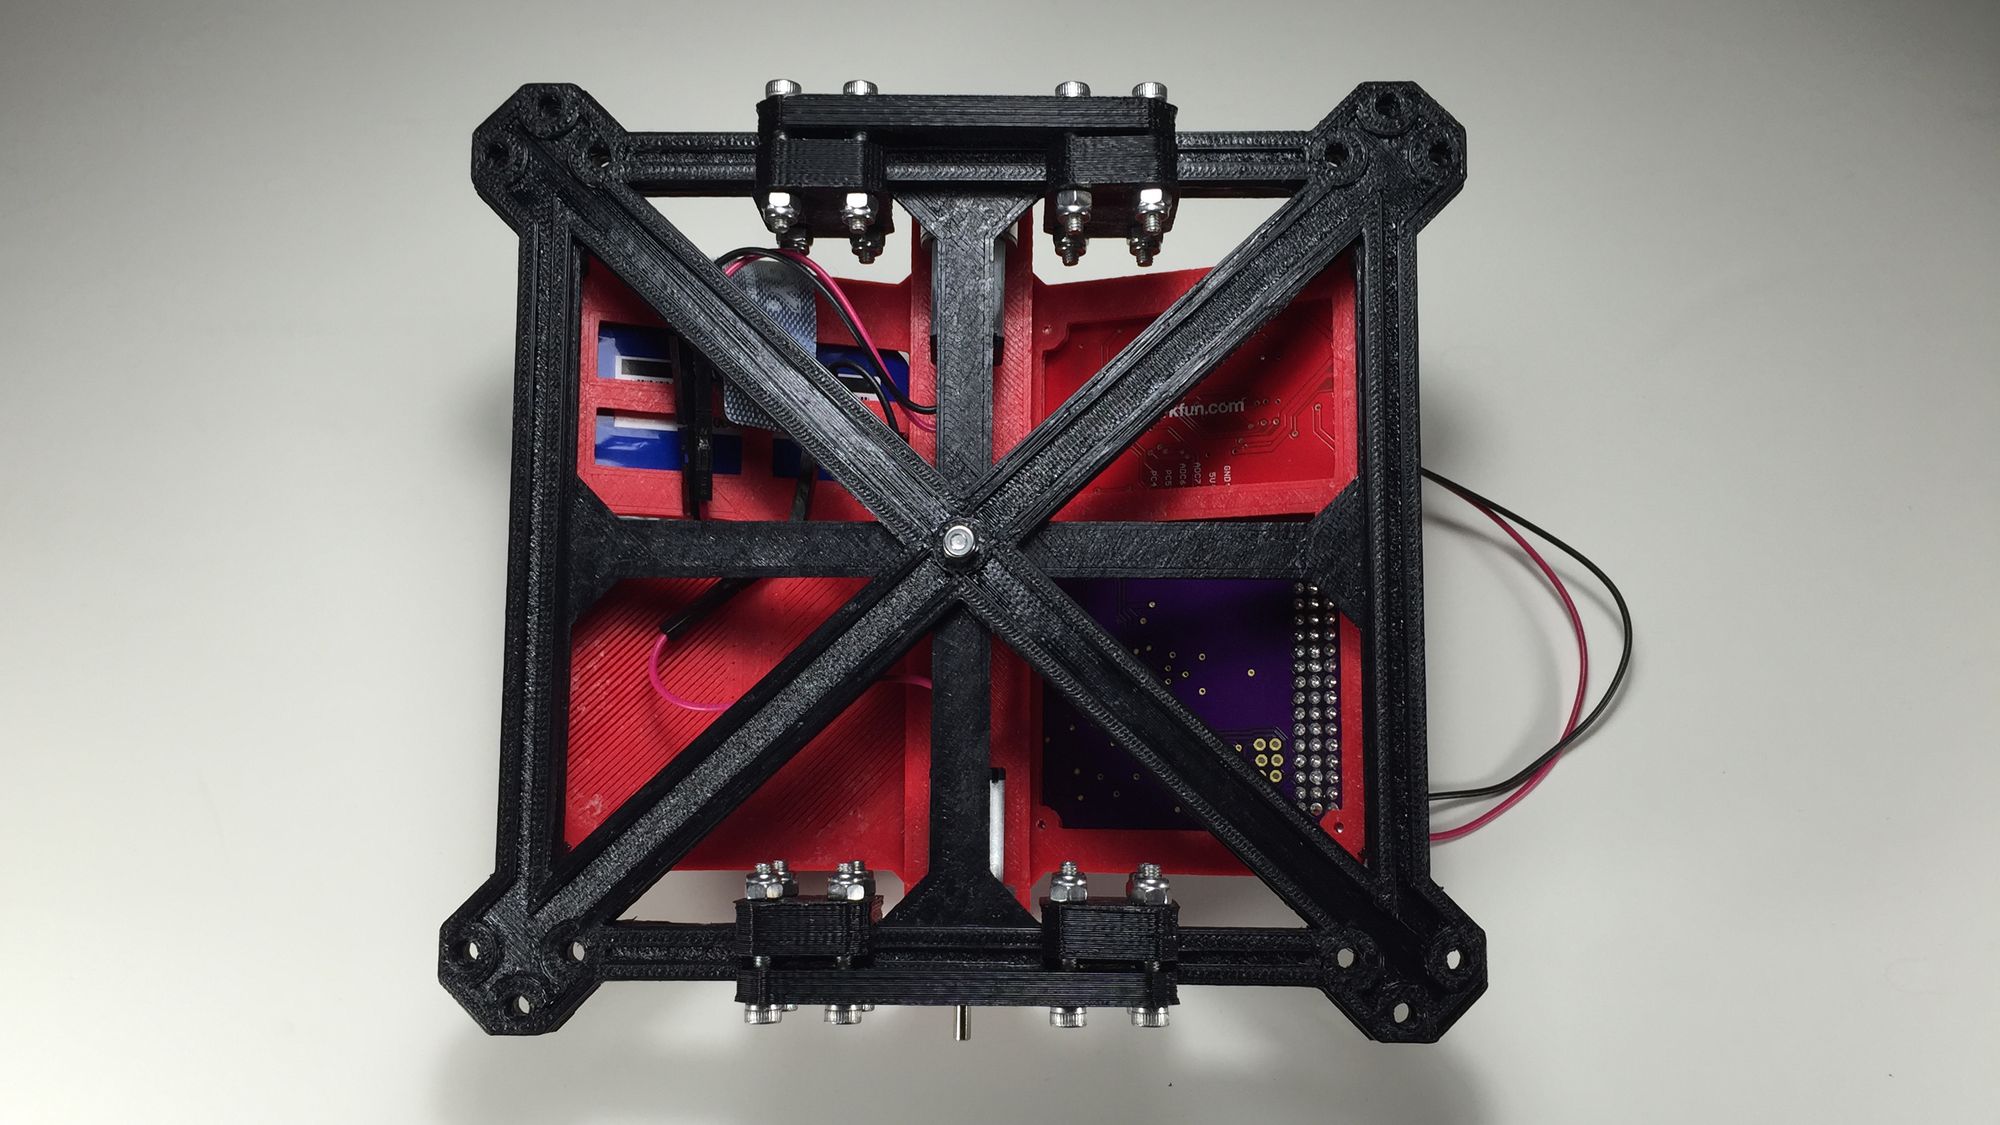
With fabrication of all the parts complete, it was time for assembly. It took about 3 hours to assemble all 6 sets of linkages into 6 completed leg sub assemblies. Each assembly uses eleven 14mm long and two 25mm long 3mm diameter cap socket screws.
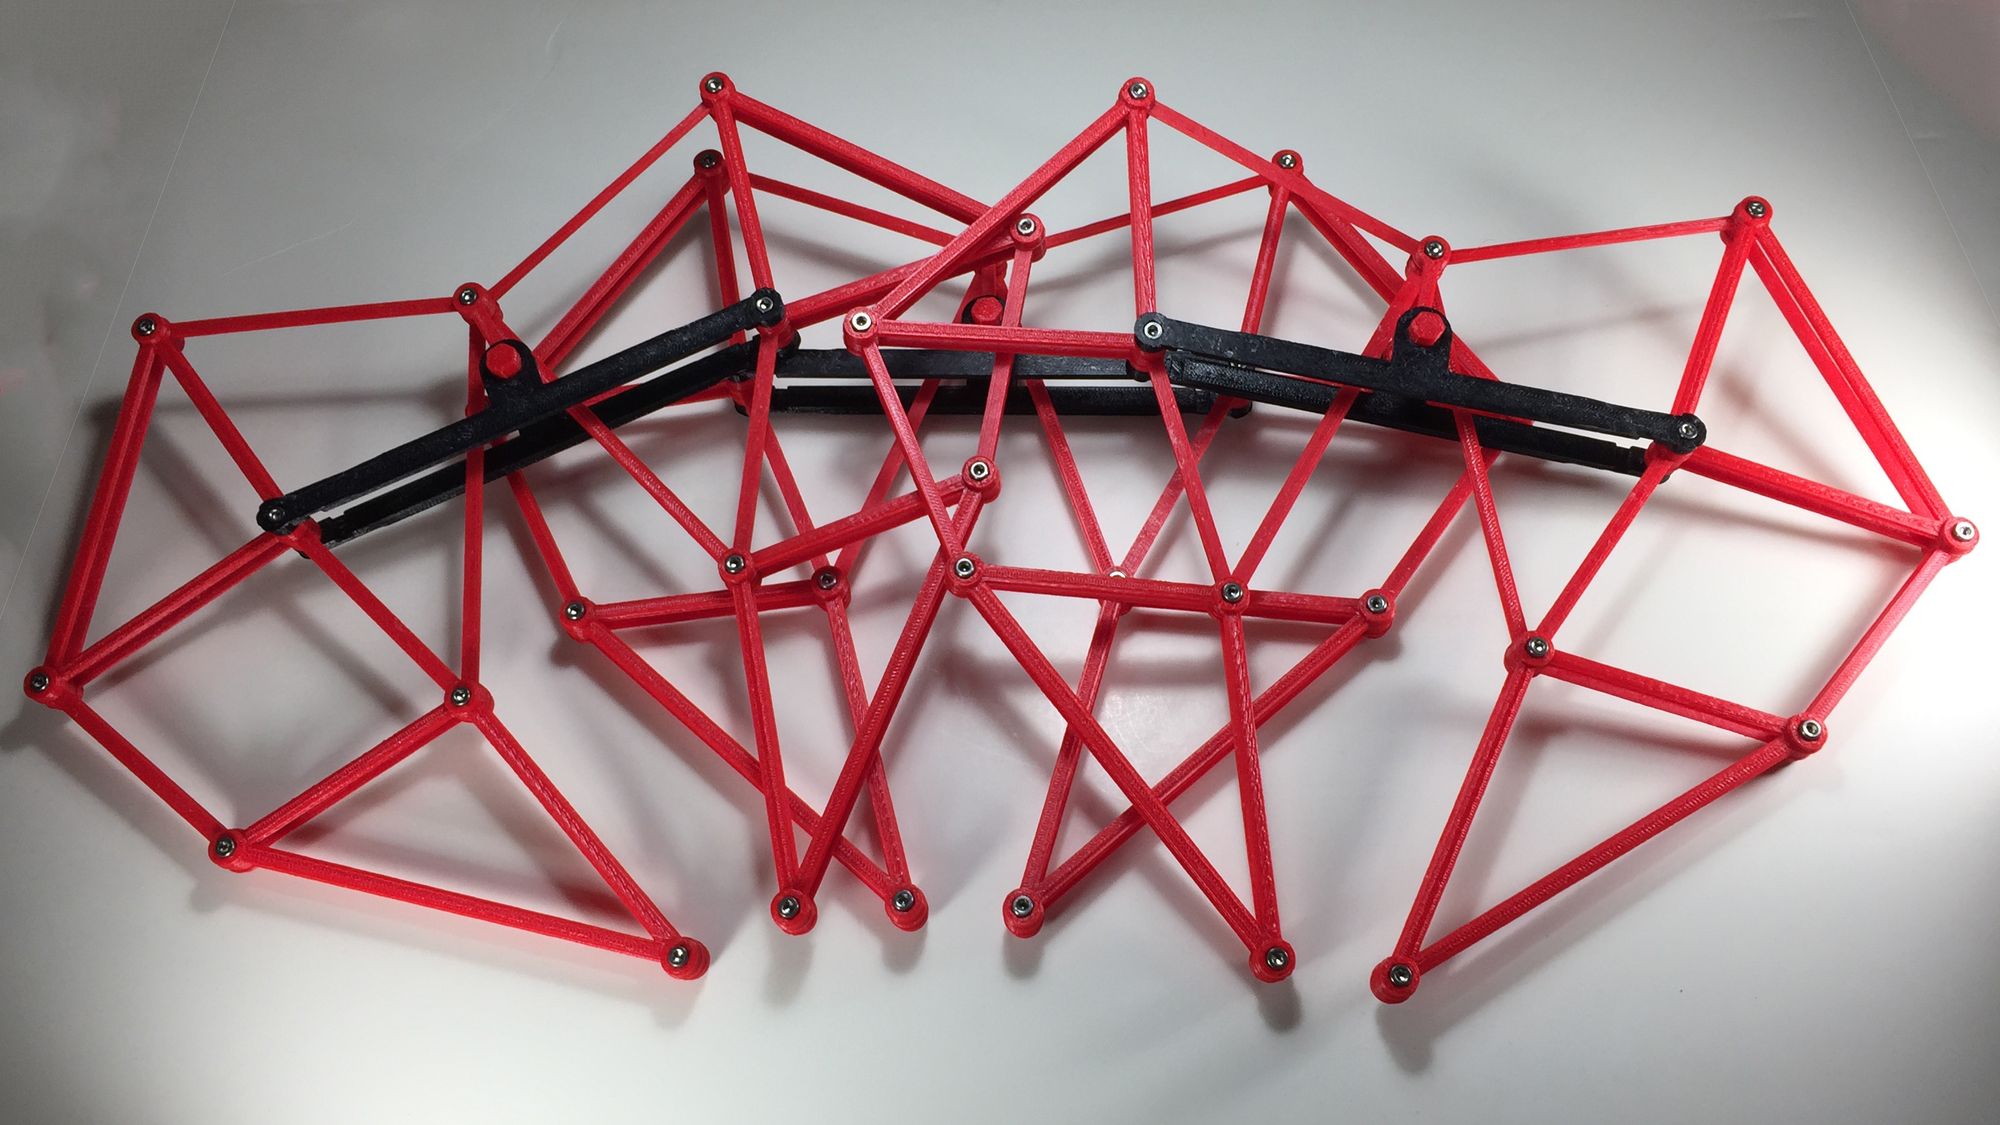
The sub assemblies were put together using six 20mm long 3mm diameter cap socket screws.
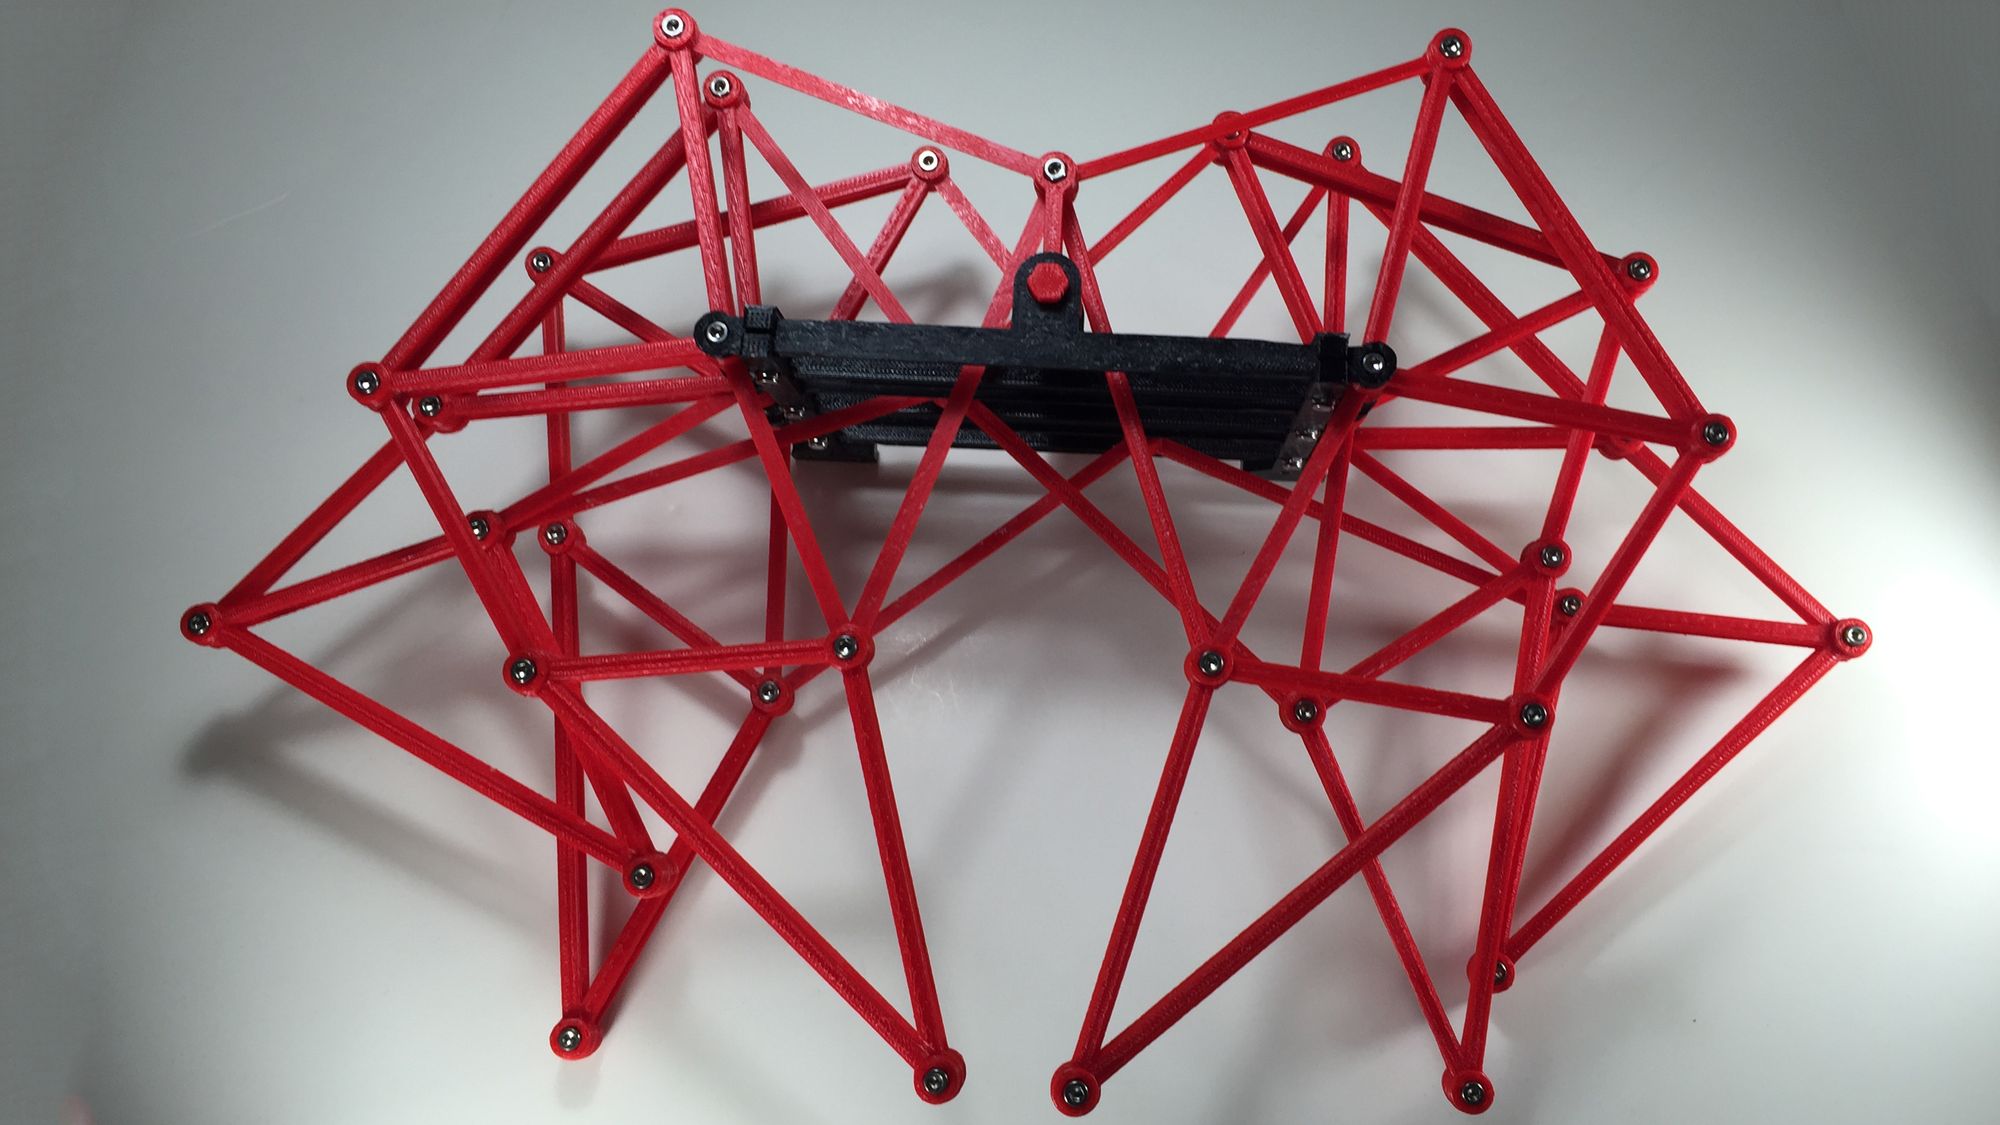
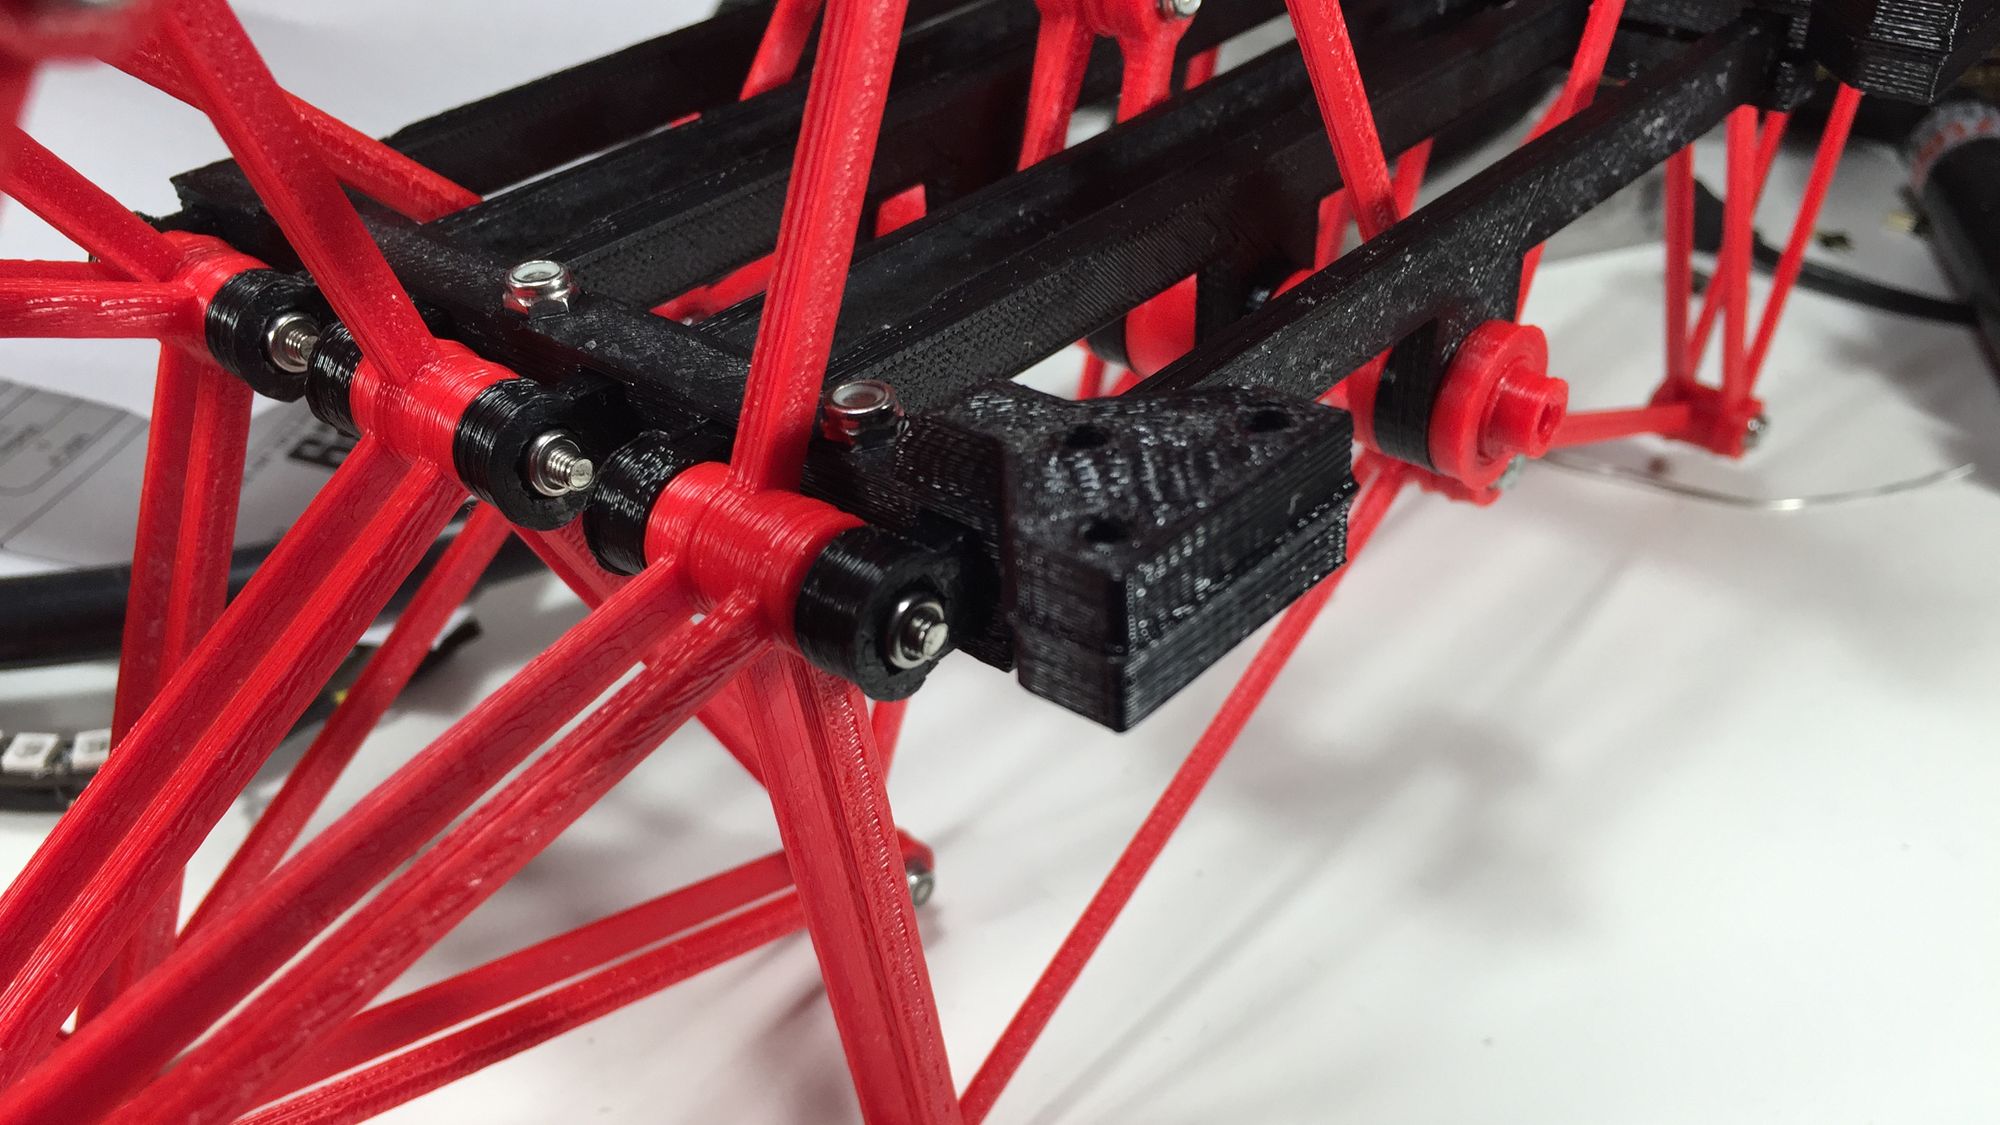
During the assembly of the first leg assembly, some deficiencies became apparent. When minimizing the material on the lateral supports, the plate section was made too thin. The ABS would strain under a small load and would fail if exposed to the full design load.
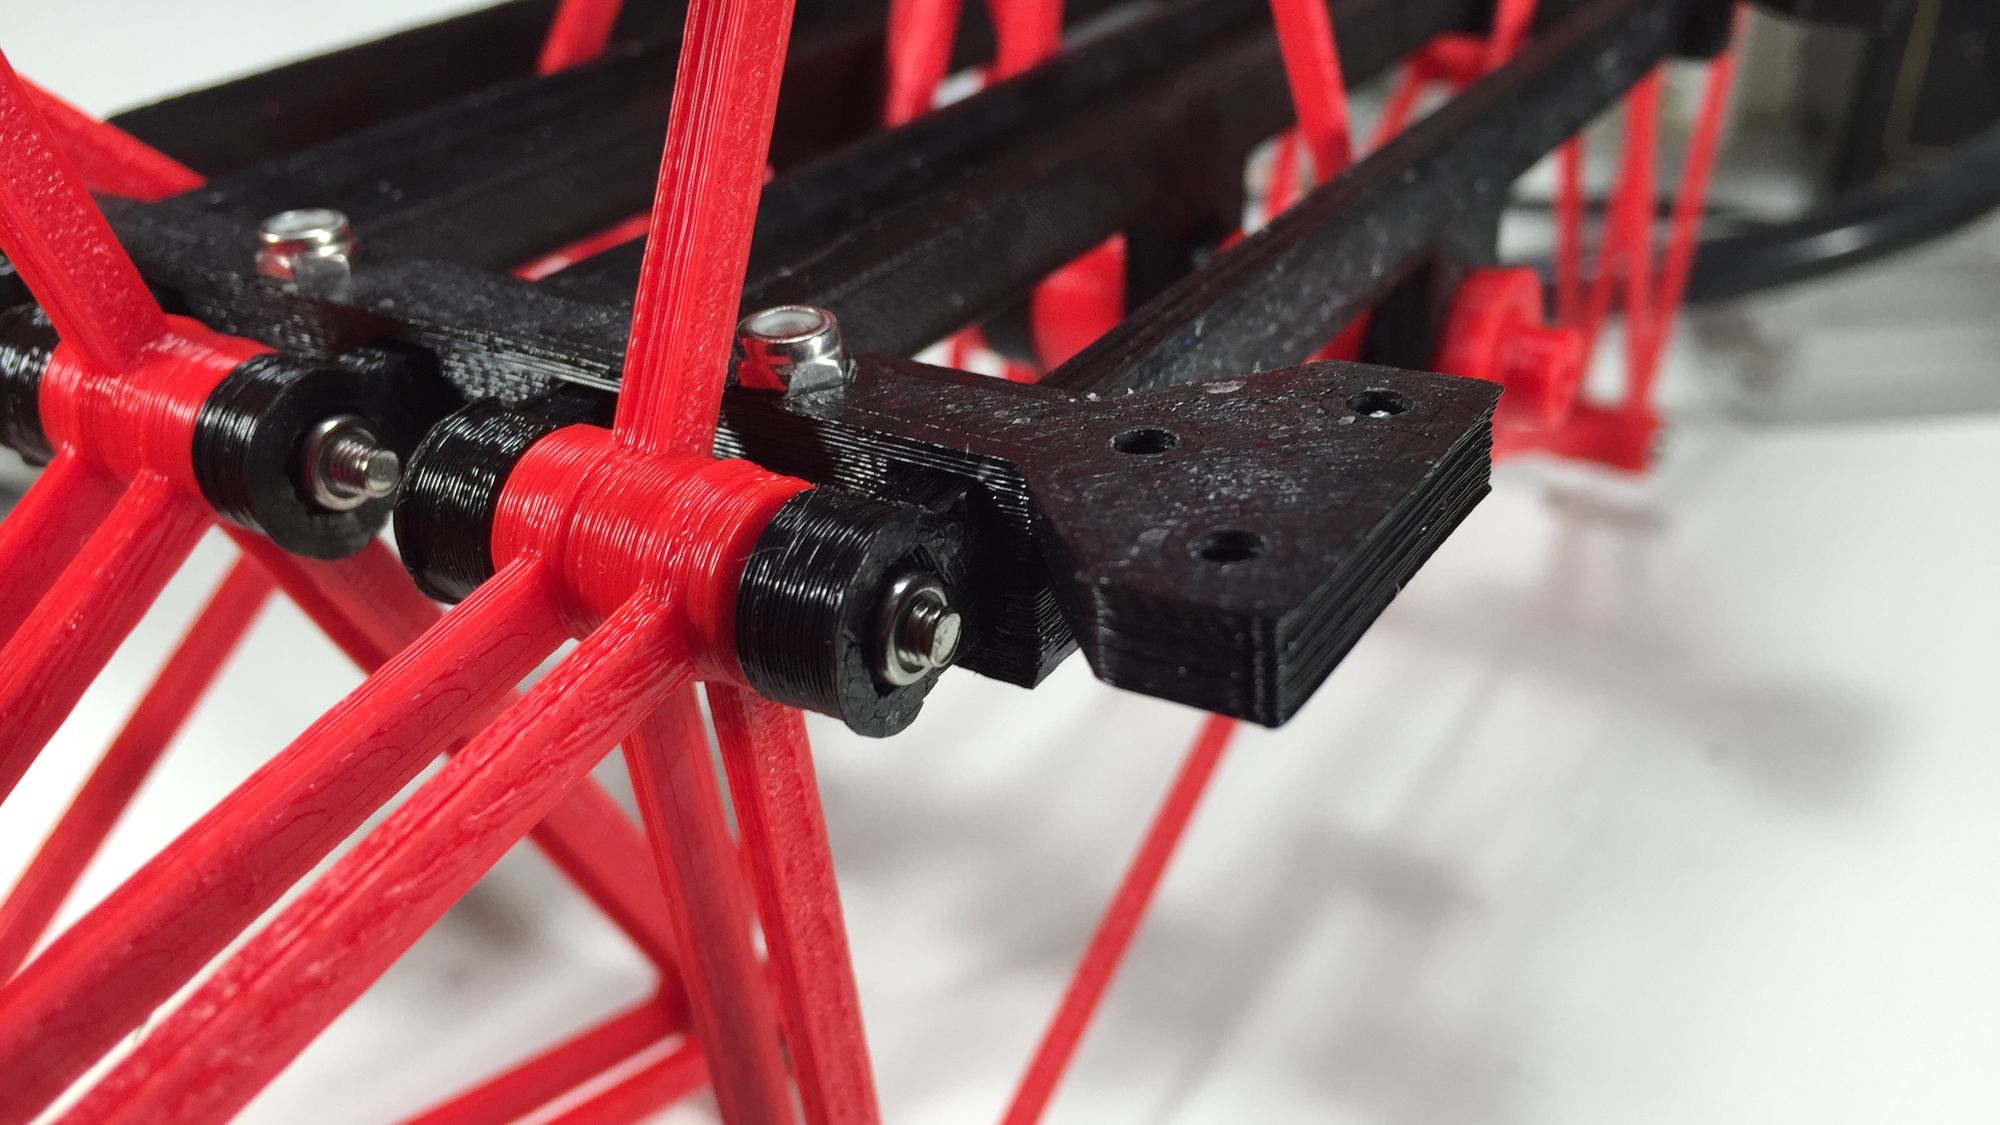
An additional support component was designed and printed. It would bridge the thin support material with considerably more material. The part was aligned with the 3 through-holes and secured in place with cyanoacrylate.
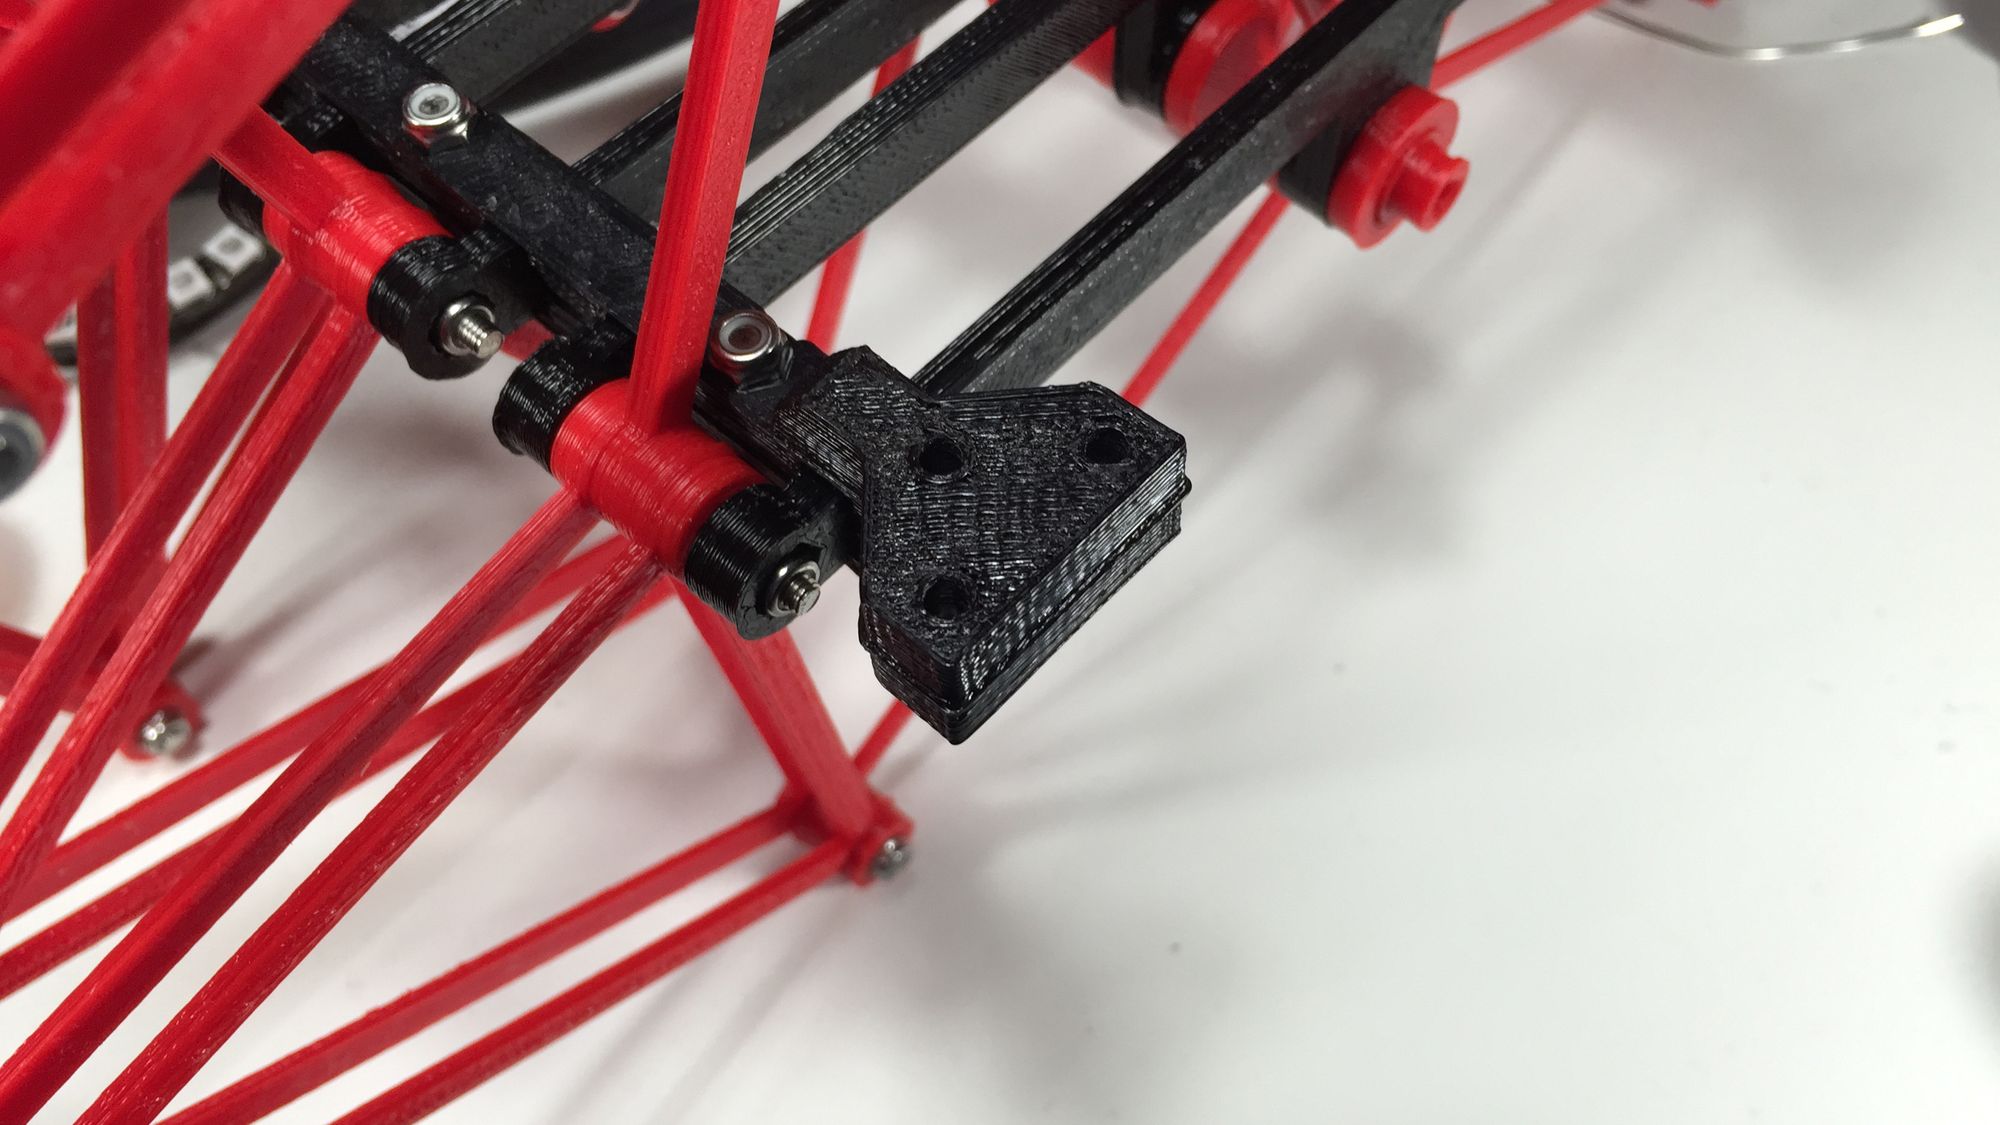
The additional material proved to be sufficient in strengthening the lateral support beam.
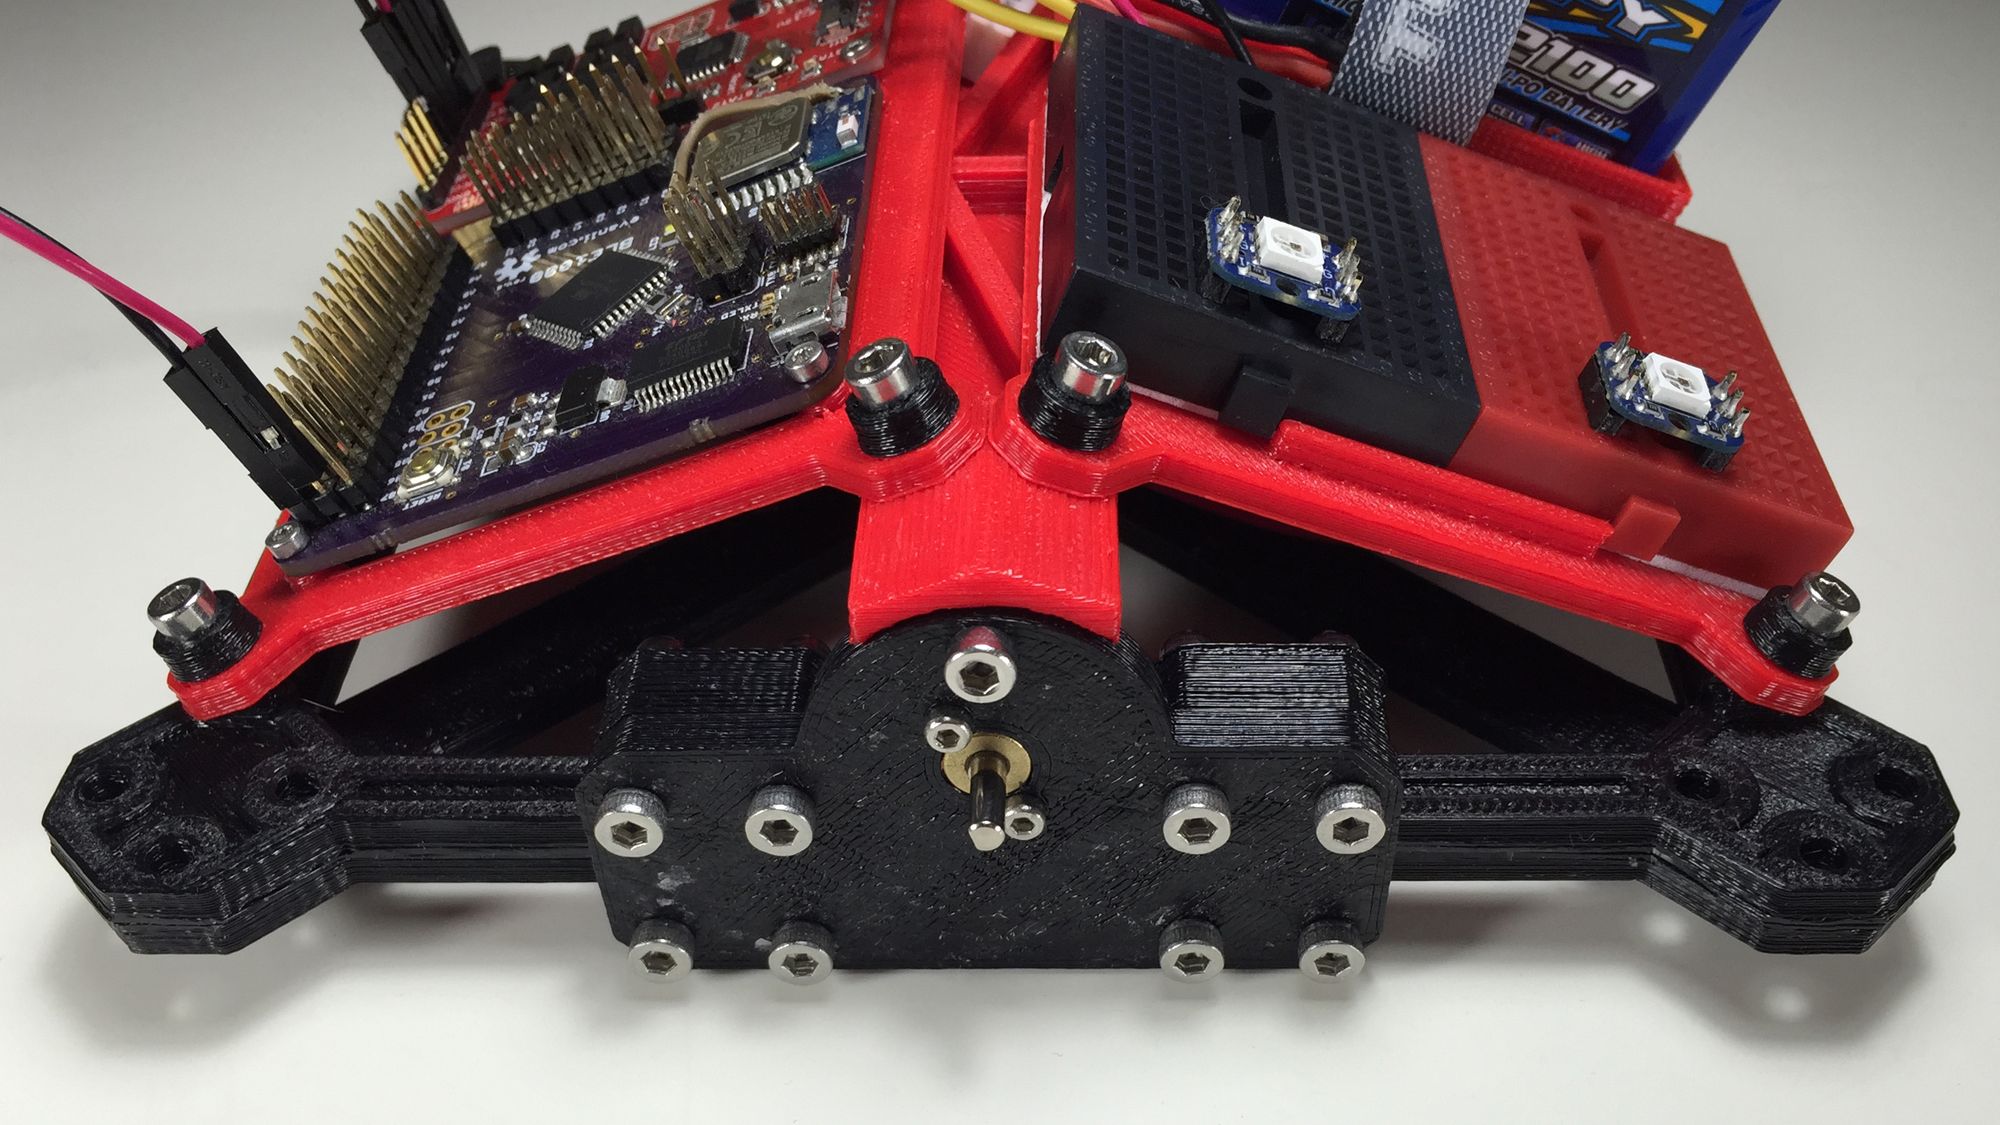
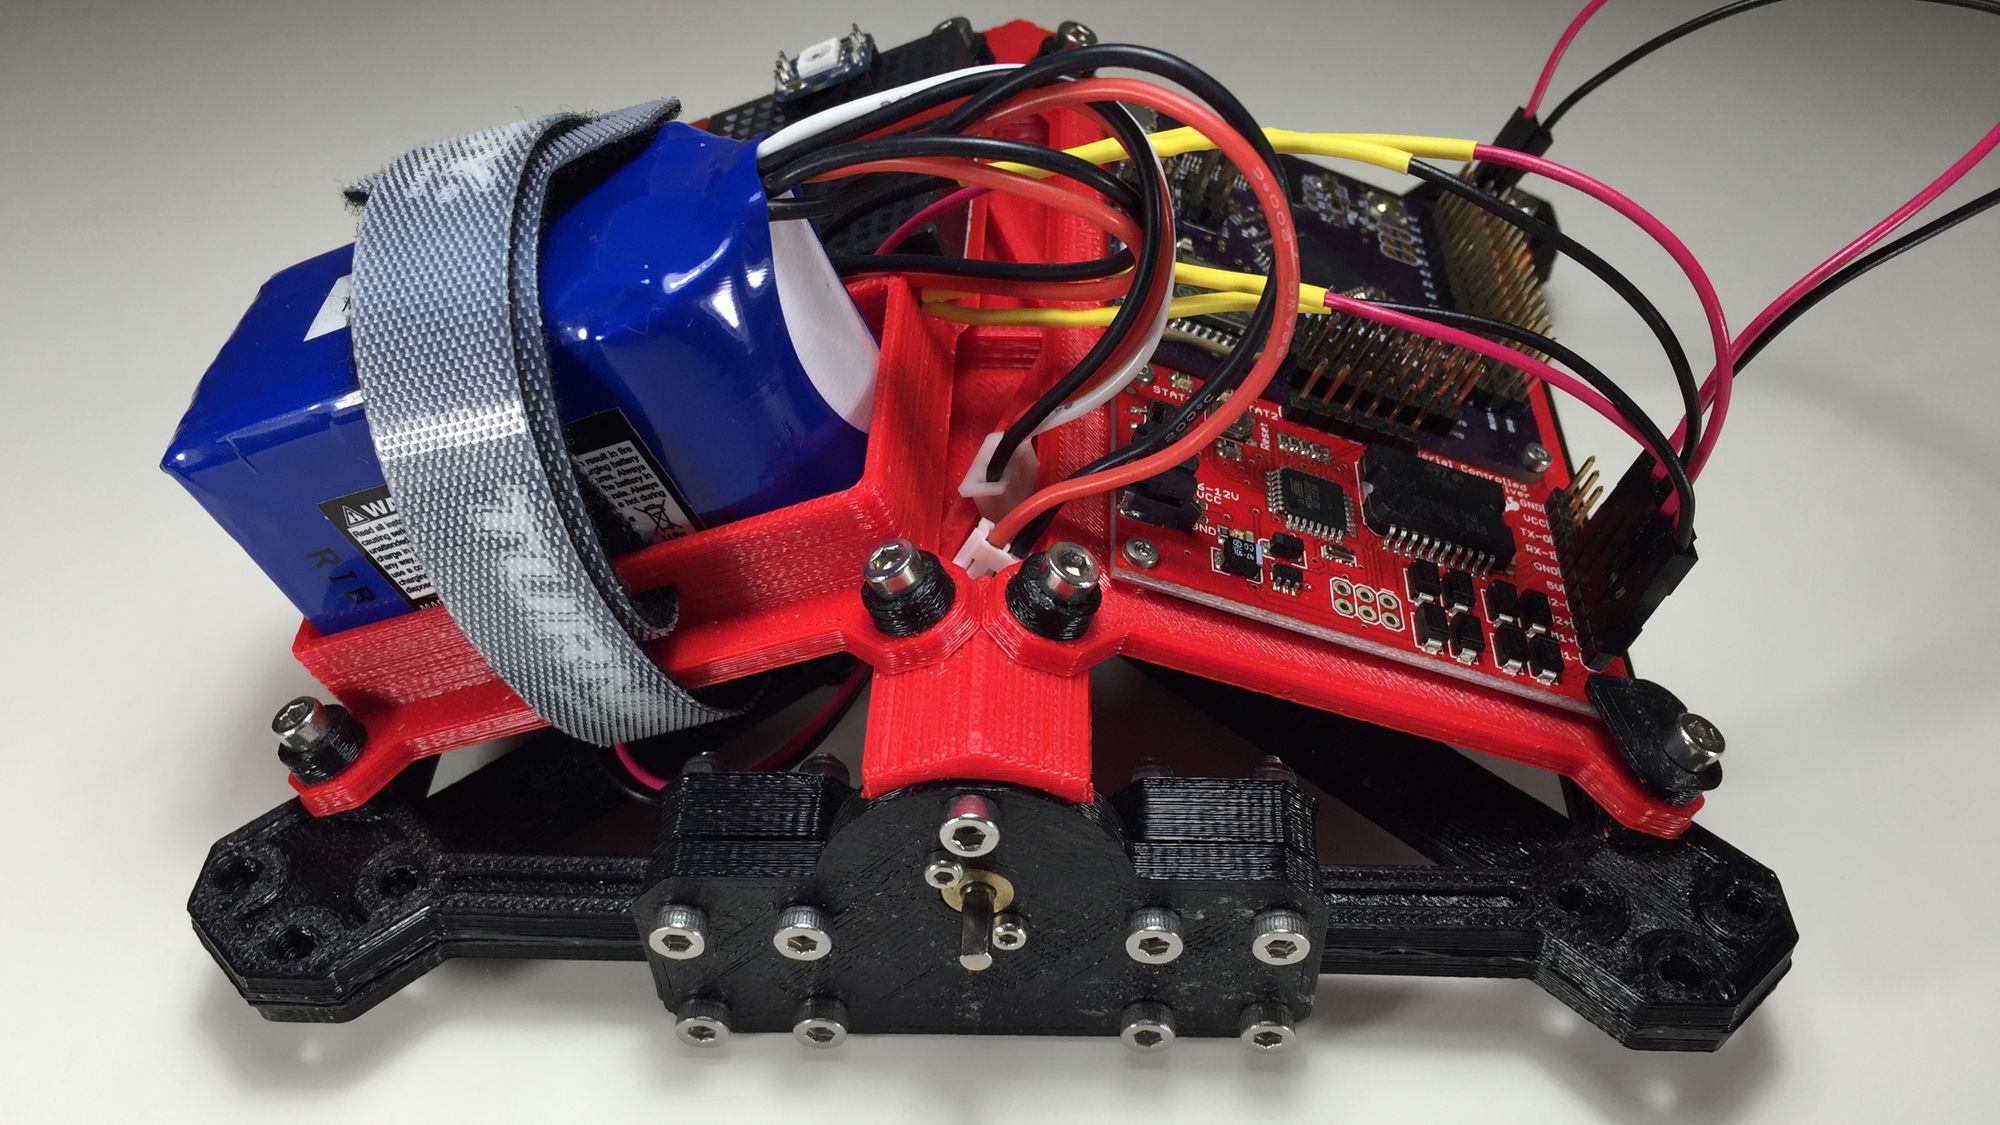
The other support plate on the main chassis was updated to provide support for the electronic support components. A 2100mAh 2S3P lithium polymer battery was pulled from the pile of batteries I have laying around. In addition, two mini breadboards were added to allow for some expansion and prototyping.
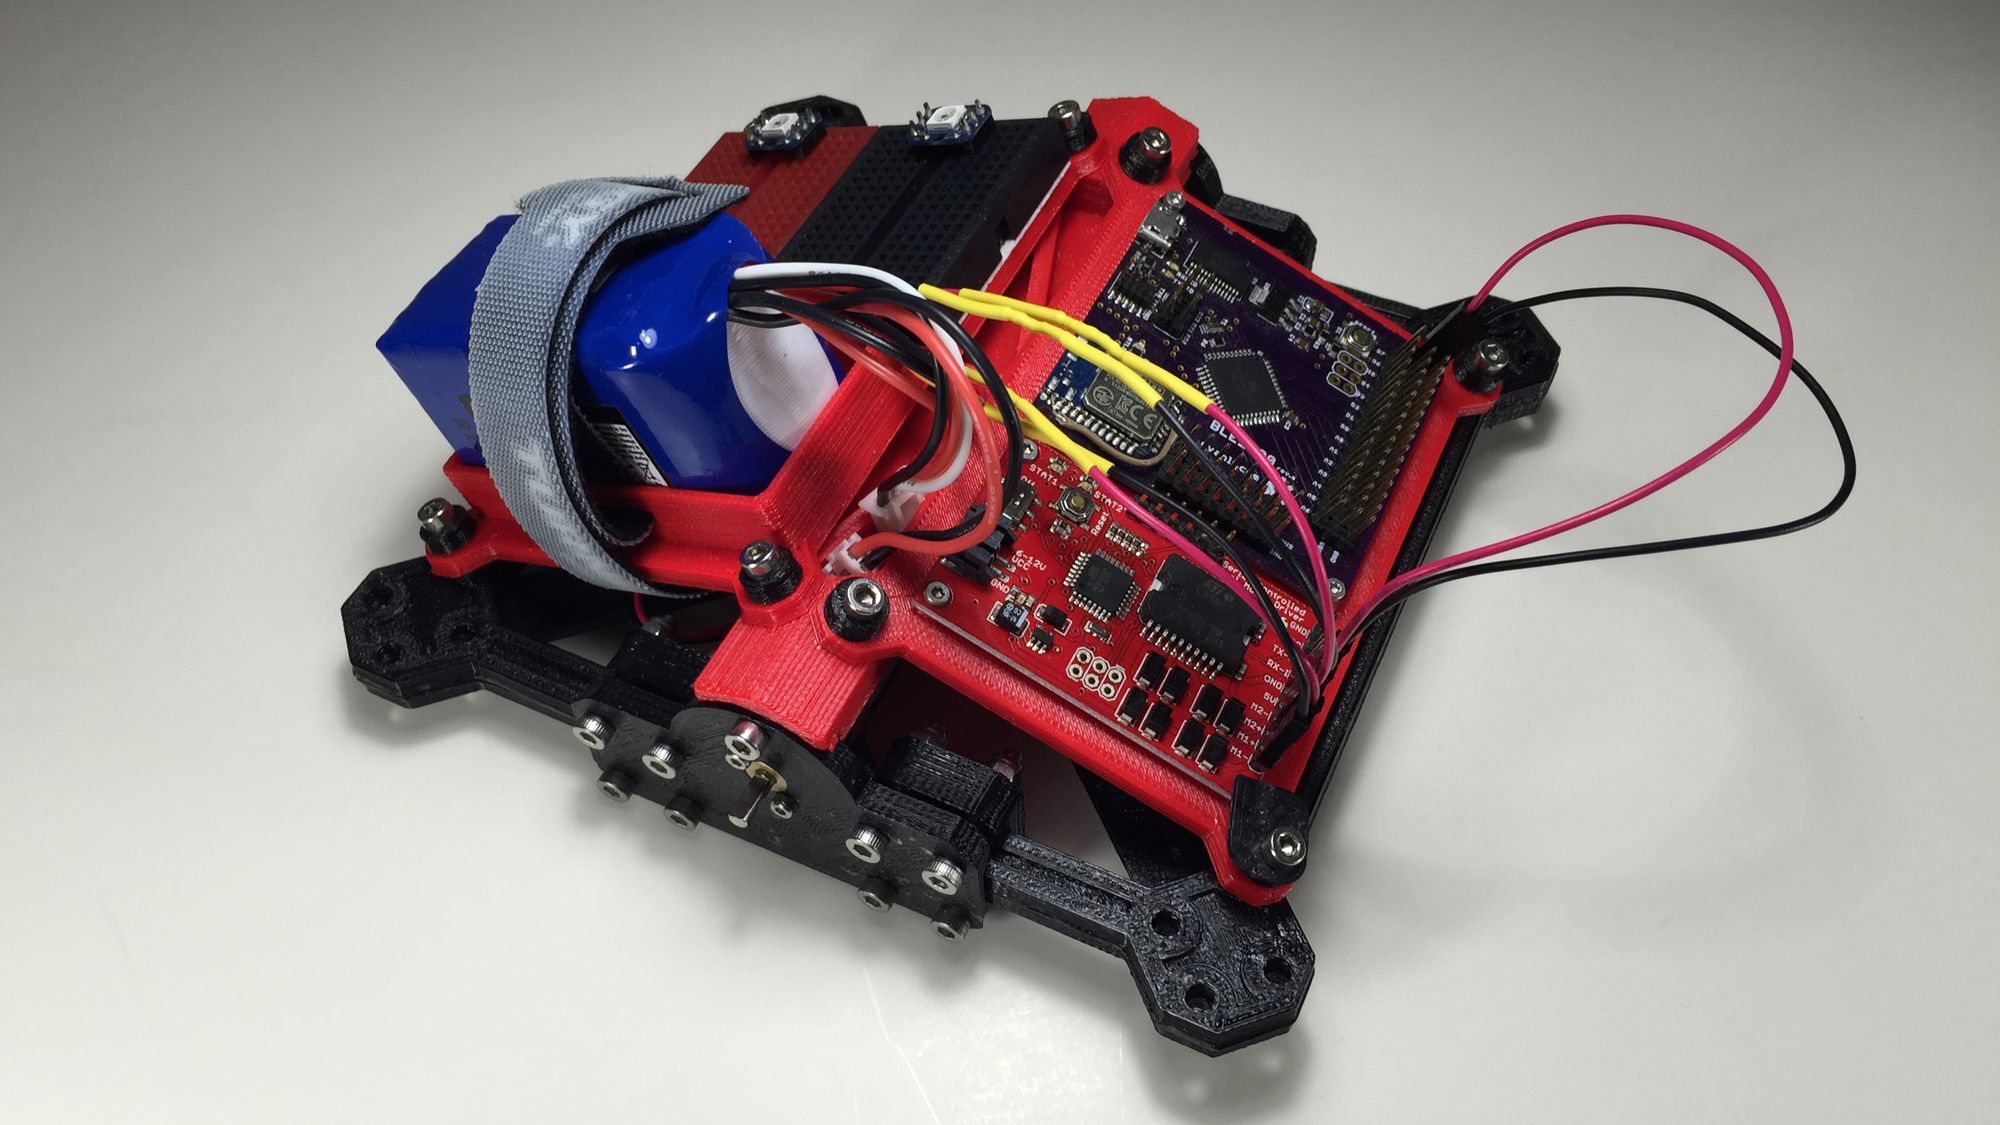
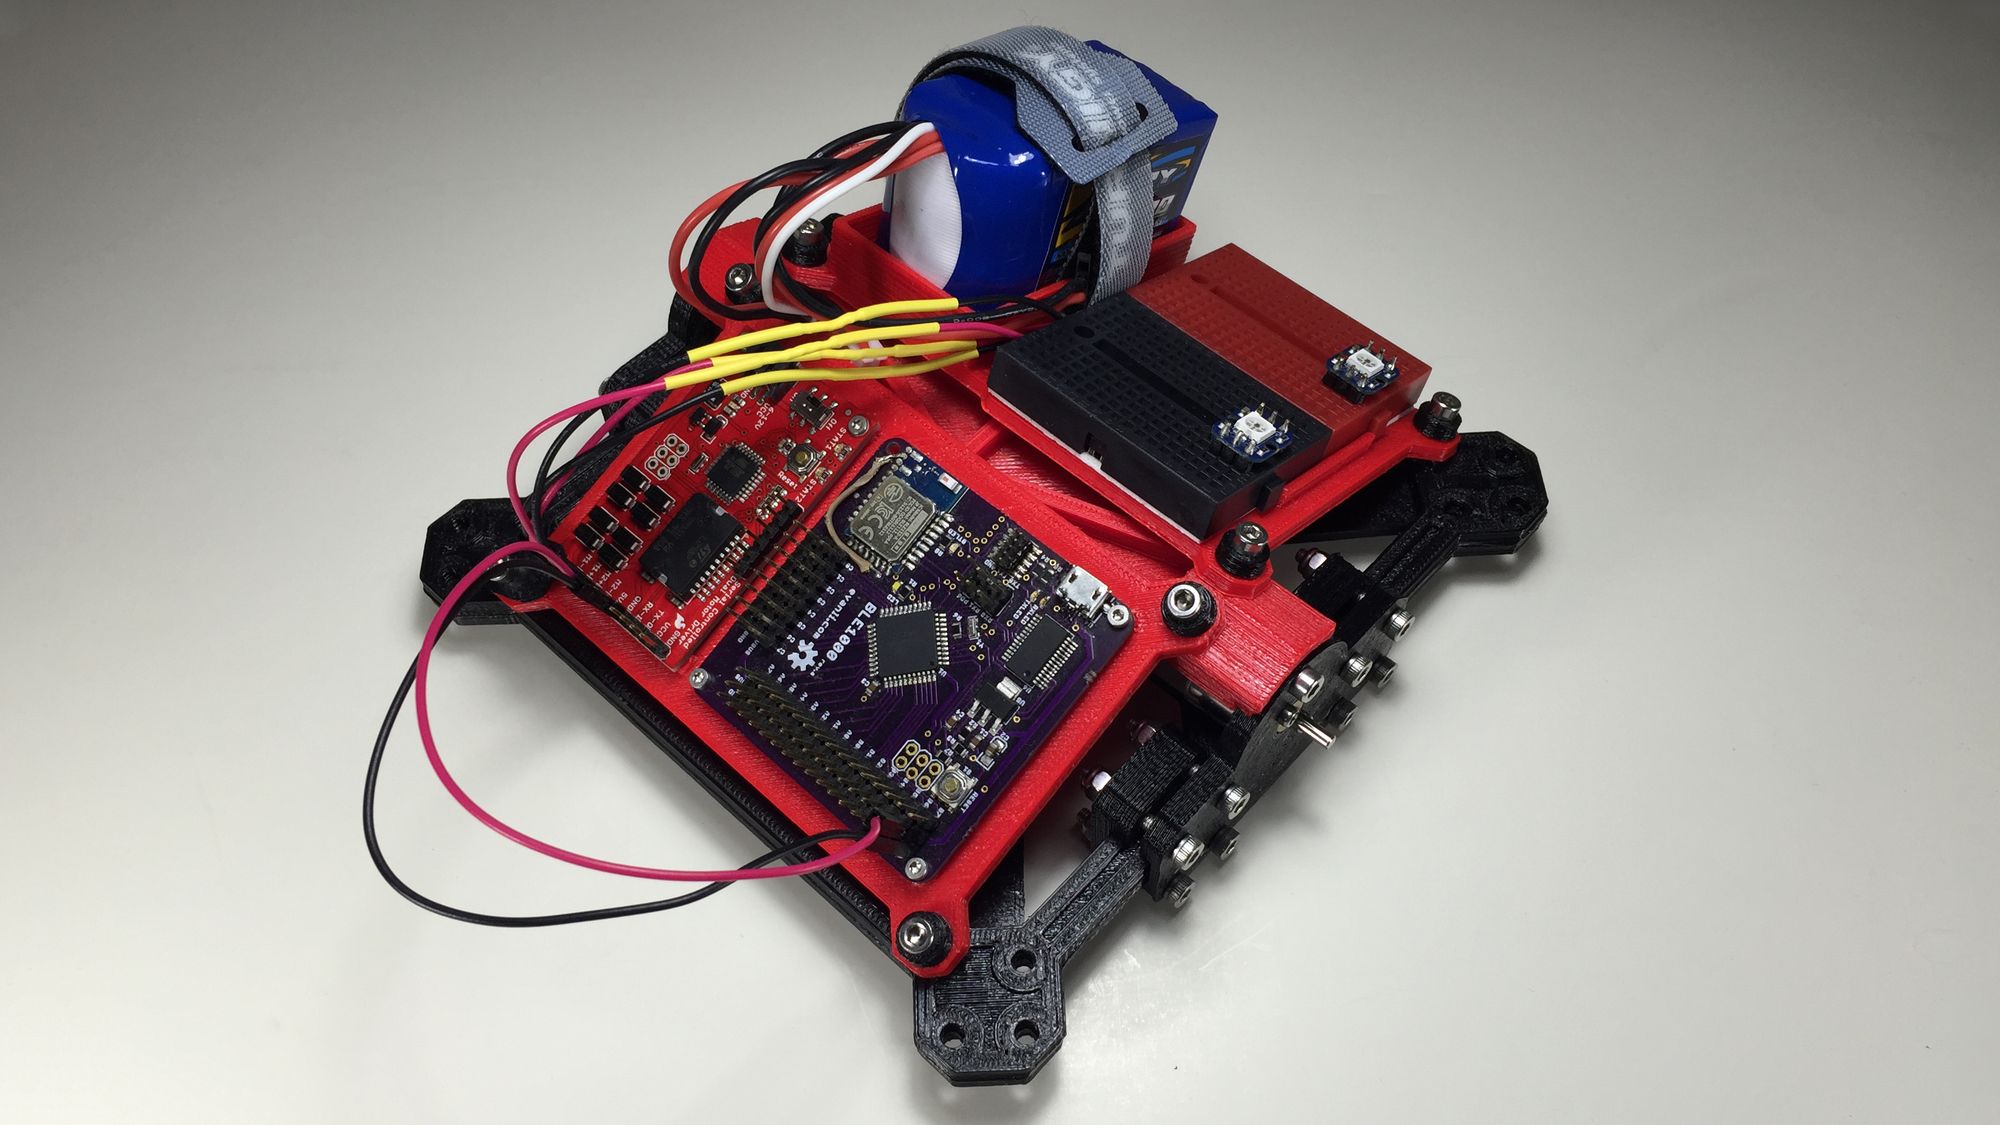
The motors were mounted with 2mm socket cap screws. The wiring was routed underneath through the support plate.
Despite a few issues with the leg assemblies, the project is coming together. Next step if to get some rudimentary software working.