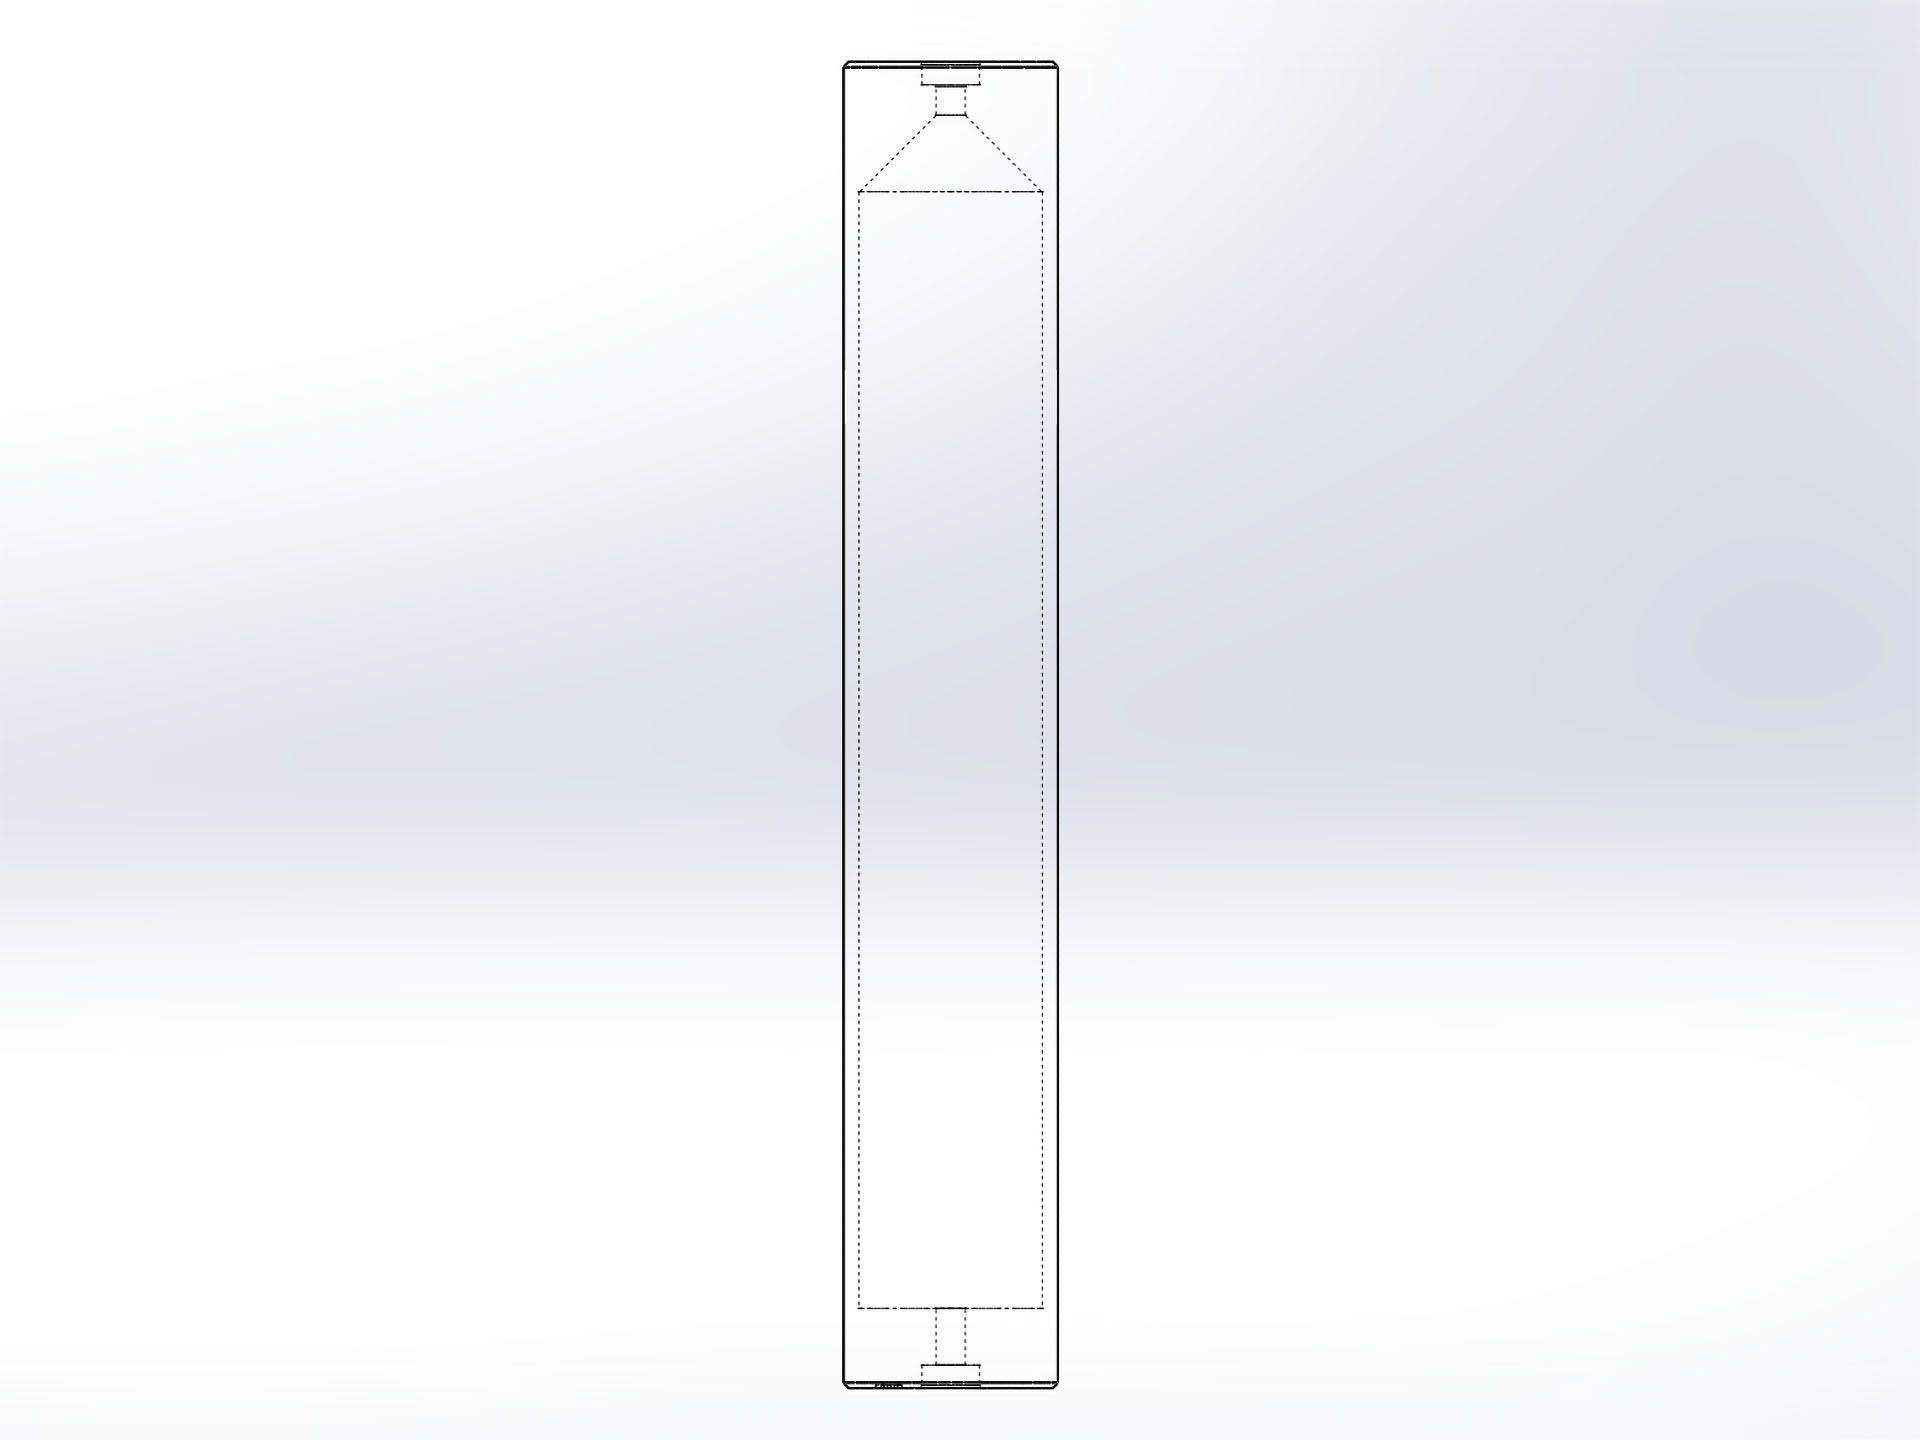
I find that the regular Creality Splice Kit for Naomi Wu's CR-30 3DPrintMill is a bit long for everyday use in my space limited apartment. This 3D printed version gives you an extra 180 mm for parts to roll out.
Hardware
- 4x - M5 x 20mm
- 6x - M5 x 40mm
- 6x - M5 Washer
- 6x - M5 Hex Nut
- 6x - 605ZZ Bearing (Inner Dia.=5mm, Outer Dia.=14mm, Thickness=5mm)
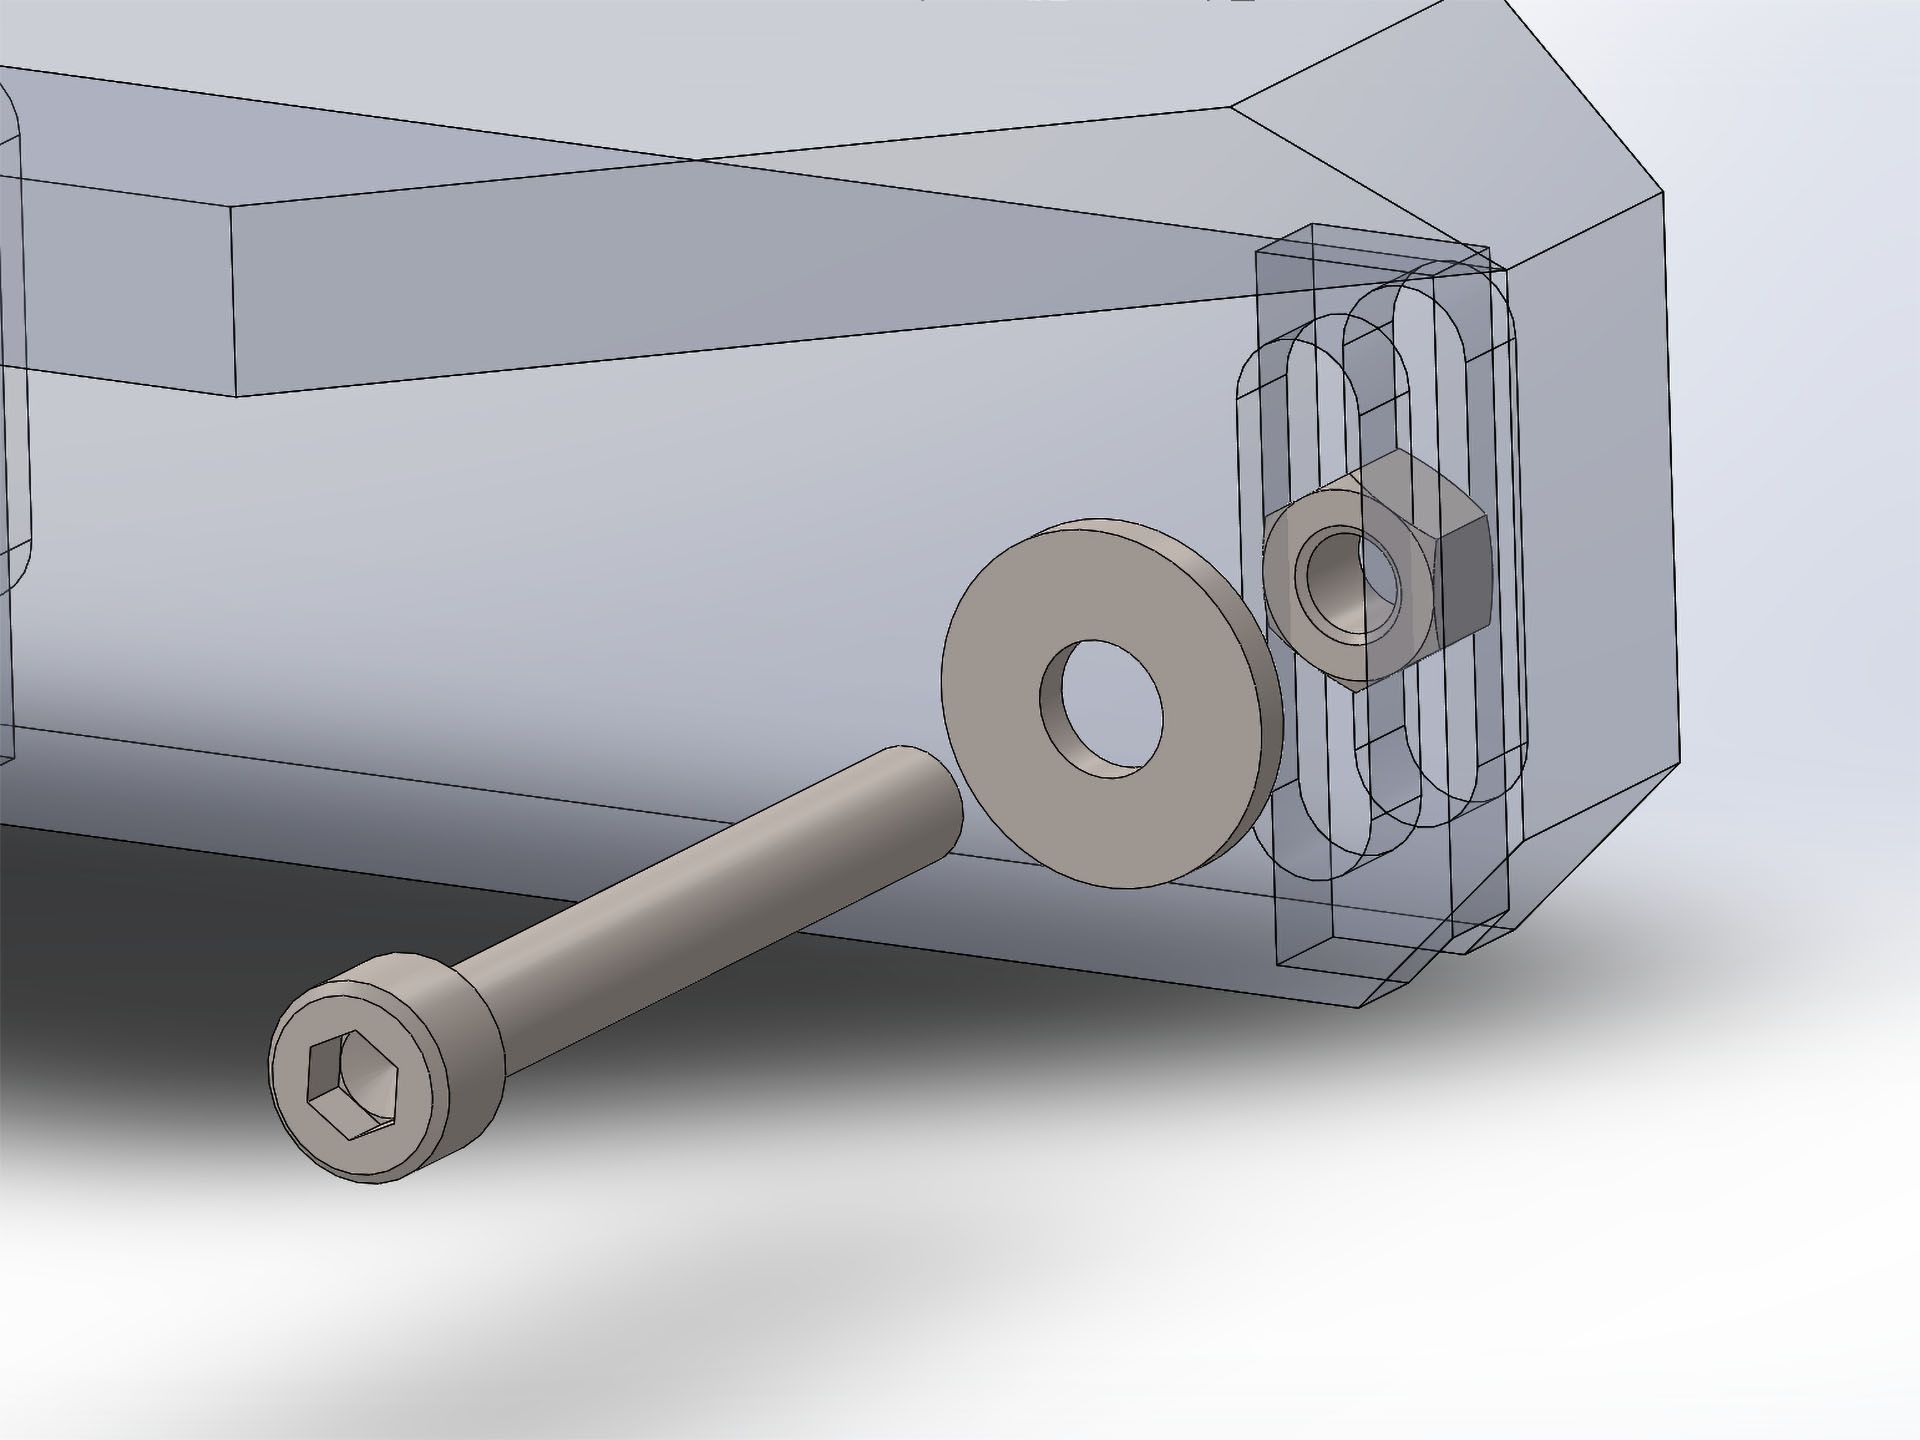
The rollers are held in place by M5 bolts on each rail. The vertical height of the roller are adjustable via tightening the M5 bolt with M5 hex nuts inserted into the rails.
It is best to just have the bolts finger tight to prevent any binding during assembly. The image shows shorter bolts, but you will want longer ones, at least 30mm, to make installation easier.
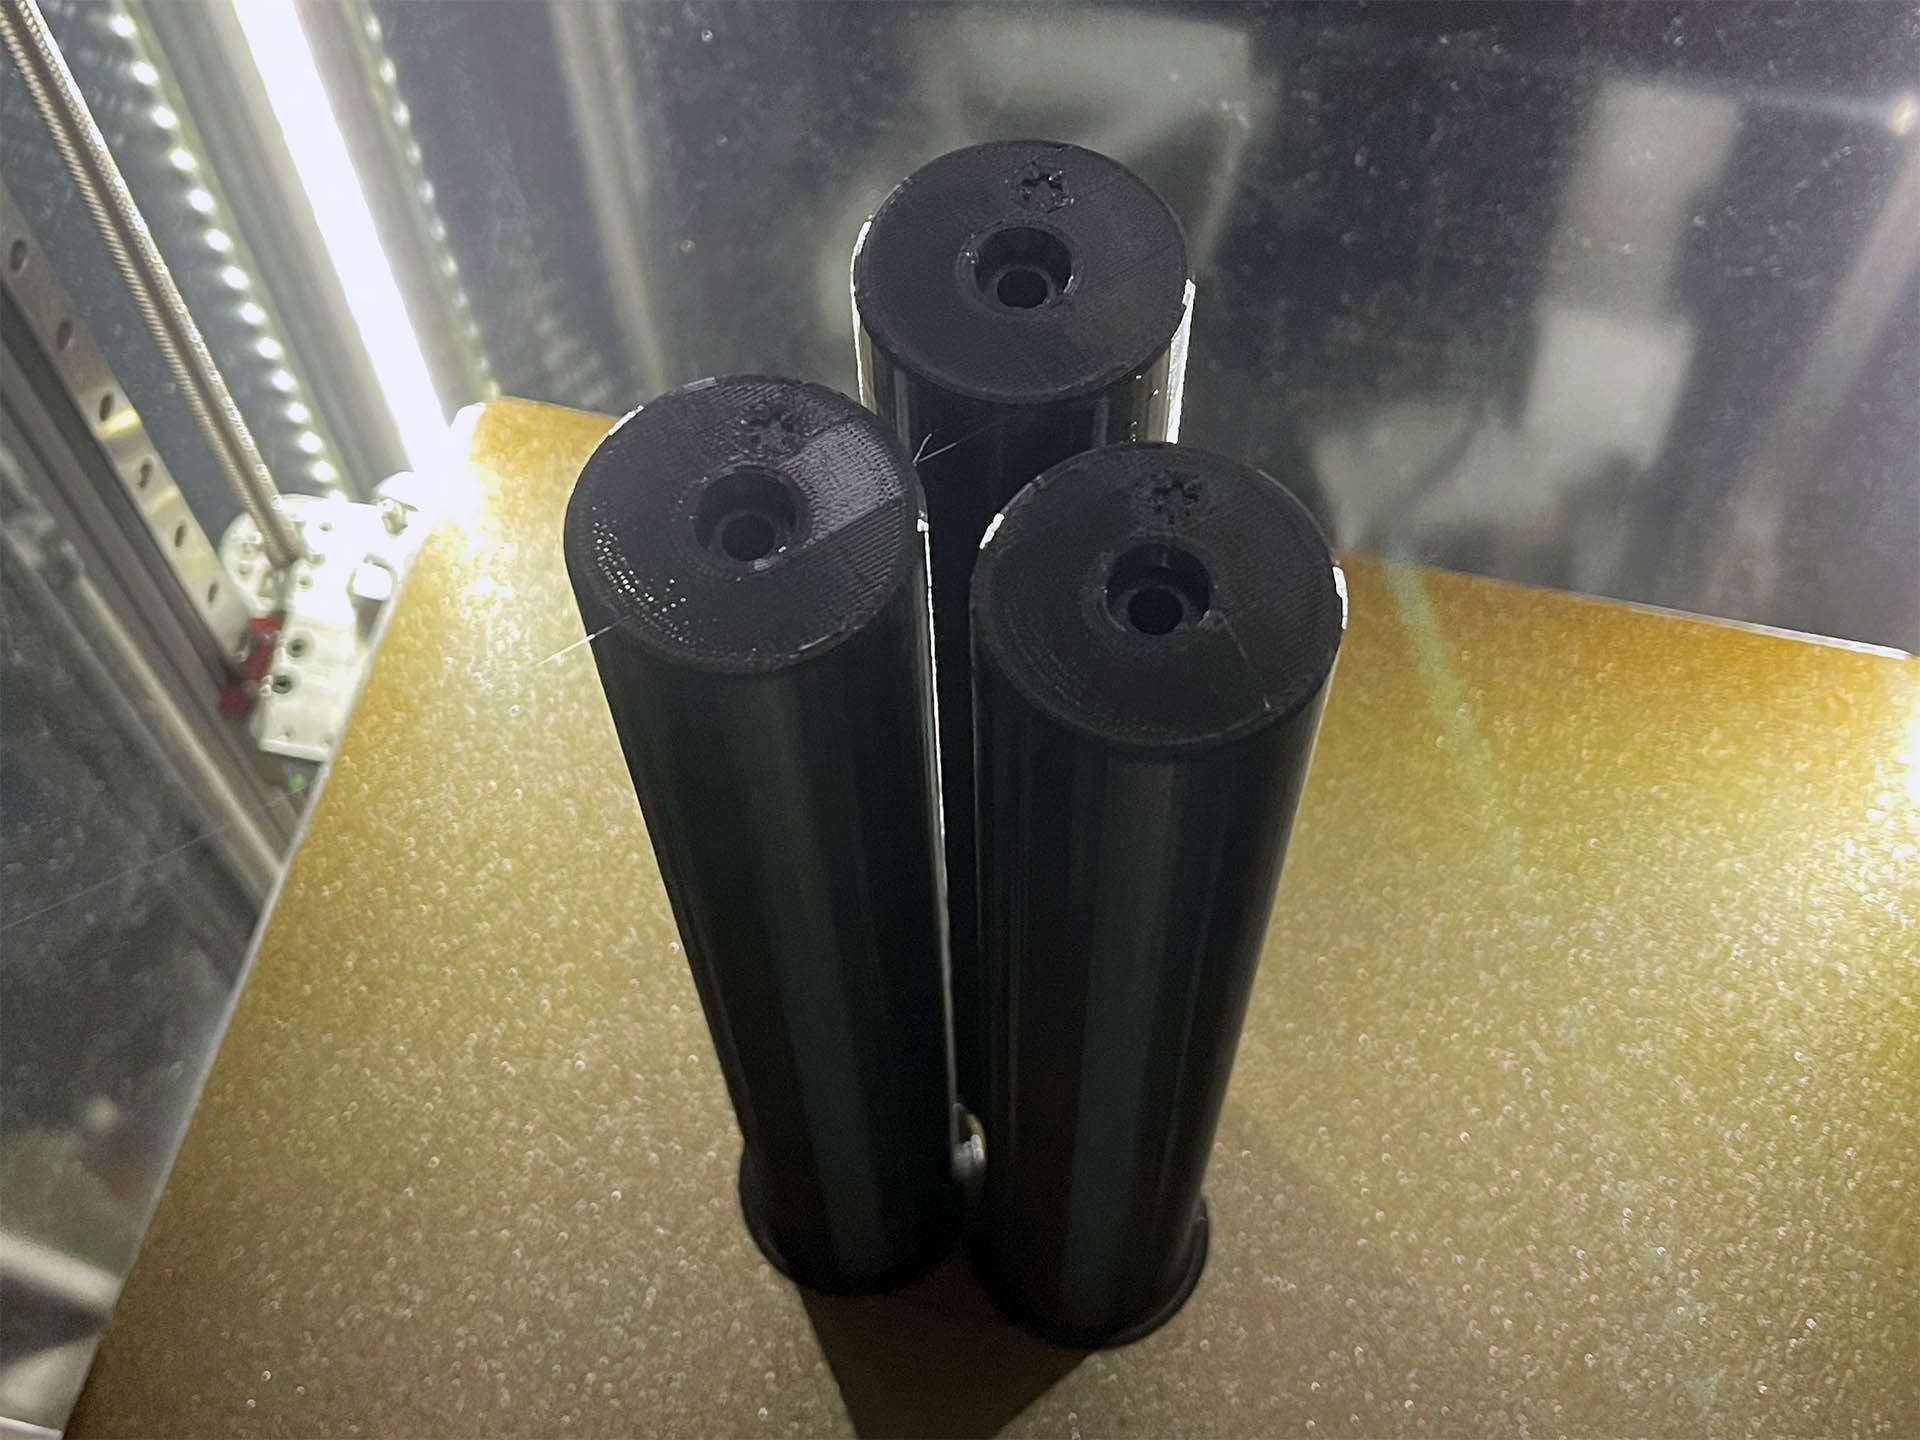
Rollers should be printed with the asterisk facing up at 0.3mm layer height.
The rollers have internal geometry so that supports aren't needed.

The 605ZZ bearings should pop right in, but some adjustment might be needed depending on your printer.
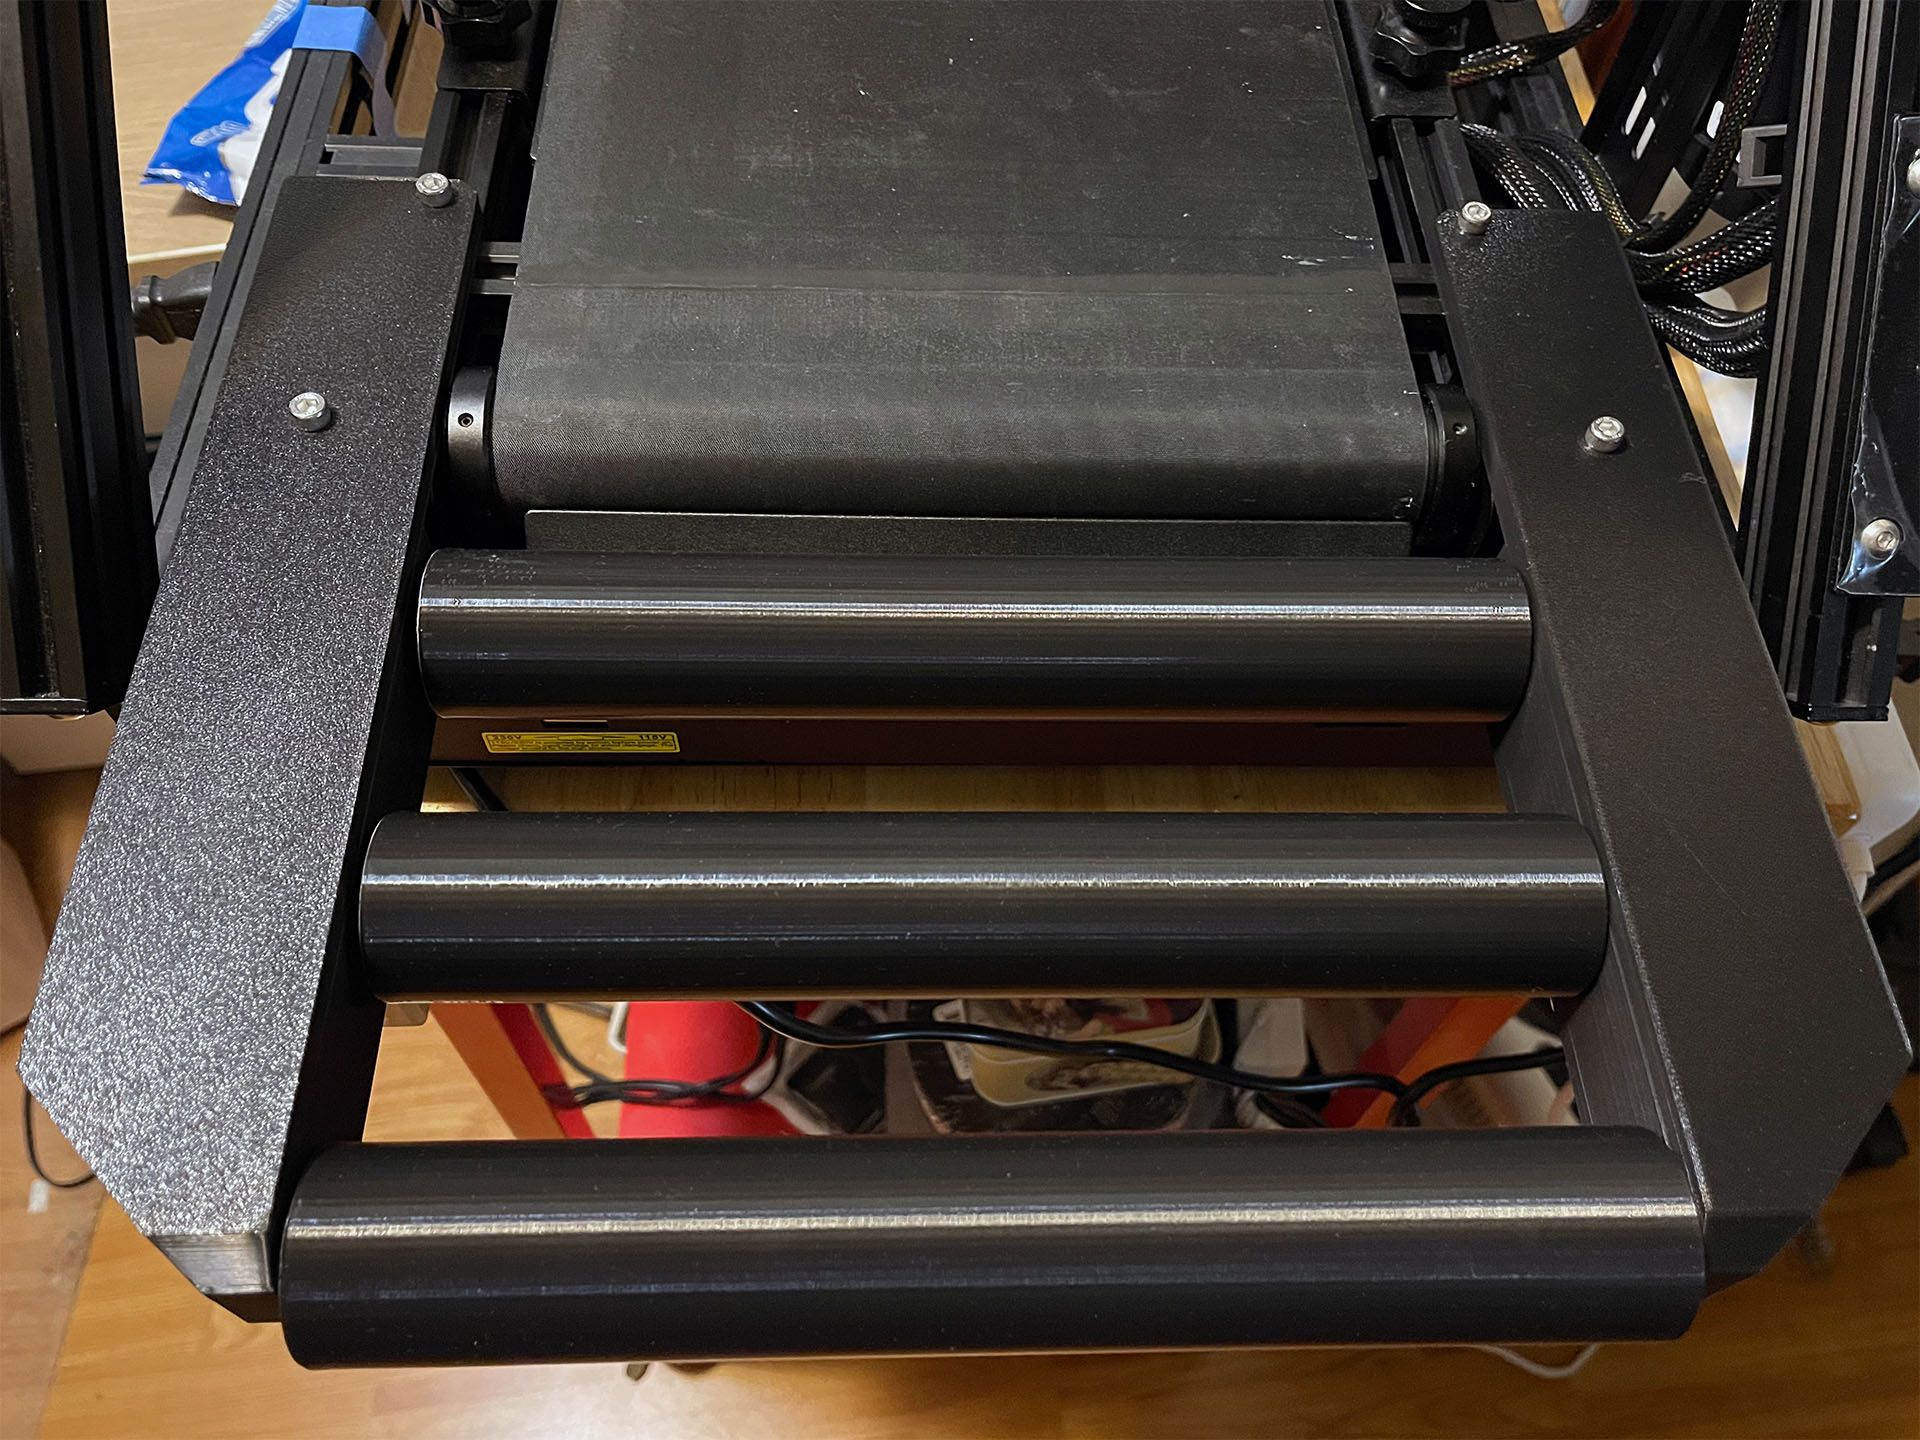
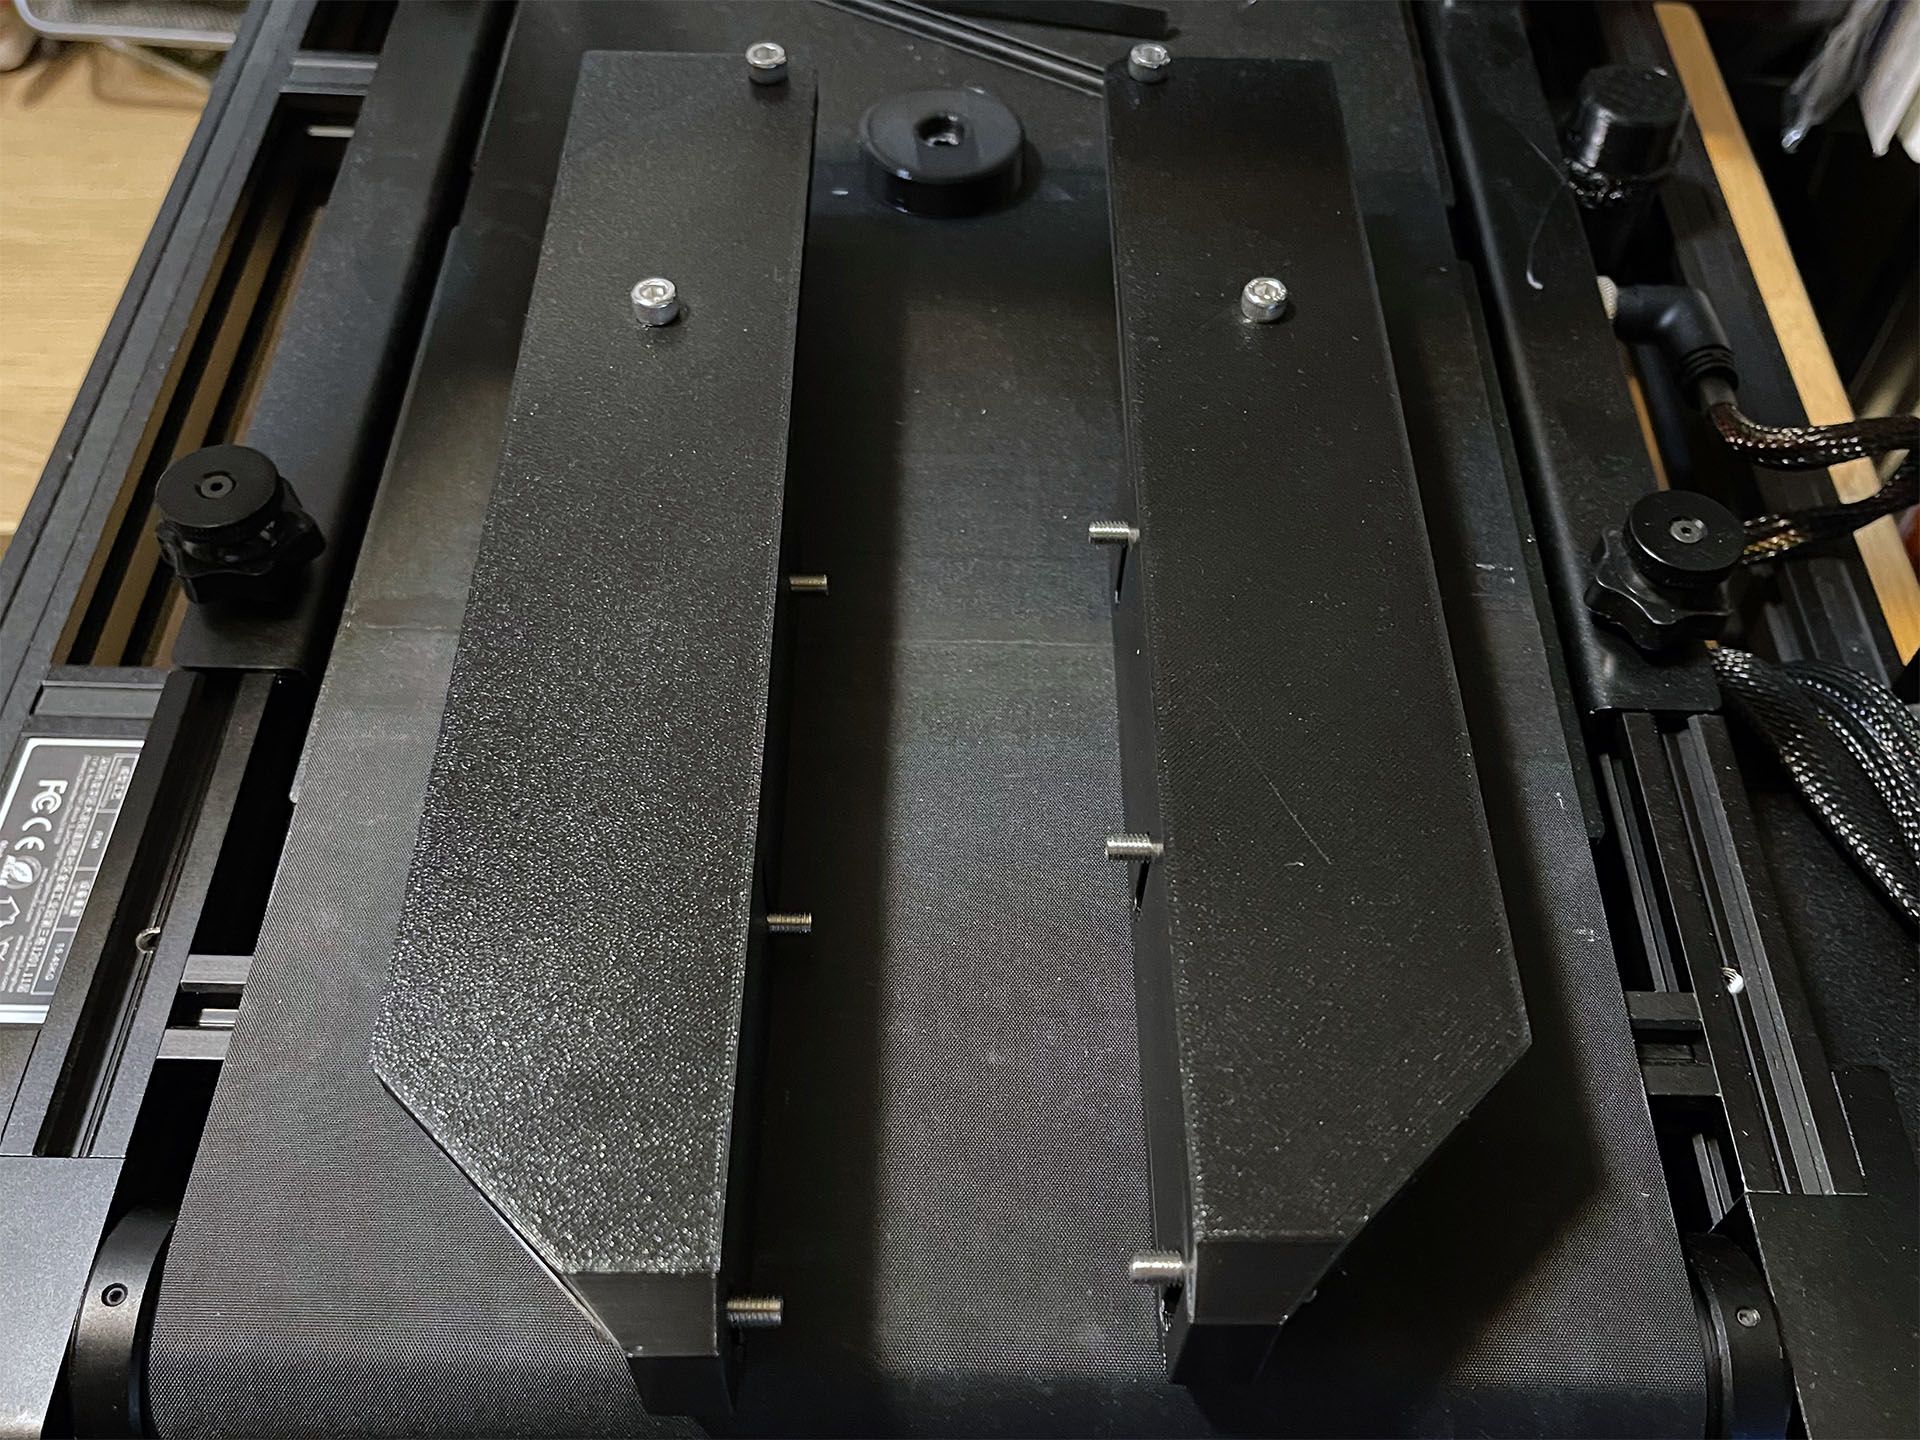
I found that it was easier to install fully assembled, with masking tape holding the rails and rollers together. Four M5 x 20mm bolts secure the rails to the tapped holes on the printer. You will have to remove the two extrusion covers that block the hole. Once the rails are secure, I set a straight level across the print belt. With the rollers still loose, I pushed them up to make contact with the level before tightening the M5 bolts. Repeat this process for all the rollers.
You can find the STL files on Thingiverse.