When people find out you have a 3D printer, one often gets ask to print random things. This is one of those stories. My sister recently release a kids book called Baby Snack Time and wanted a giant sliding puzzle as a promotional tool. It's like those sliding puzzles you got a child but much larger, about 680mm by 680mm . The individual pieces slide along other pieces and are captive.
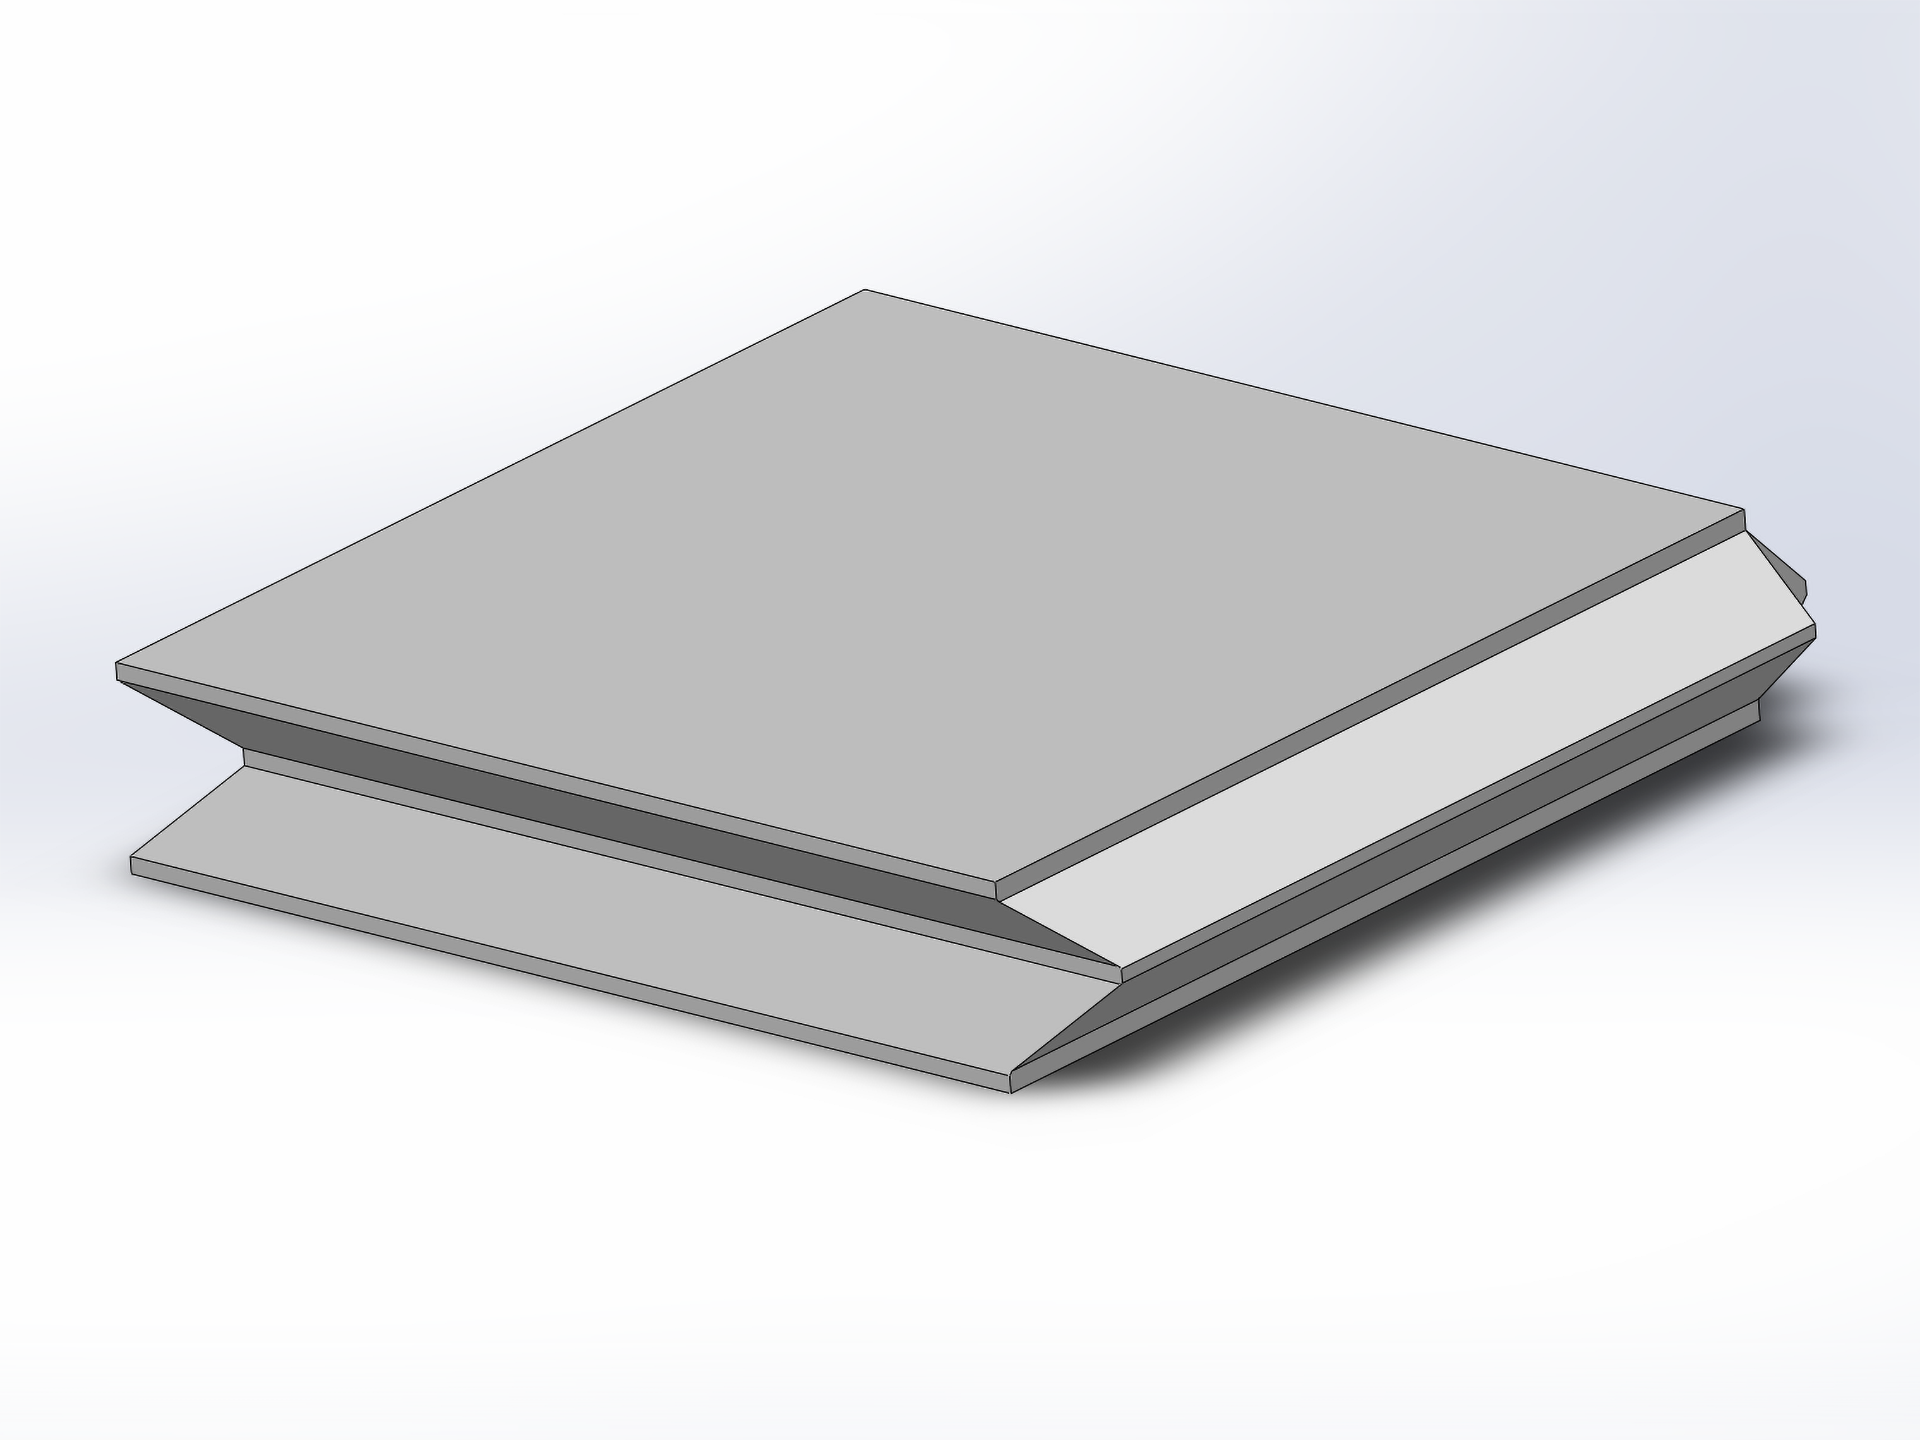
I started the design with a tessellating square that was 152mm by 152mm. Two sides have 45-degree cutouts and the other two have 45-degree projections. The 45-degree angle allows for the puzzle piece to print with minimal supports.
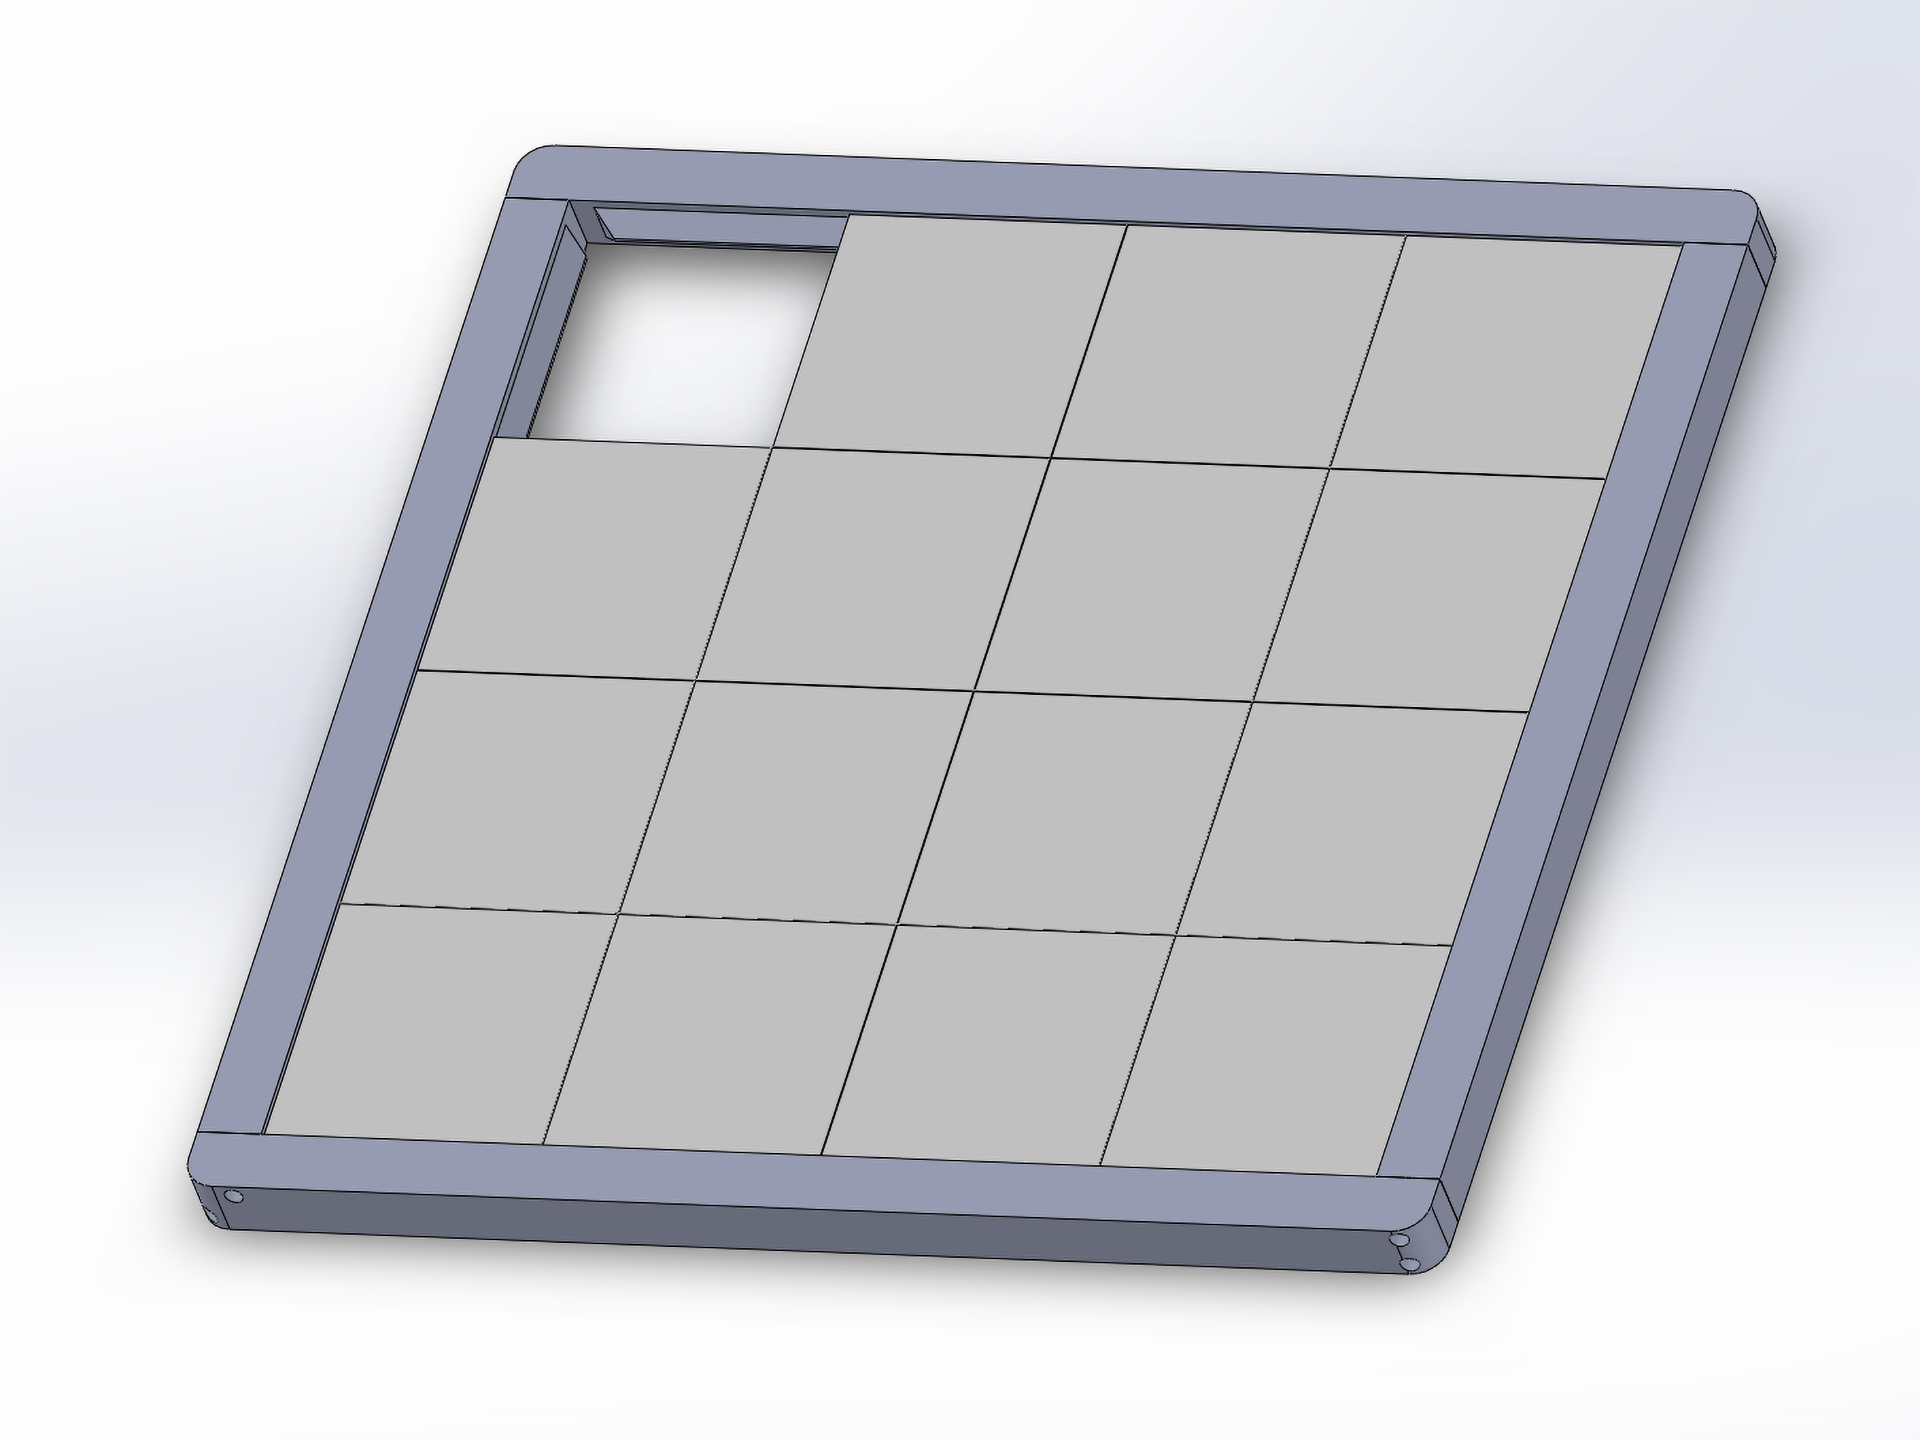
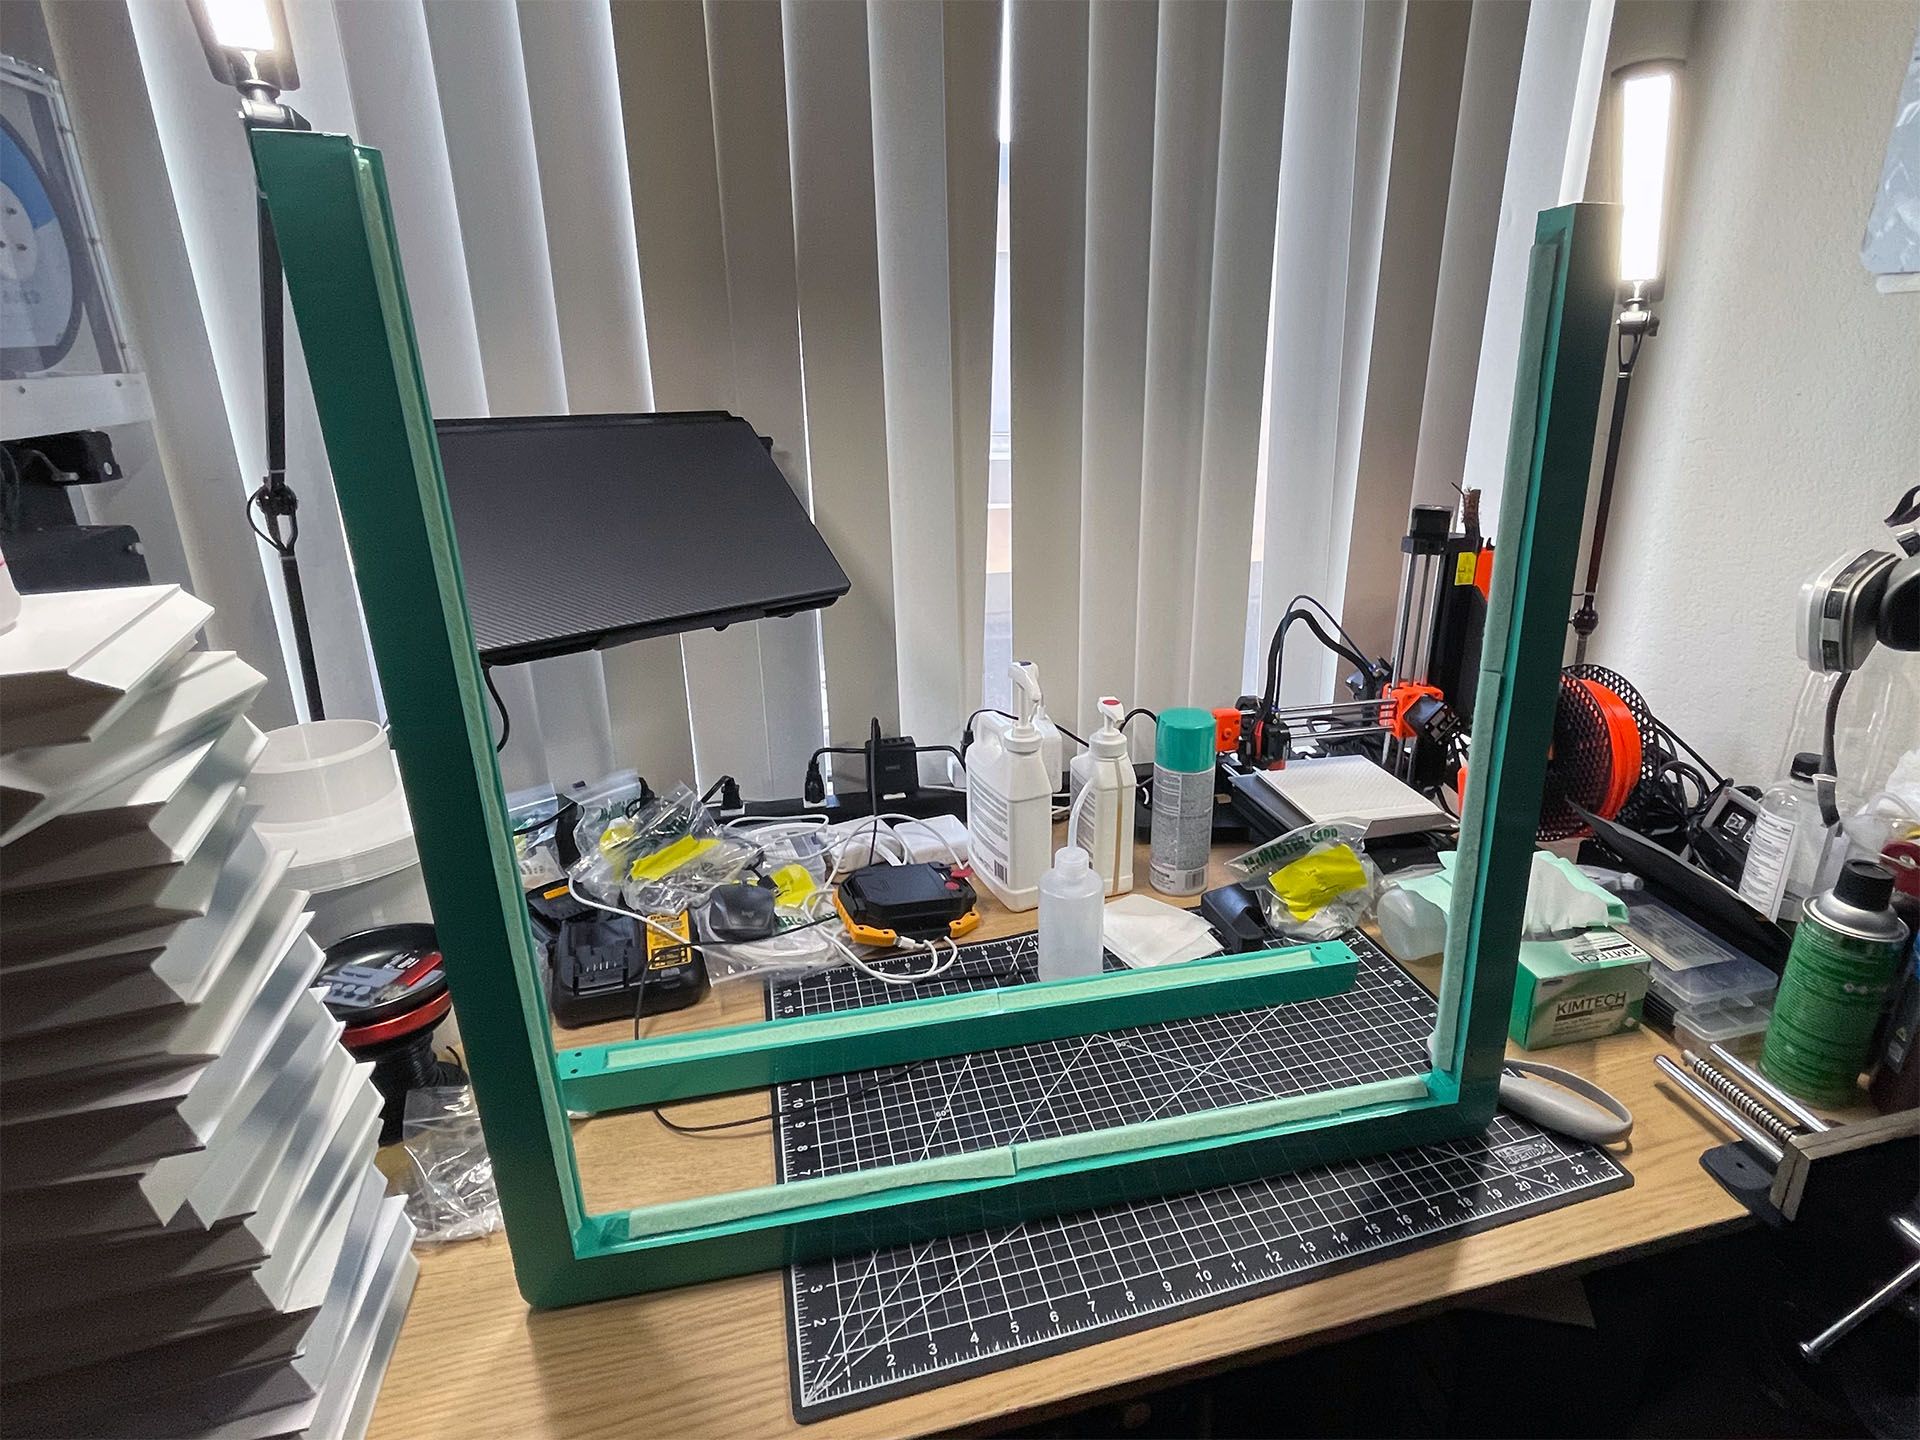
When assembled the projections ride in the cutouts, allowing movement in one axis but captive in the other. The frame pieces replicated the projects and cutouts, making all the pieces fully captive in the puzzle. The dimensions of the assembled puzzle is 682mm by 682mm. The frame is held together using socket head screws. There is about 1mm of built-in tolerance for all the pieces.
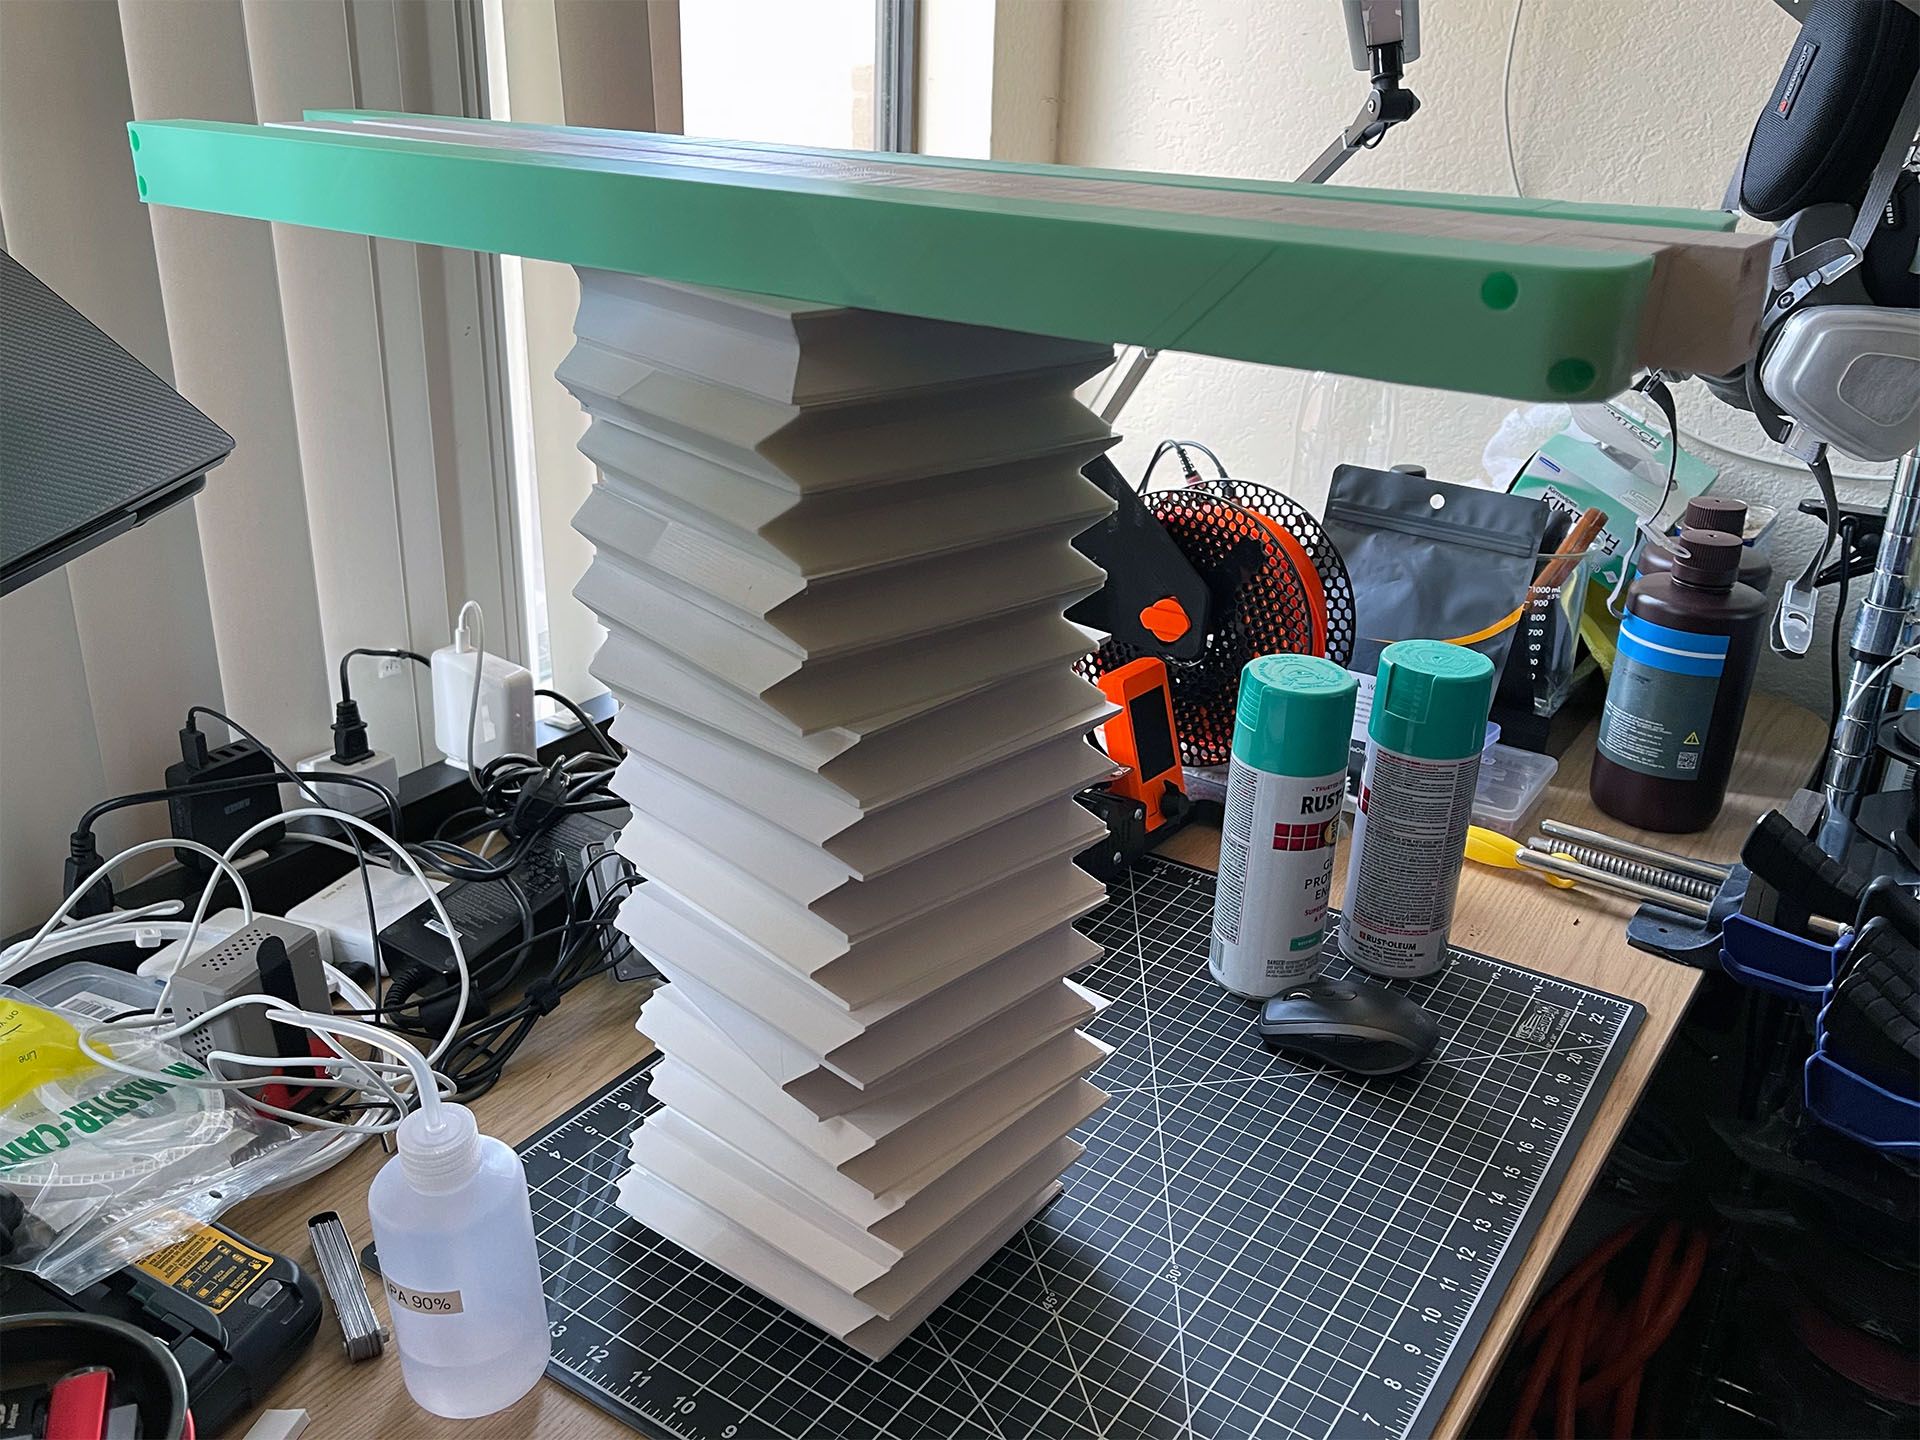
The first few pieces printed with no issues, but the large area makes it very sensitive to any issues with the first layer. Everything was printed in MatterHackers Build Series PLA on my Railcore II.
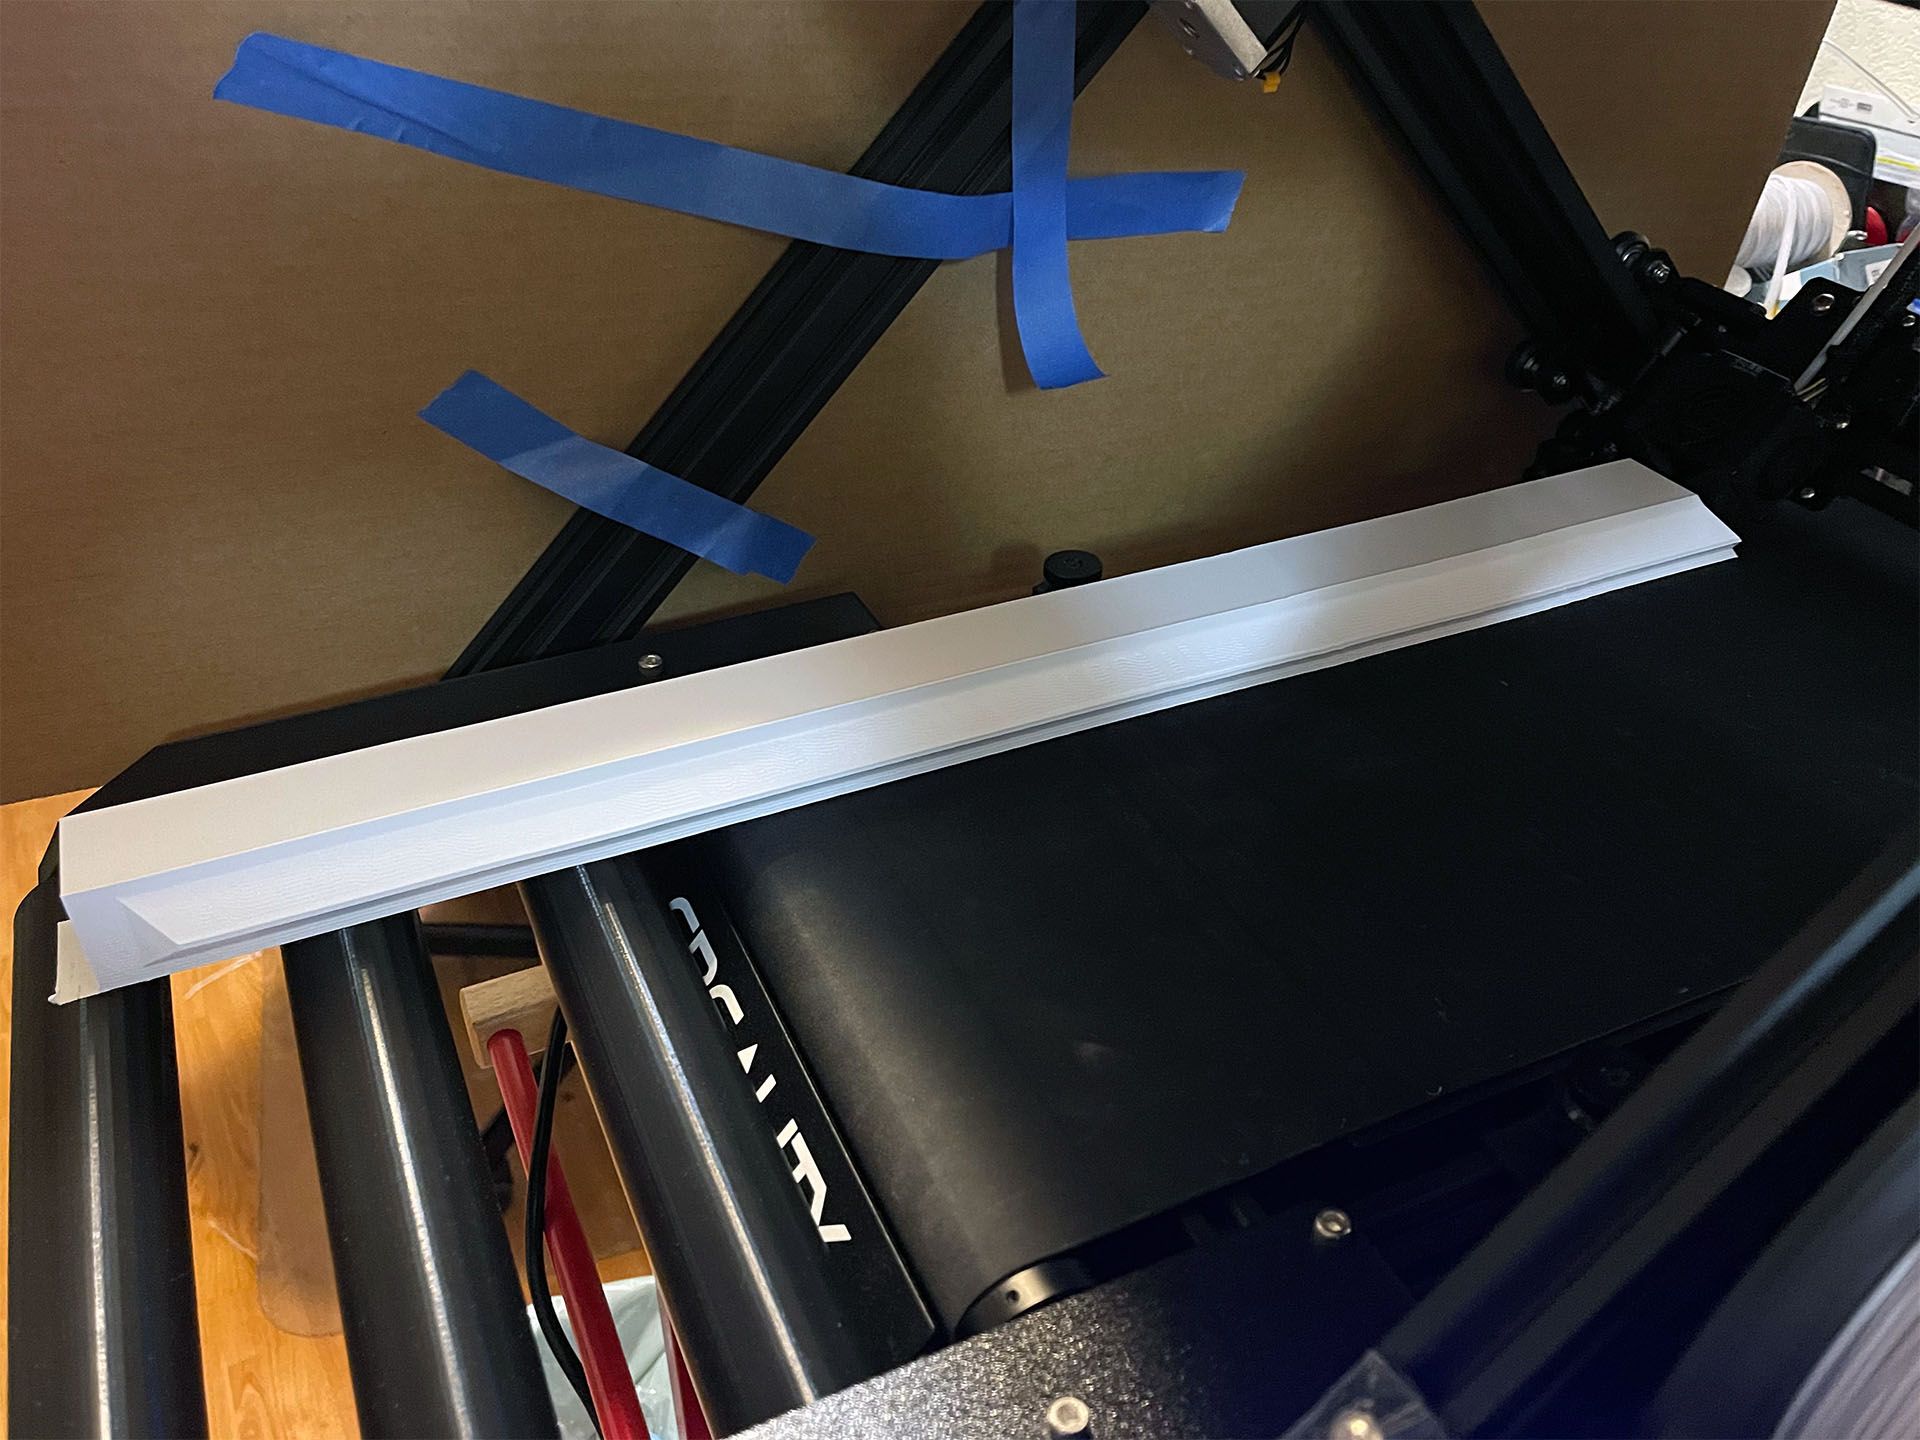
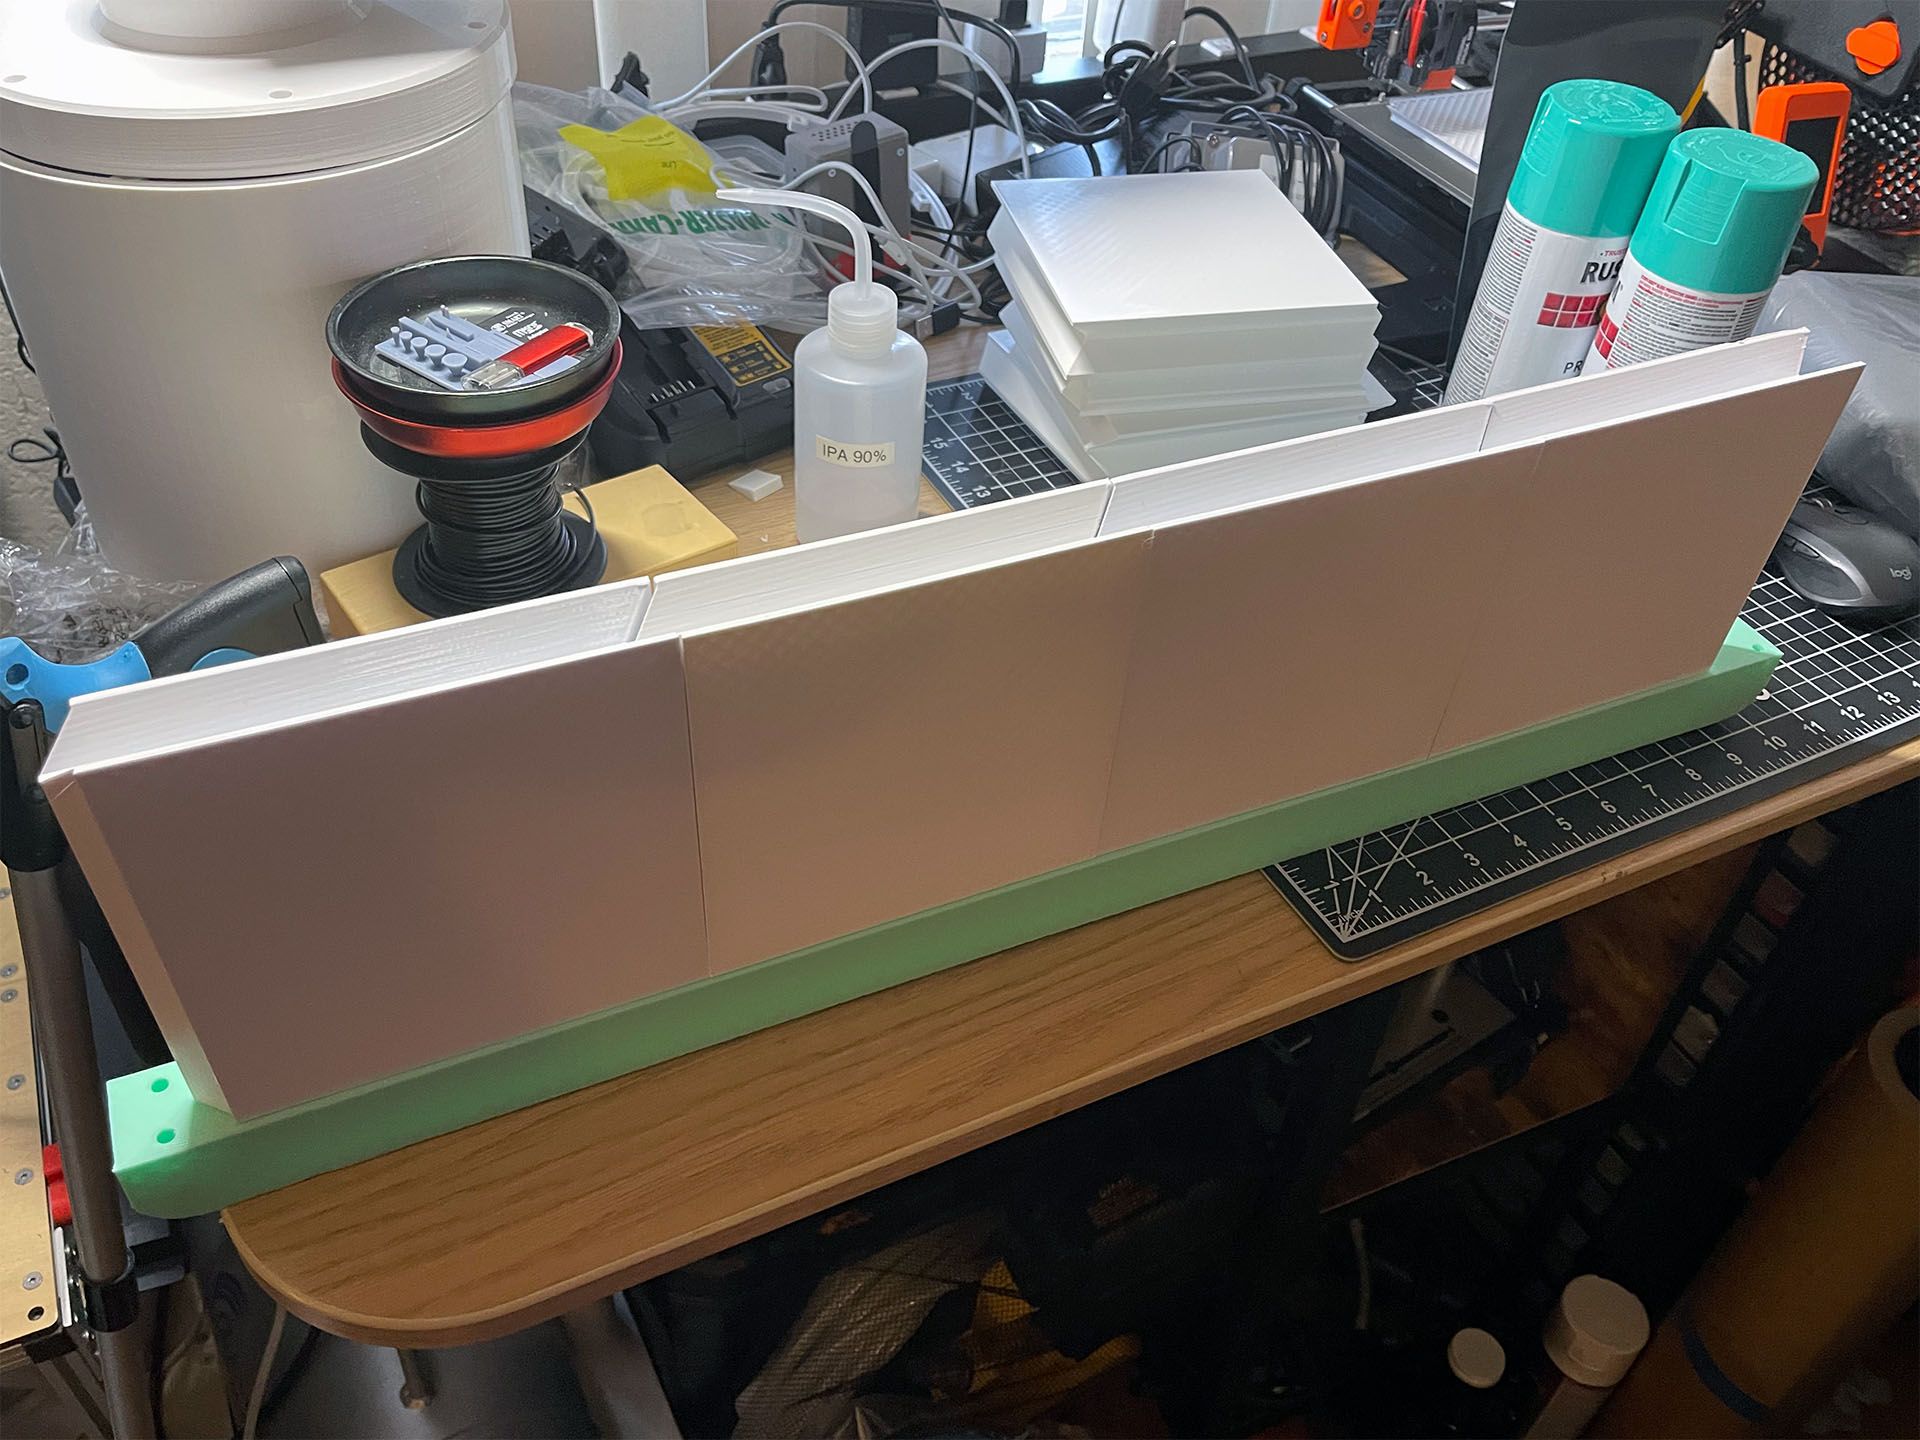
The frame rails, being nearly 700mm long, required the use of the new Creality CR-30. Naomi Wu did a great job getting this printer out and the quality is excellent. Each frame rail took about 30 hours to print in PLA.
All 15 puzzle pieces and the 4 frame rails took over 10 days of continuous print time and used over 4kg of filament.
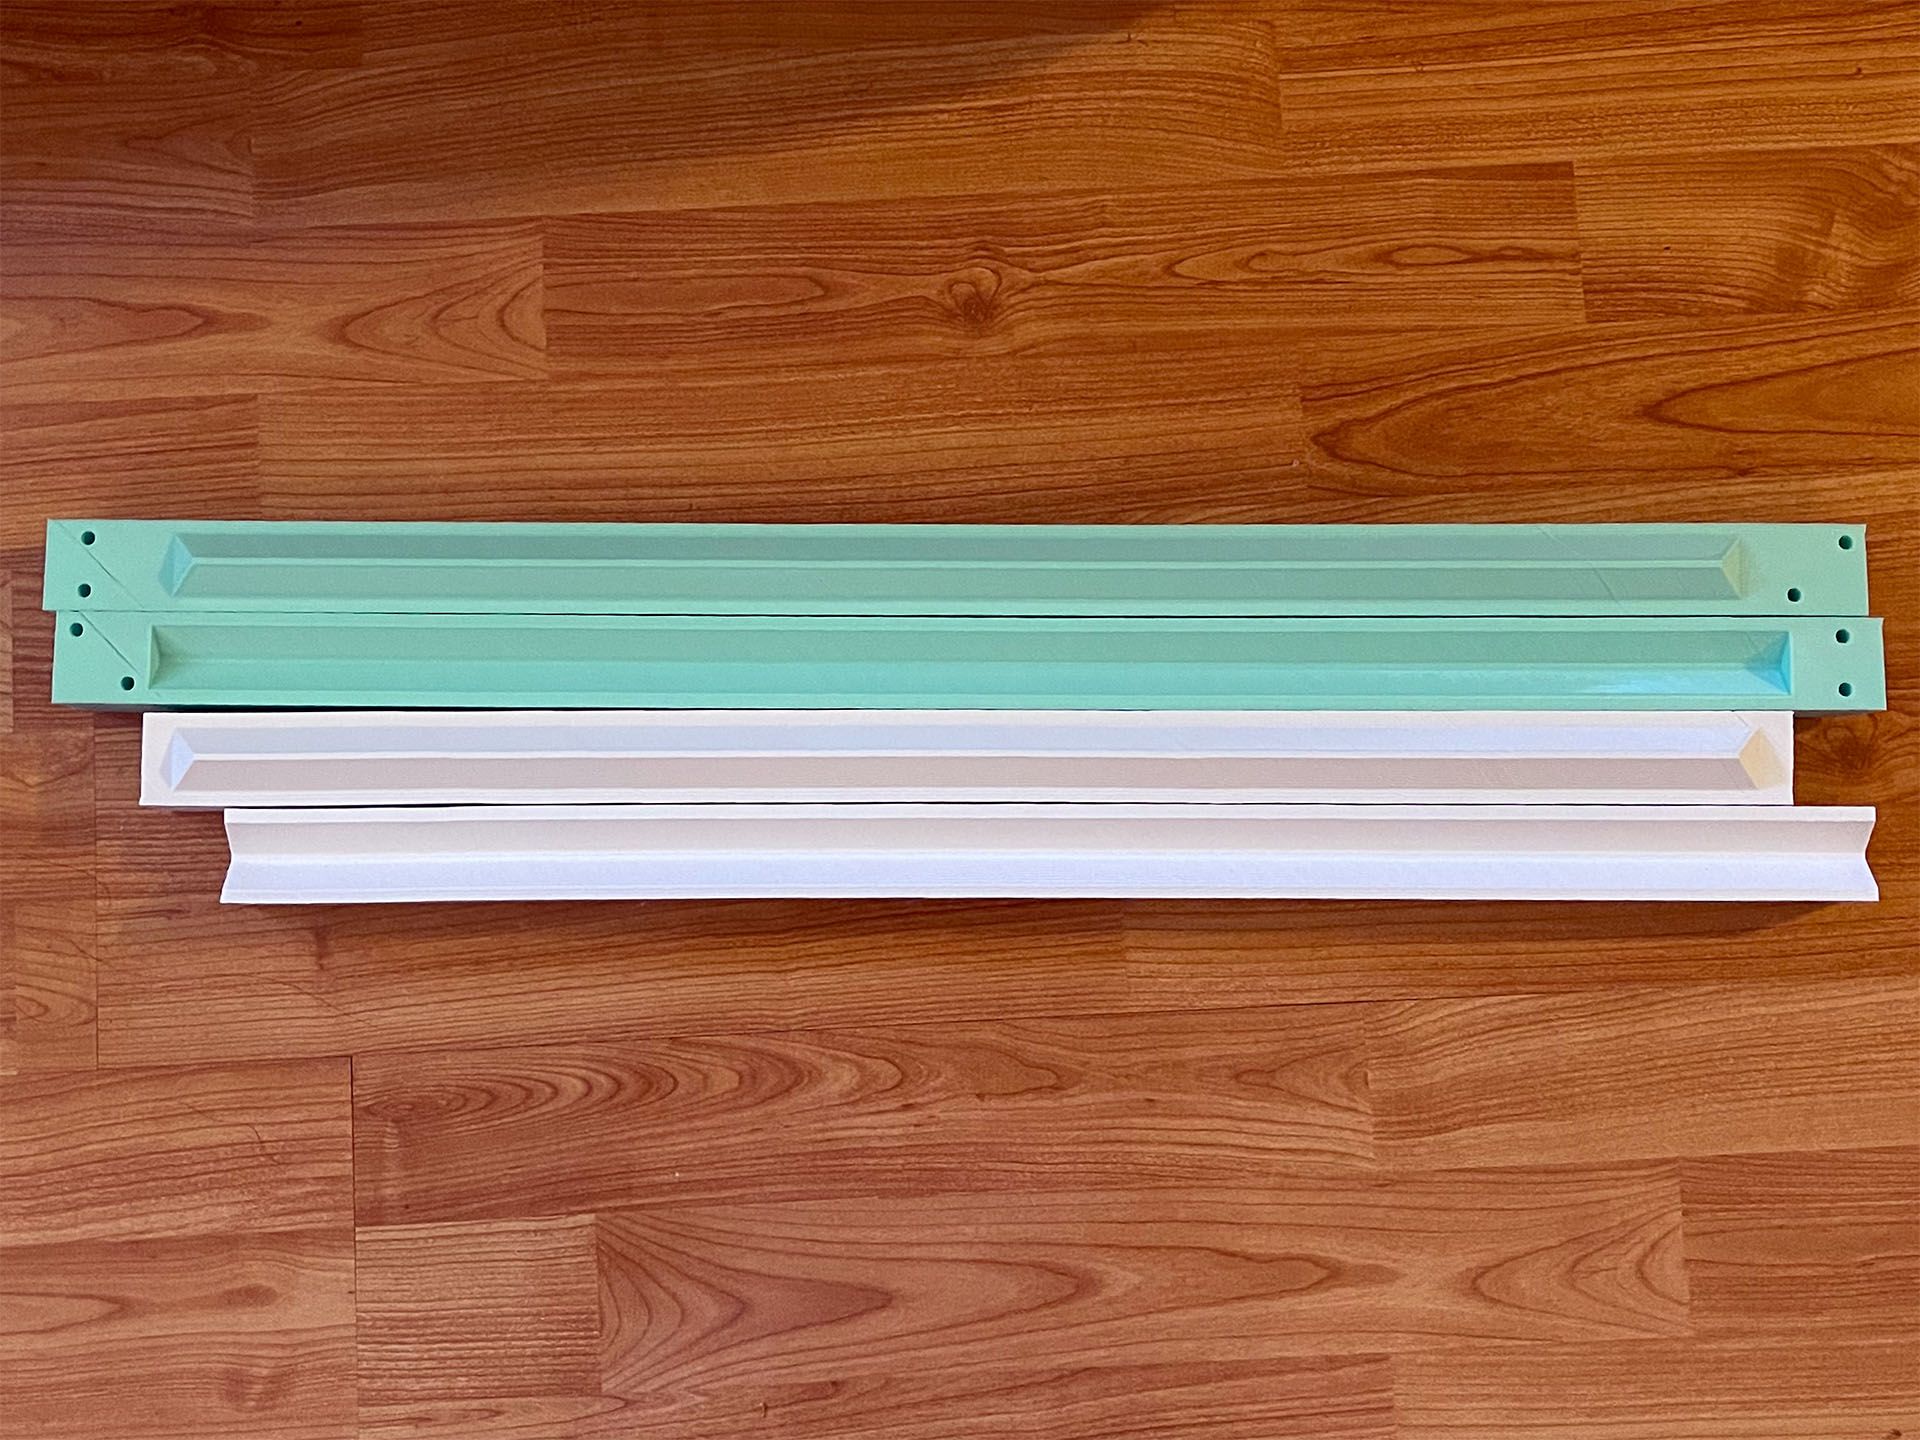
The frame rails came out less than 1mm out of spec on the length but were slightly curved. A quick blast with a heat gun to soften the PLA allowed the rails to be straightened.
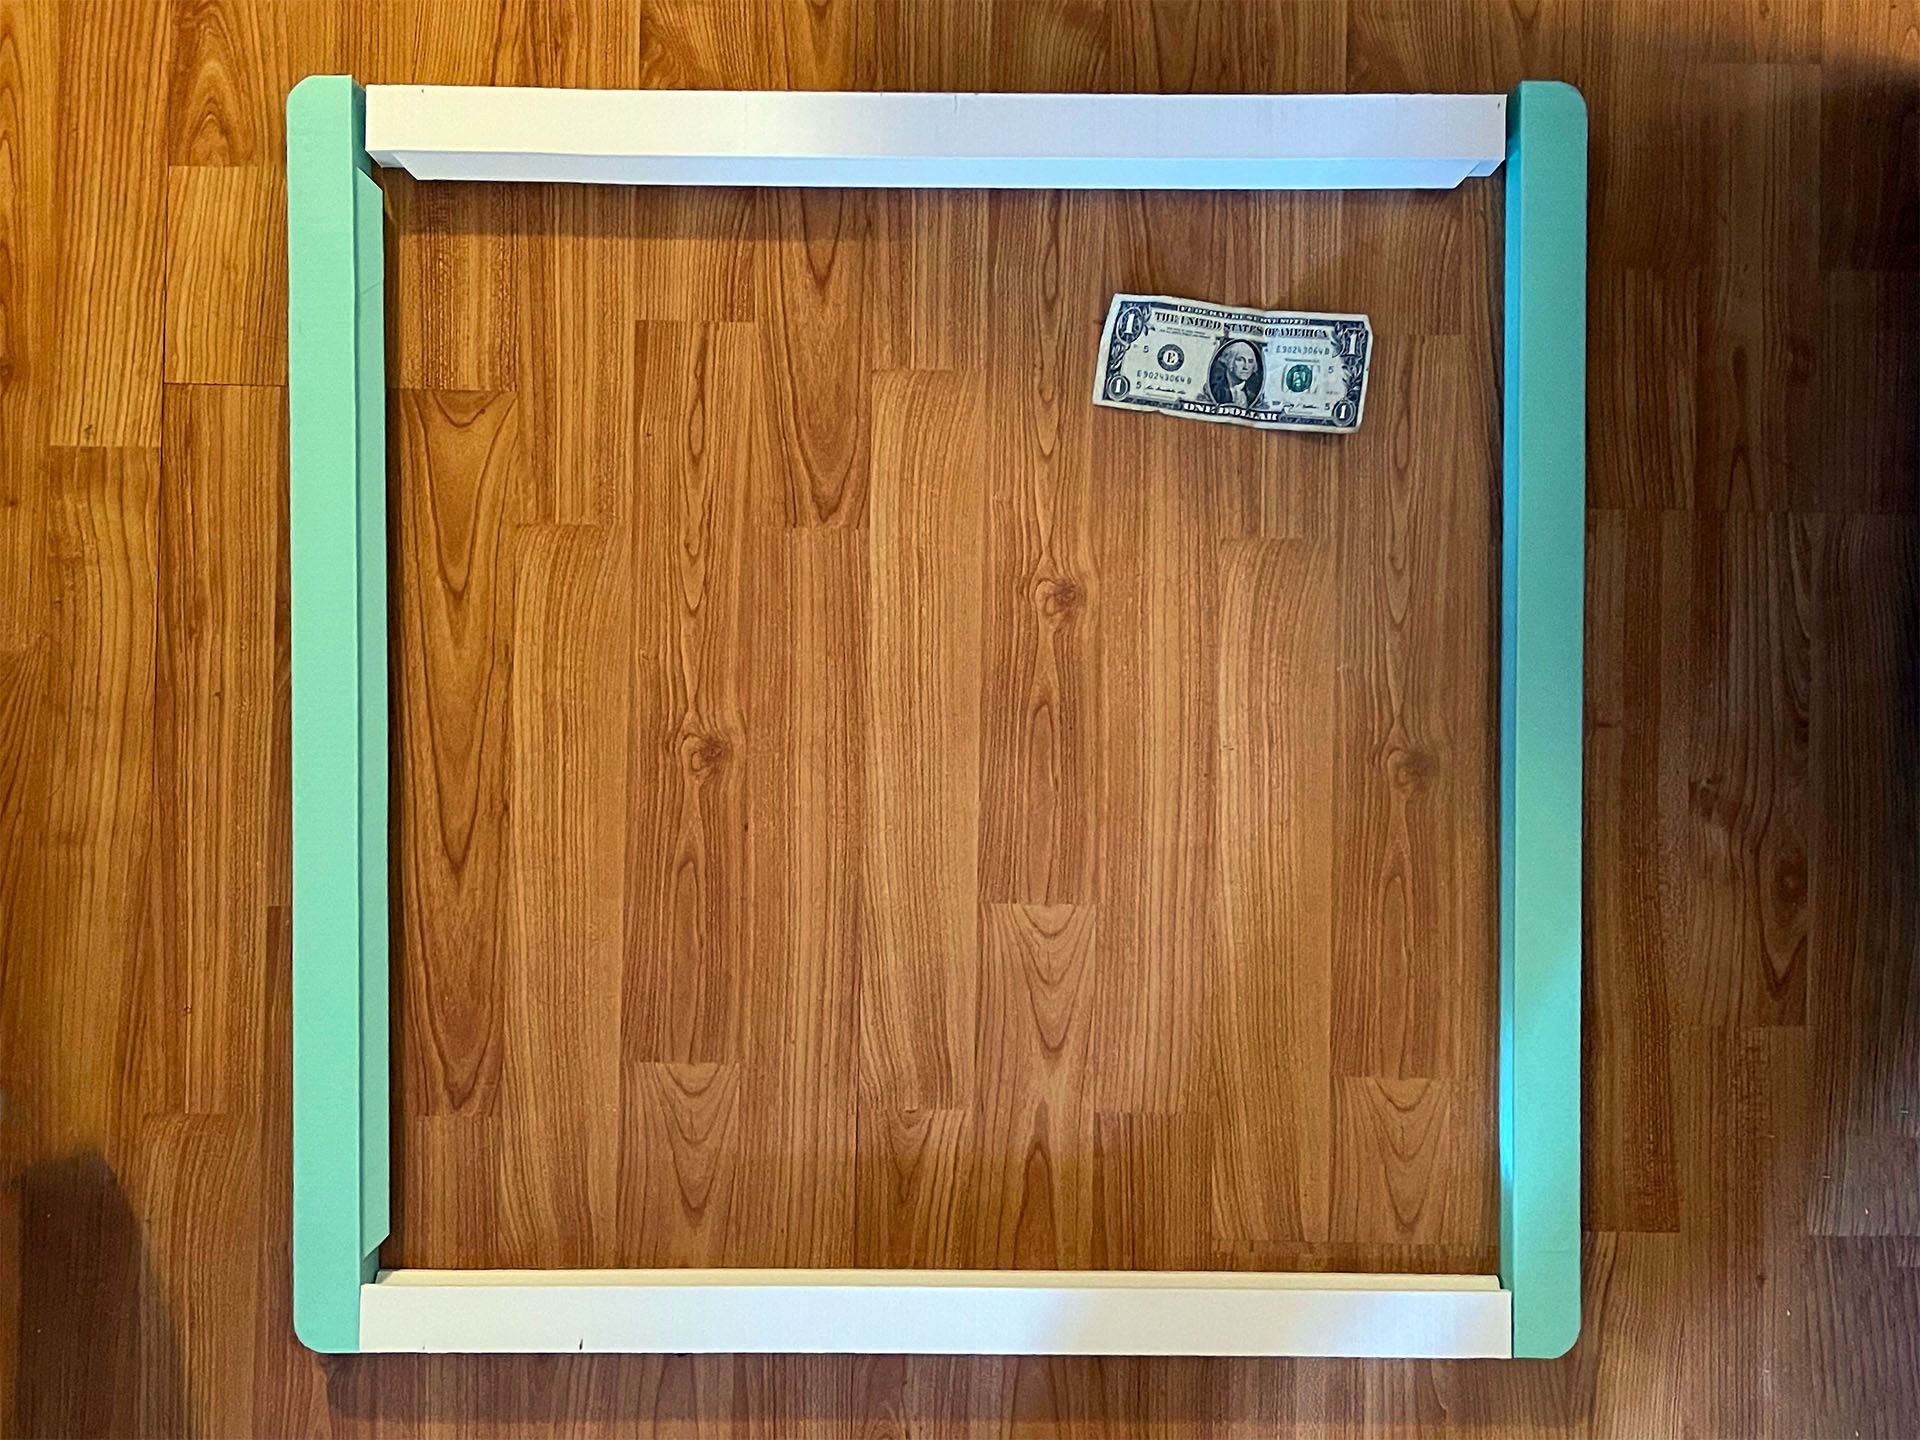
The frame was square after the straightening process. It was at this point the size of the puzzle really hit me.
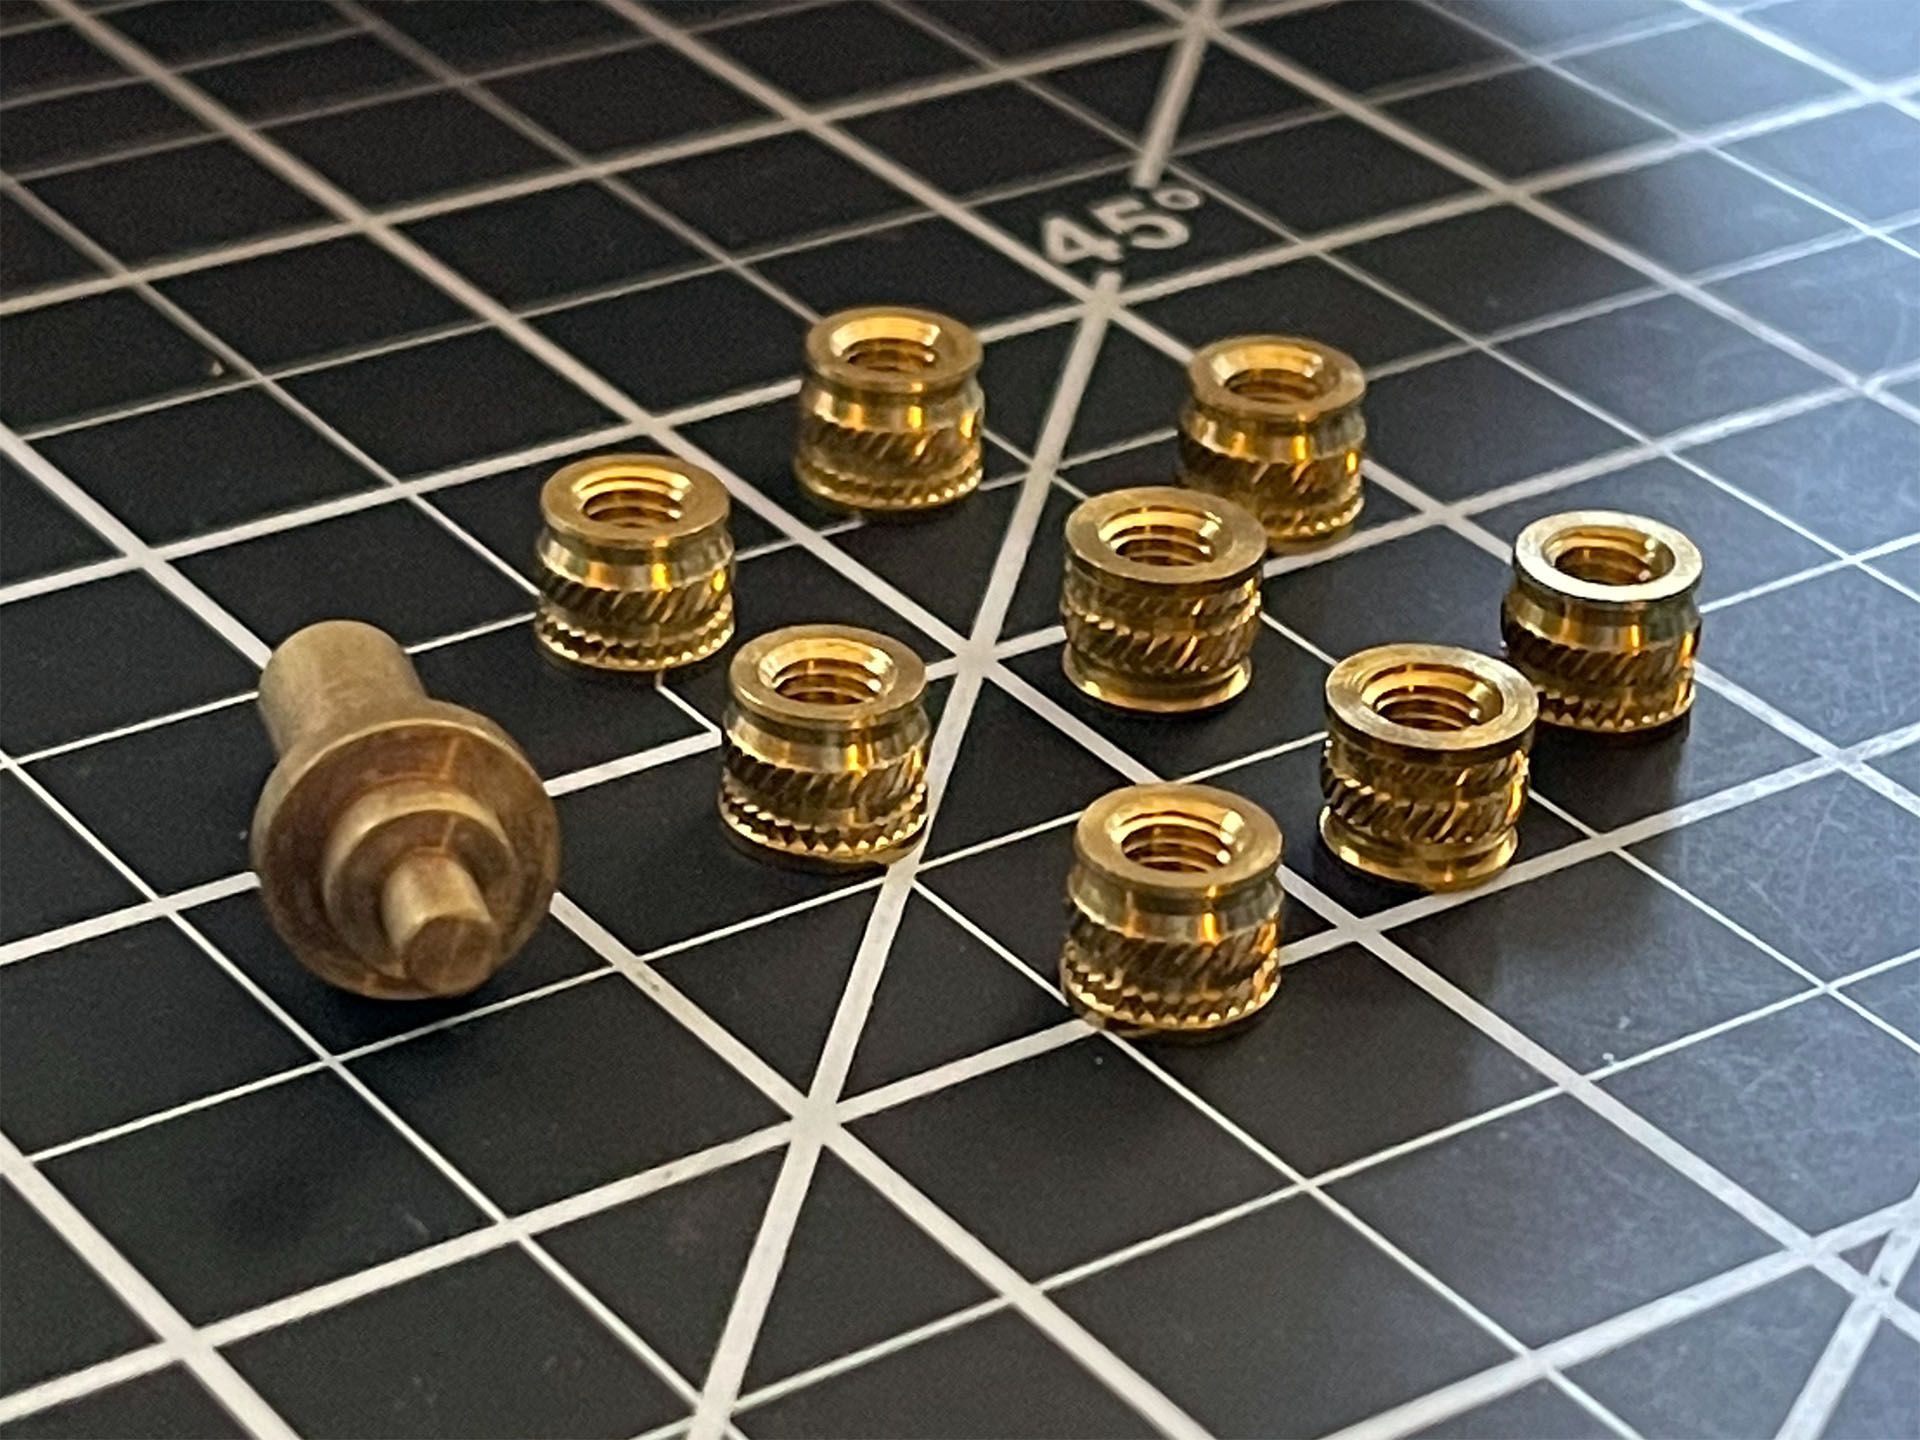
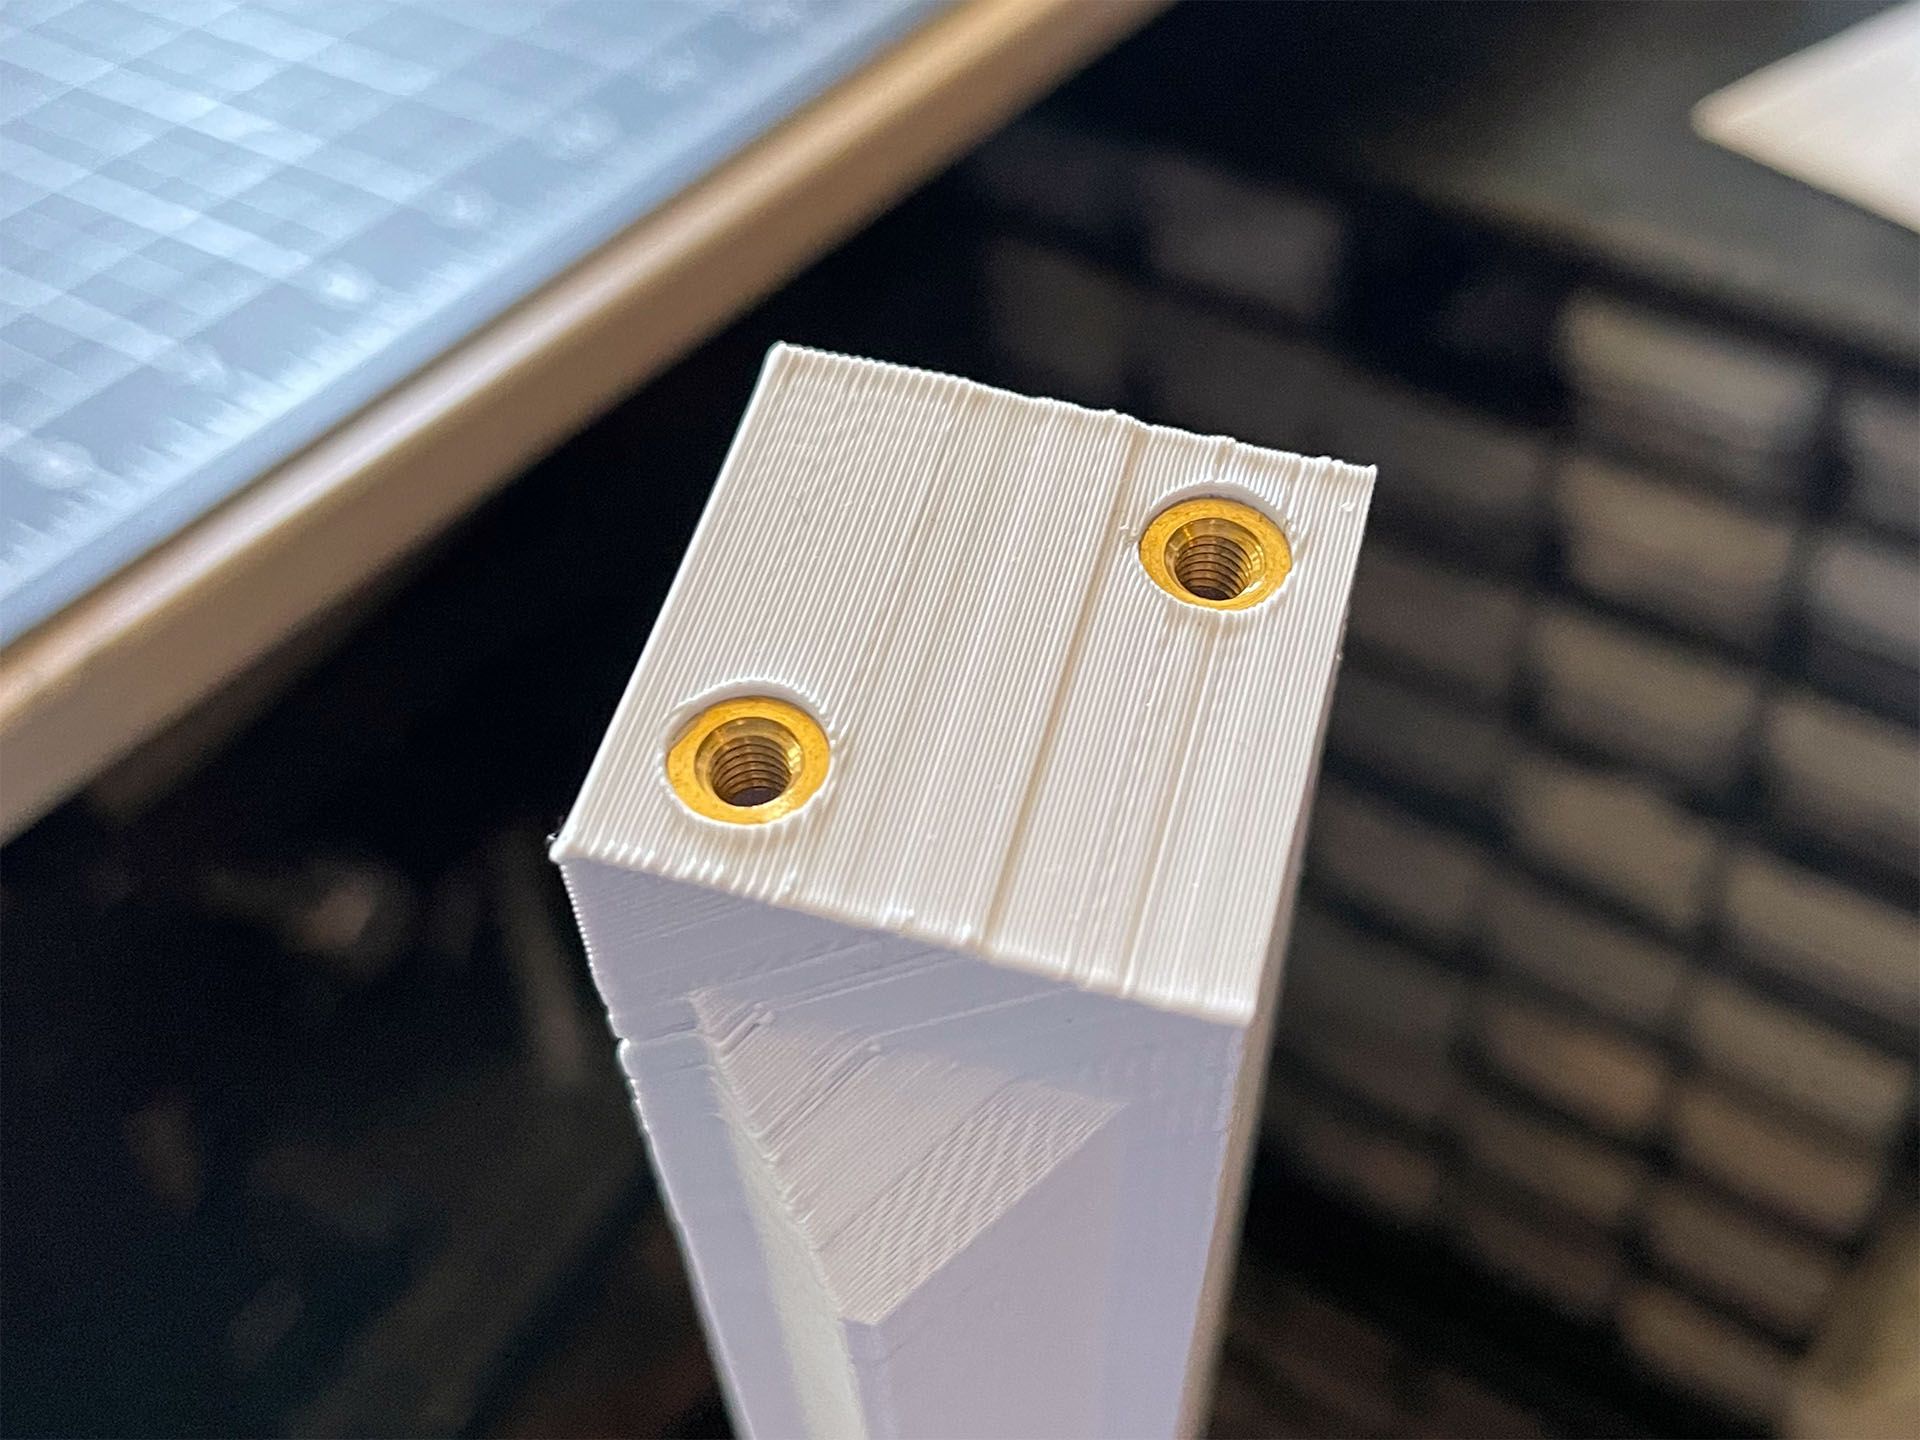
Heat set inserts provide the threads for the socket head screws. These are M5 inserts.

I designed the hole pattern on each rail to be specific for one side of the assembly. This makes it impossible to assemble incorrectly.
This closeup of the rail really slows the layer lines and minor imperfections, which isn’t great for a presentation piece.
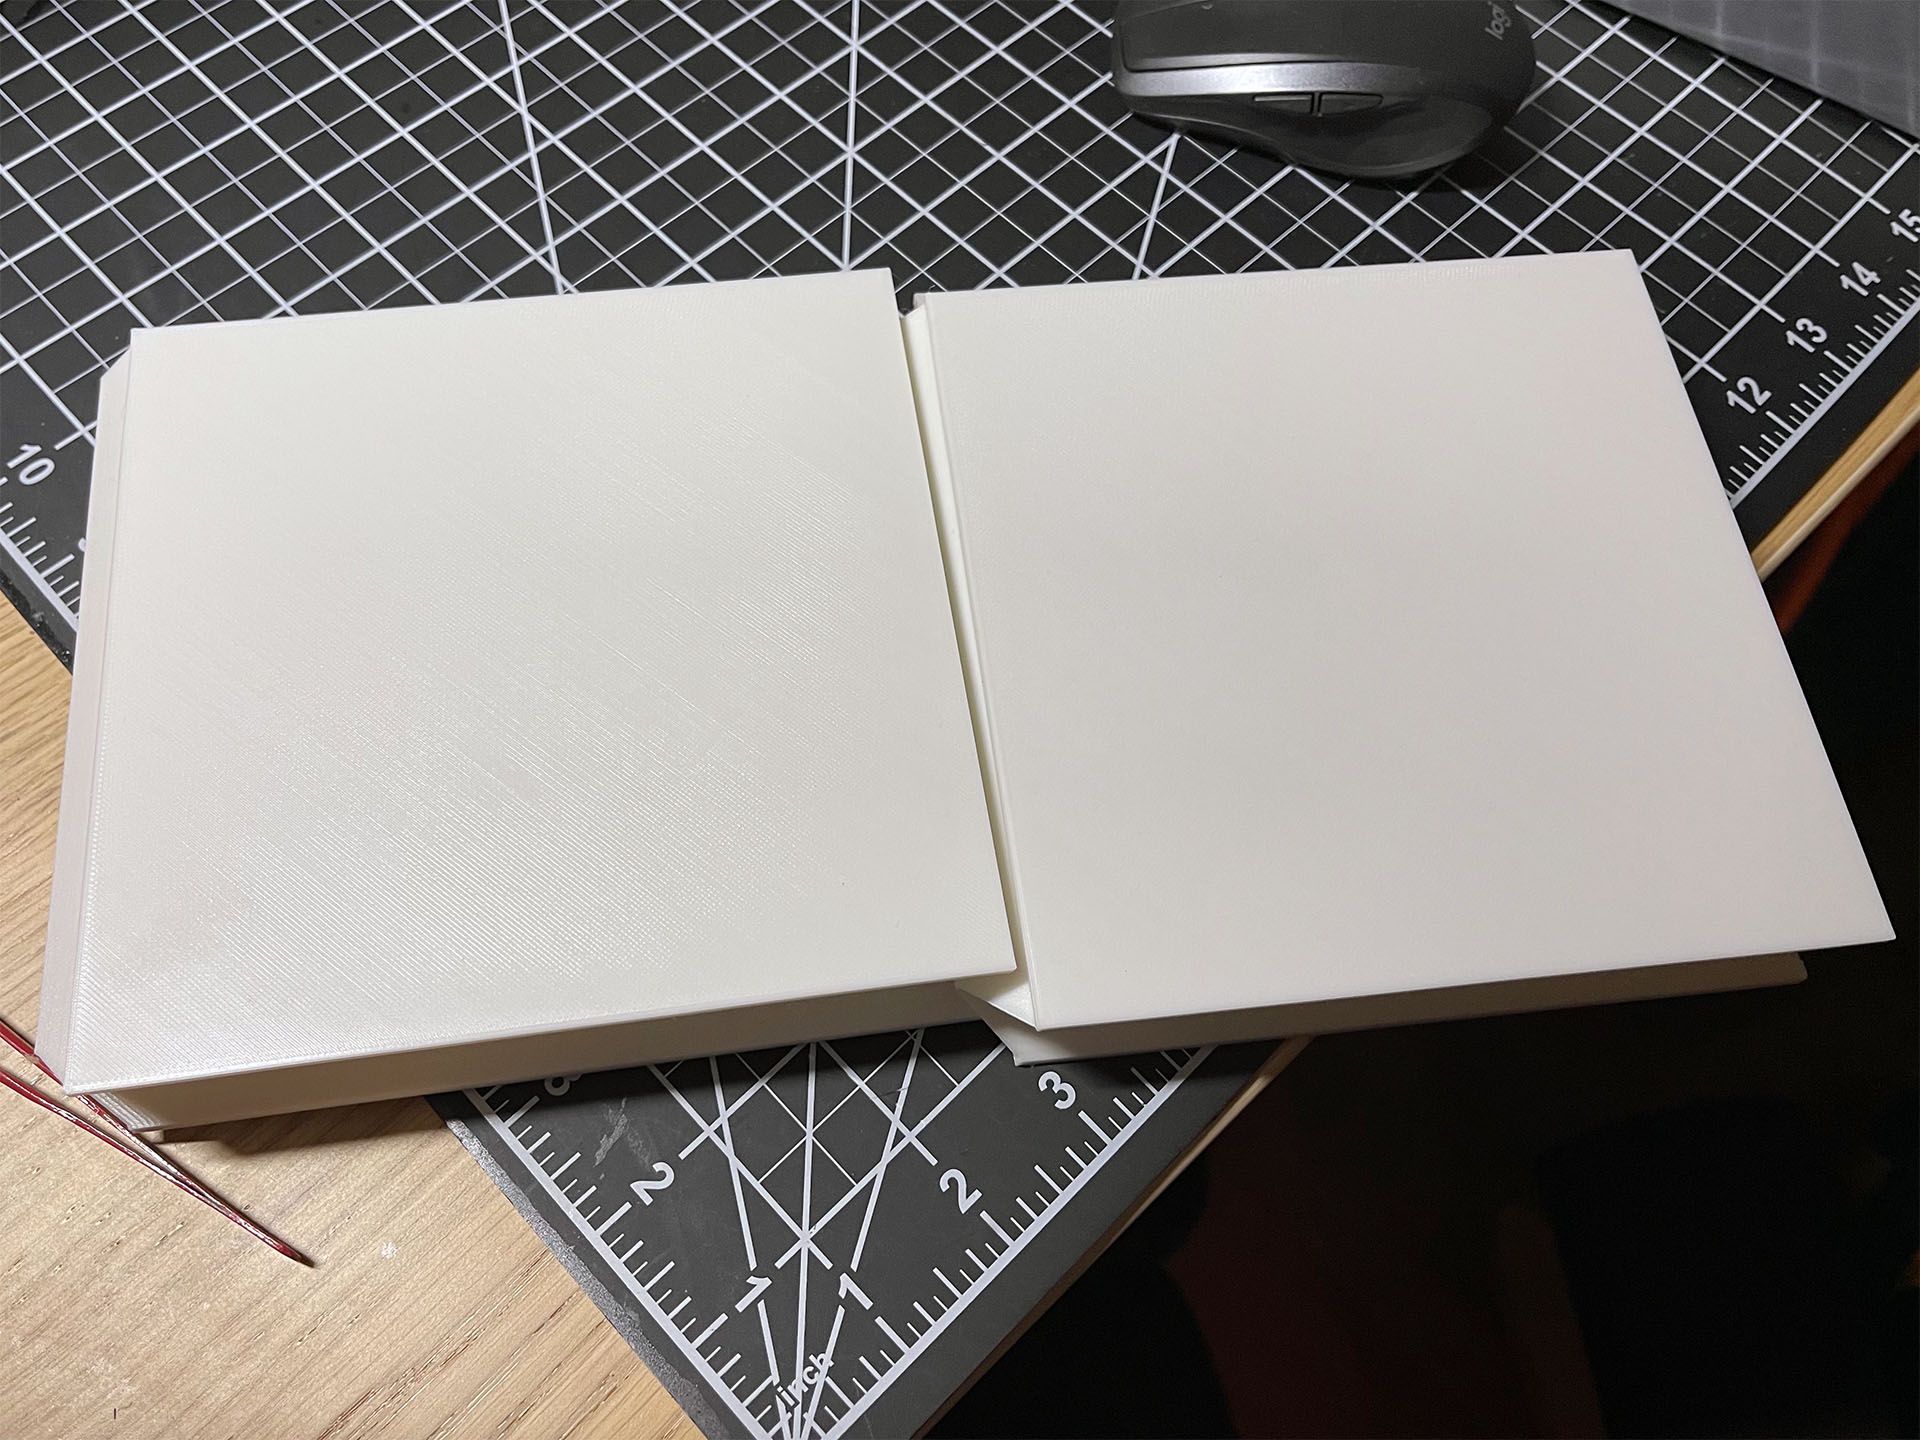
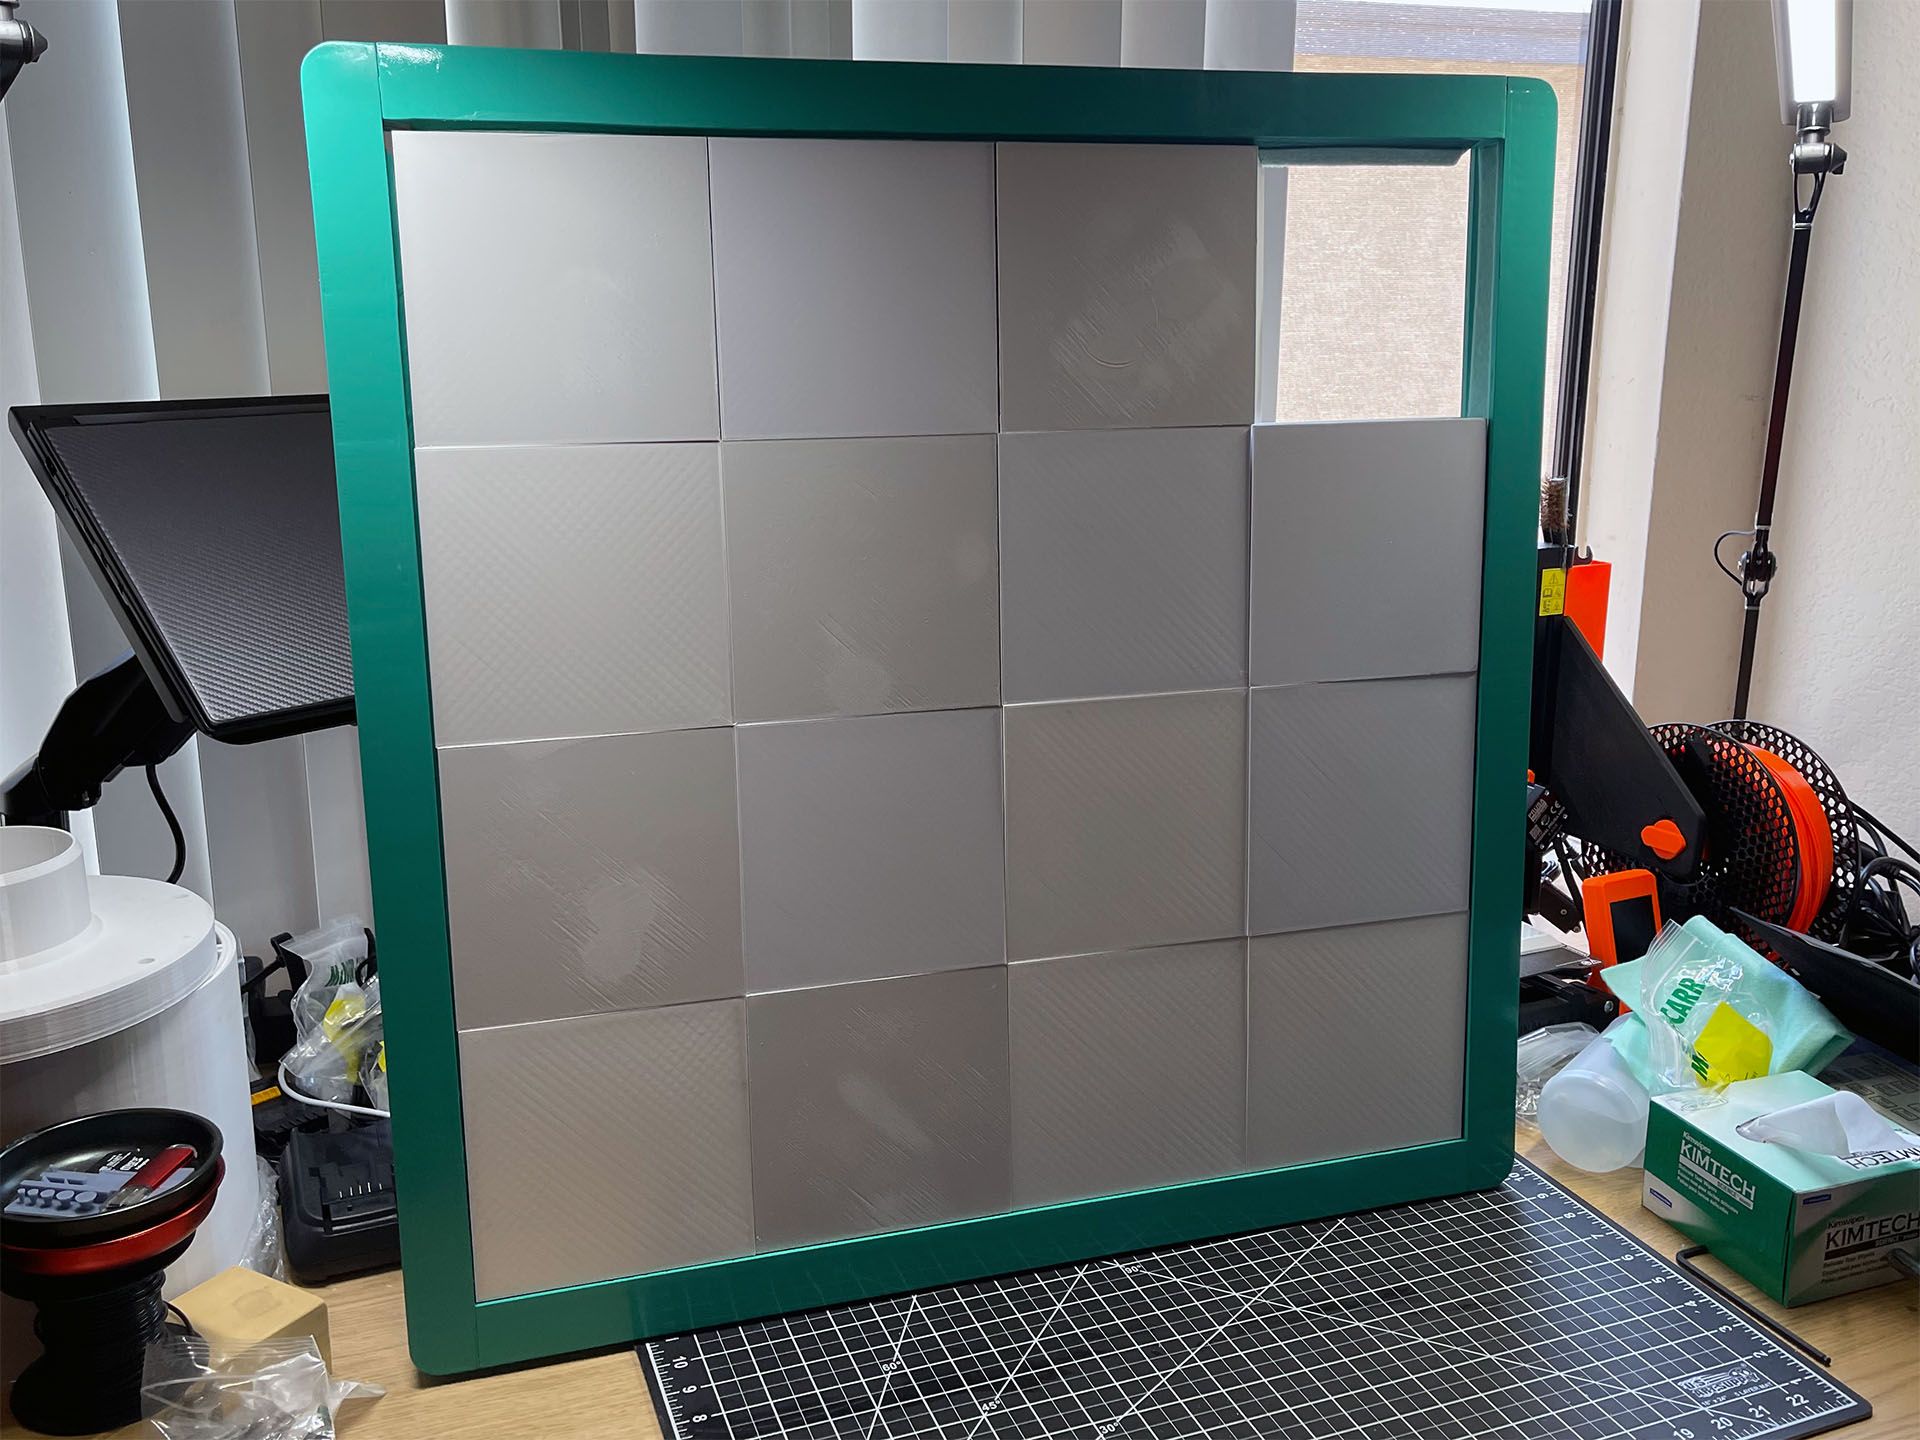
A test fit with 4 of the puzzle pieces shows the slight color mismatches from different spools of filament.
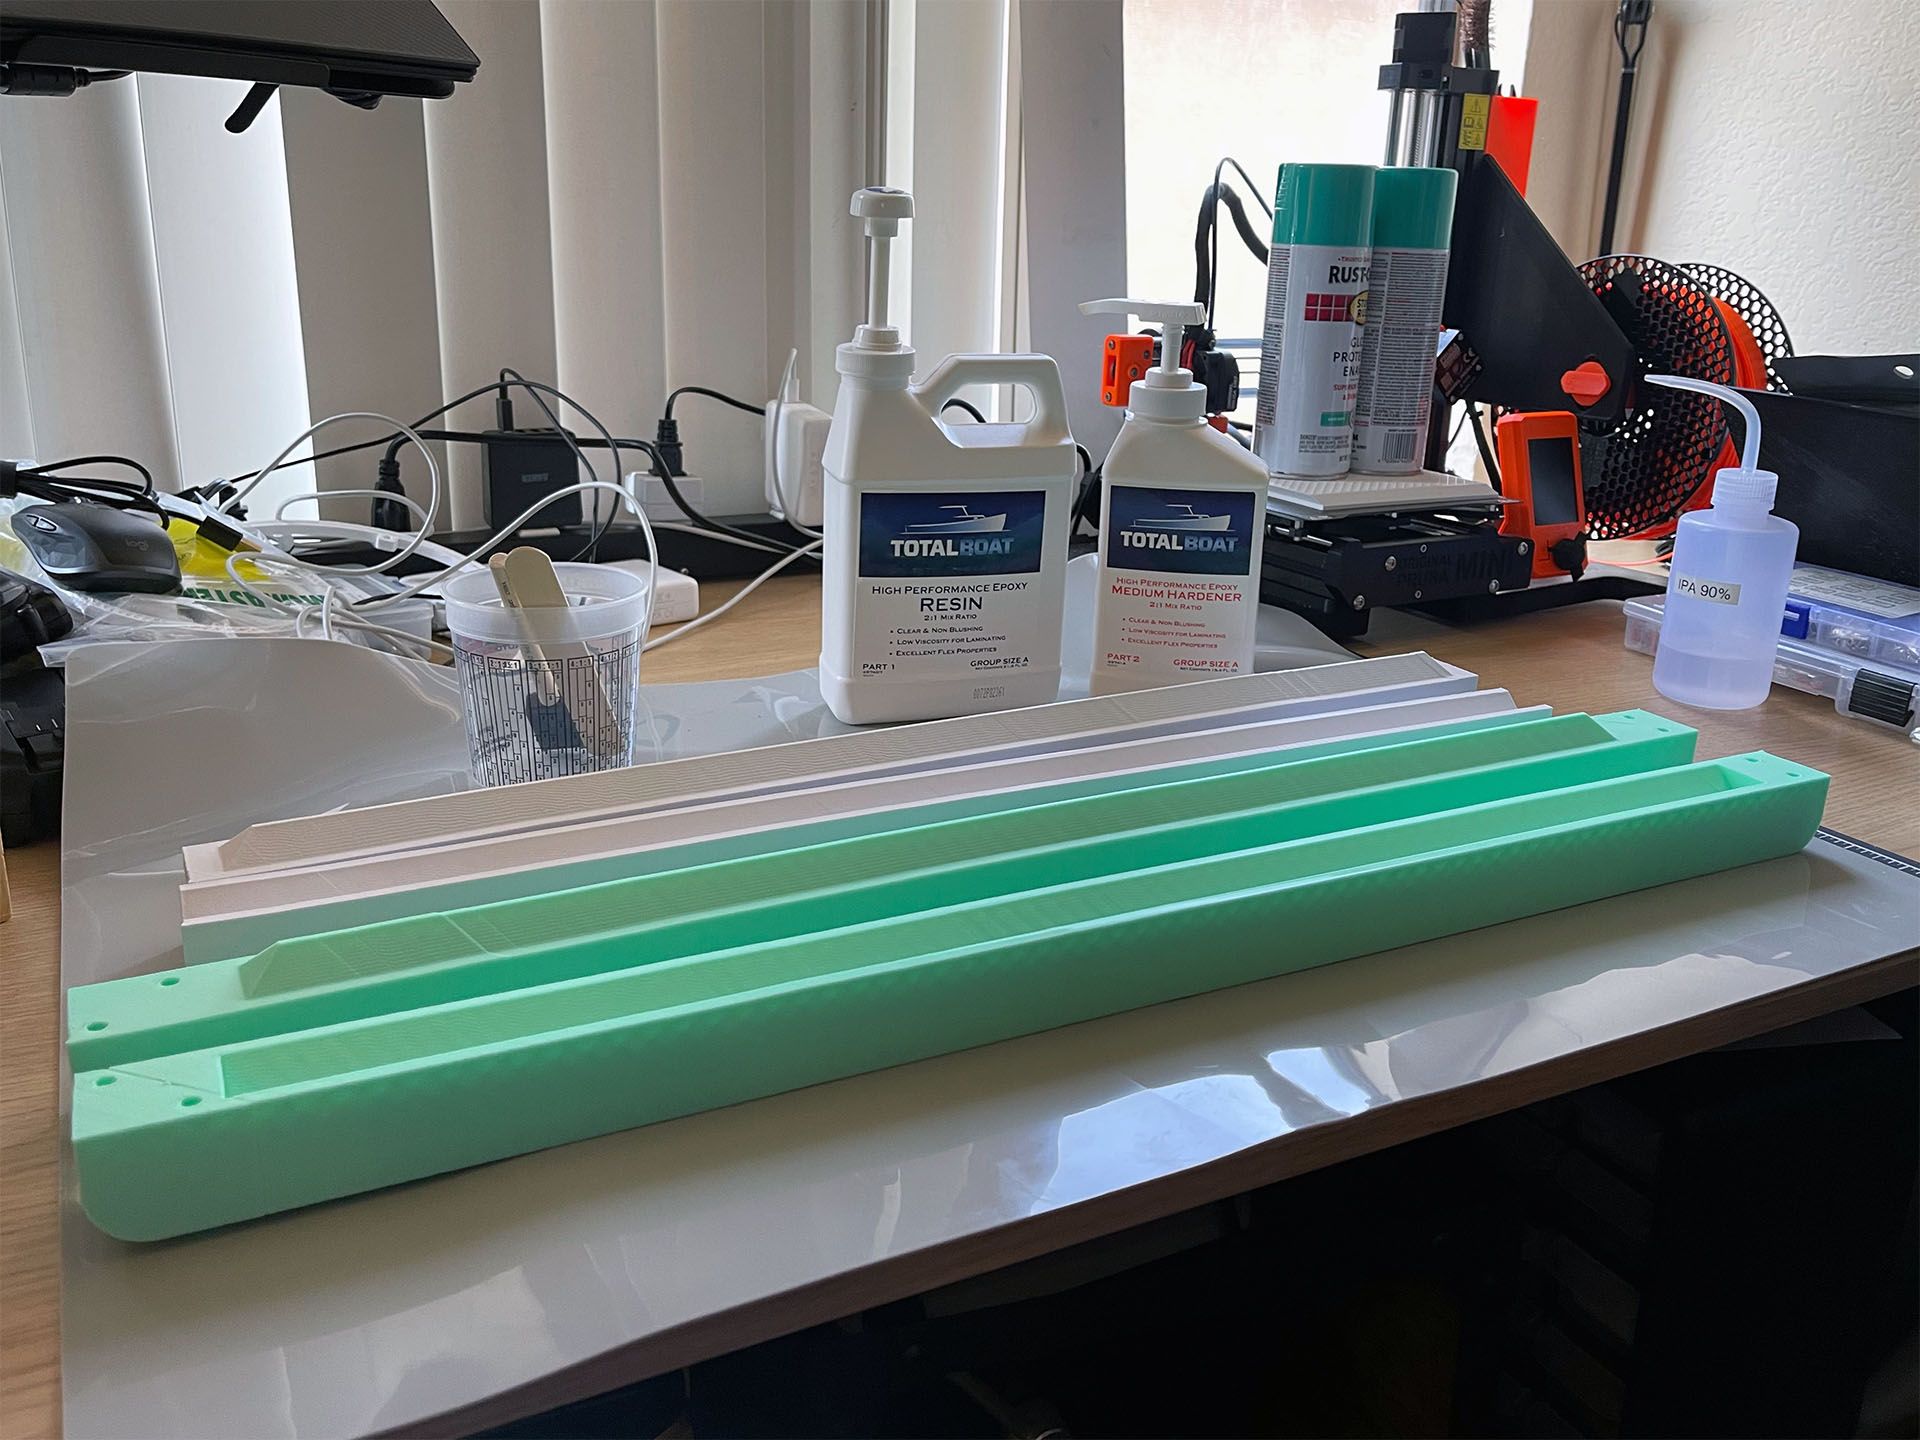
Since this was a presentation piece, it would require reinforcement as well as a high-quality finish. The frame rails were coated in Total Boat High Performance Epoxy. Originally, I had planned to add a strip of fiber glass to make the rail stronger, but testing pieces showed it wasn’t necessary.
After a few coats of epoxy, the rails were allowed to cure for 48 hours.
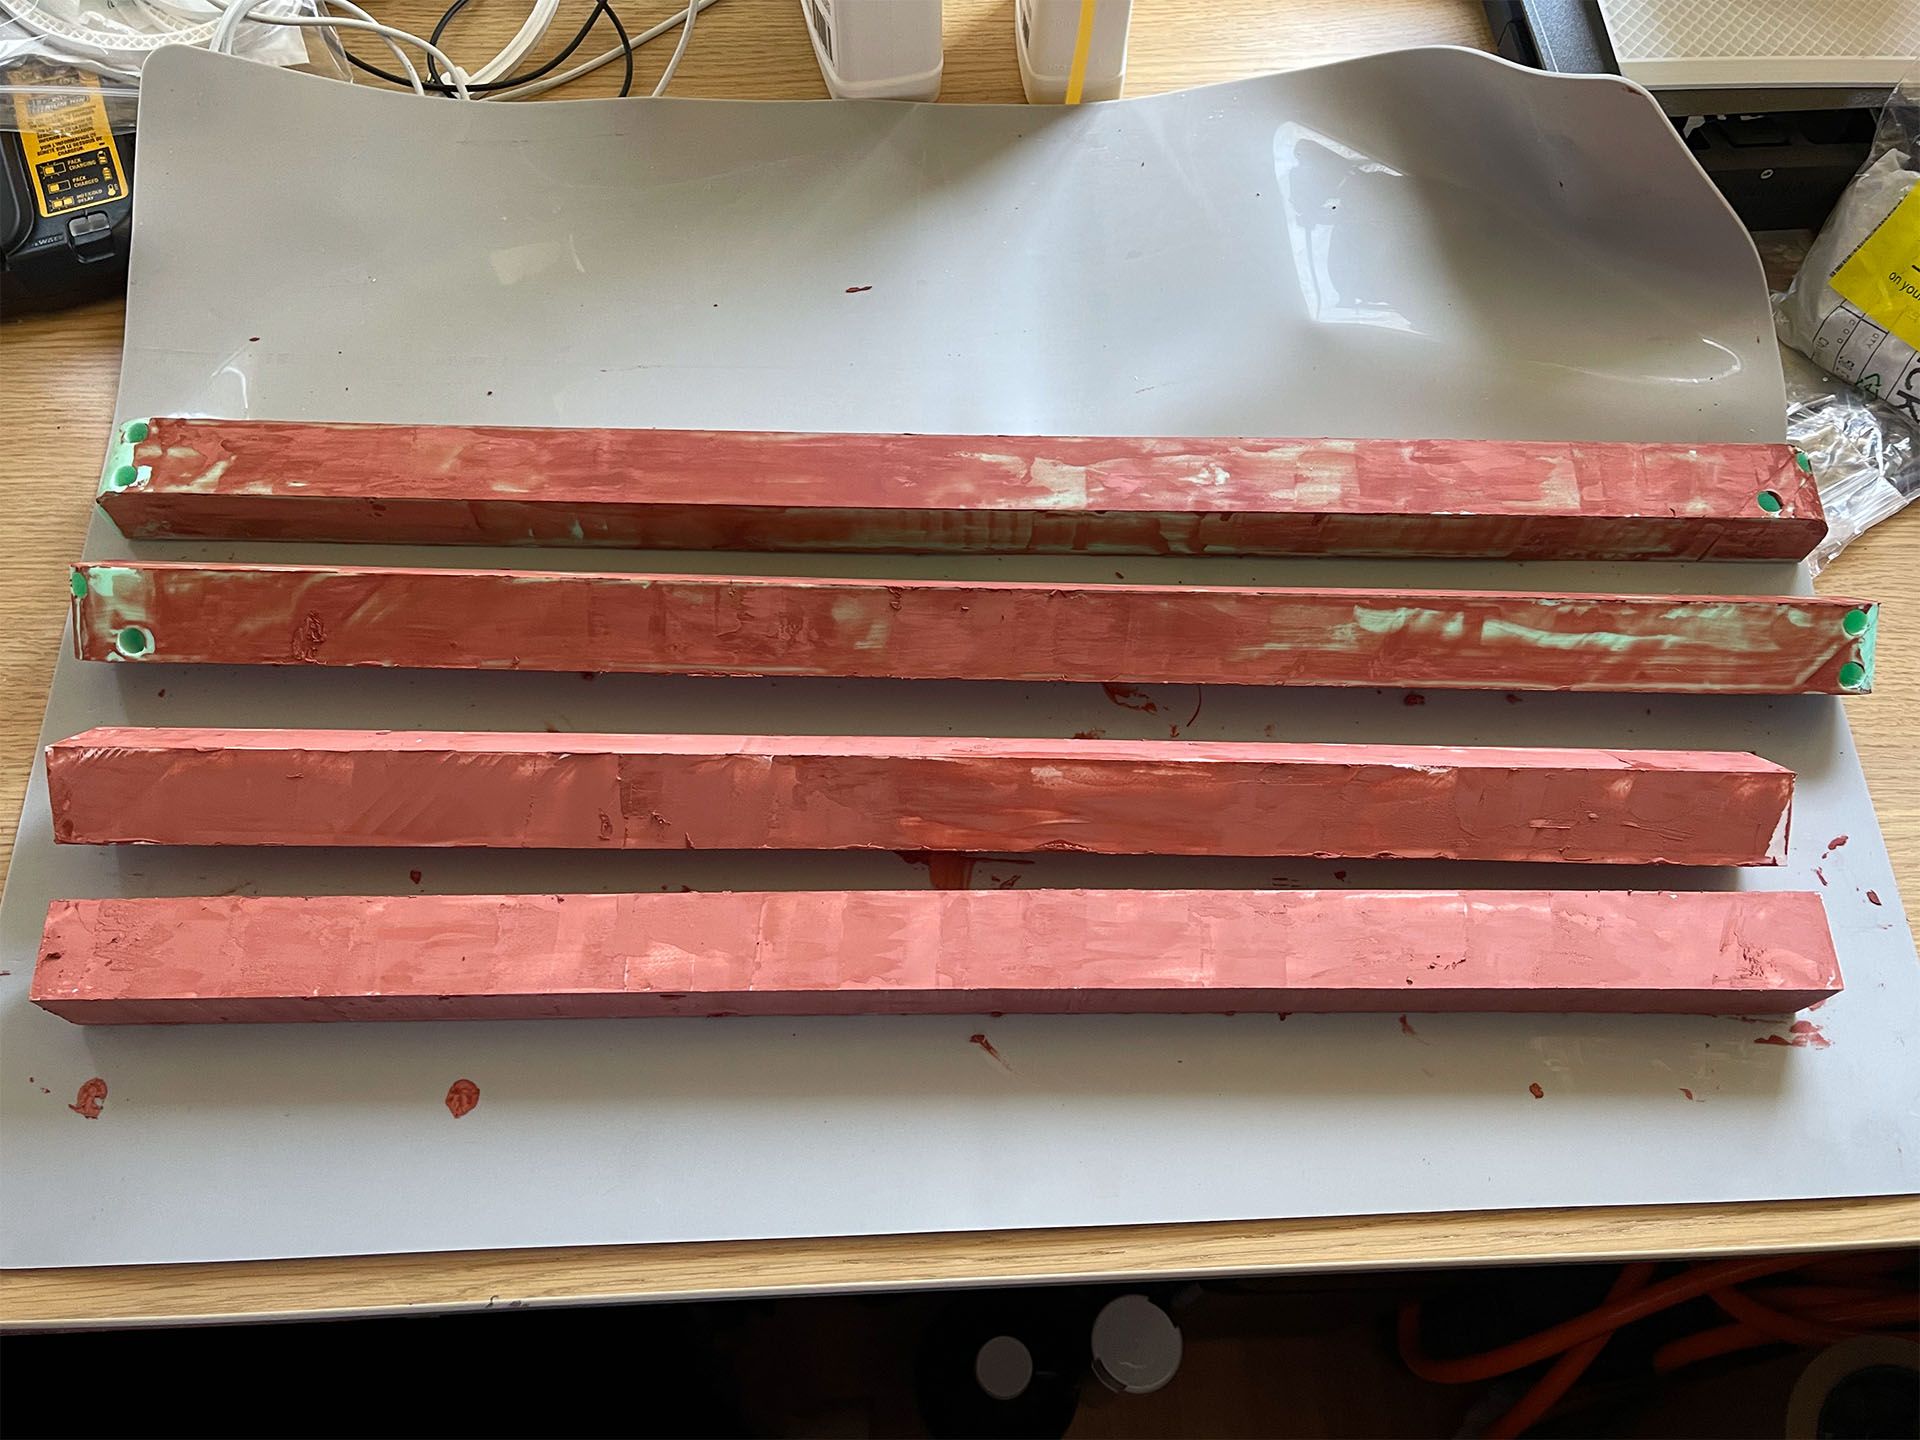
A layer of glazing putty filled in any low spots and layer line inconsistencies. It’s critical to allow the putty to fully cure before starting to sand.
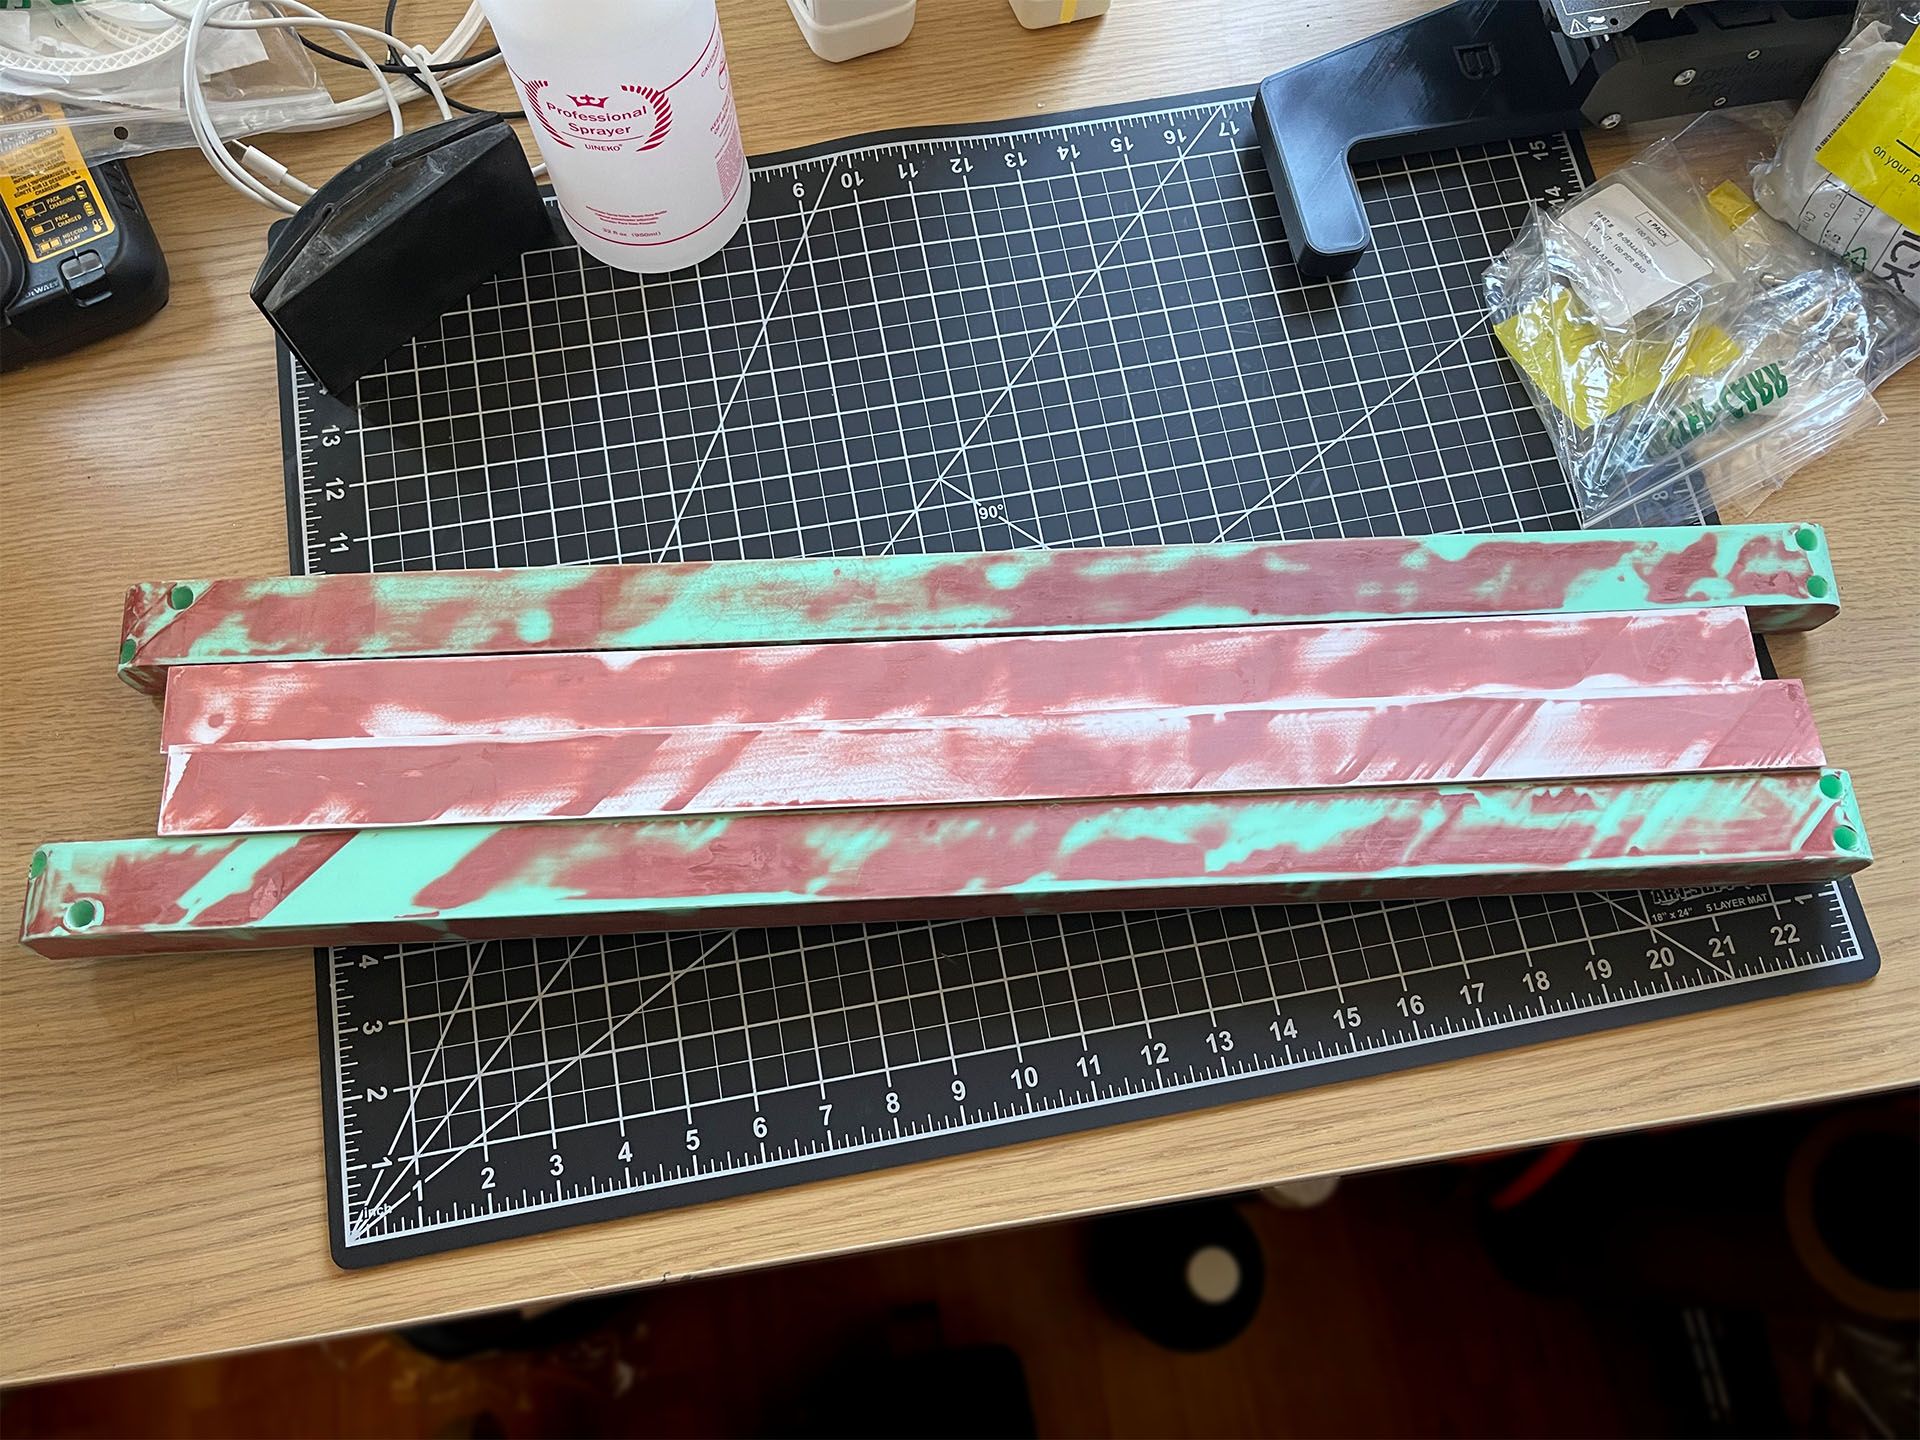
The rails were sanded smooth using 240 grit followed by 400 grit. The resulting finish was smooth enough for the primer.

Fully assembled, the heft and size of the puzzle was unexpected. Four kg of PLA is quite a bit.
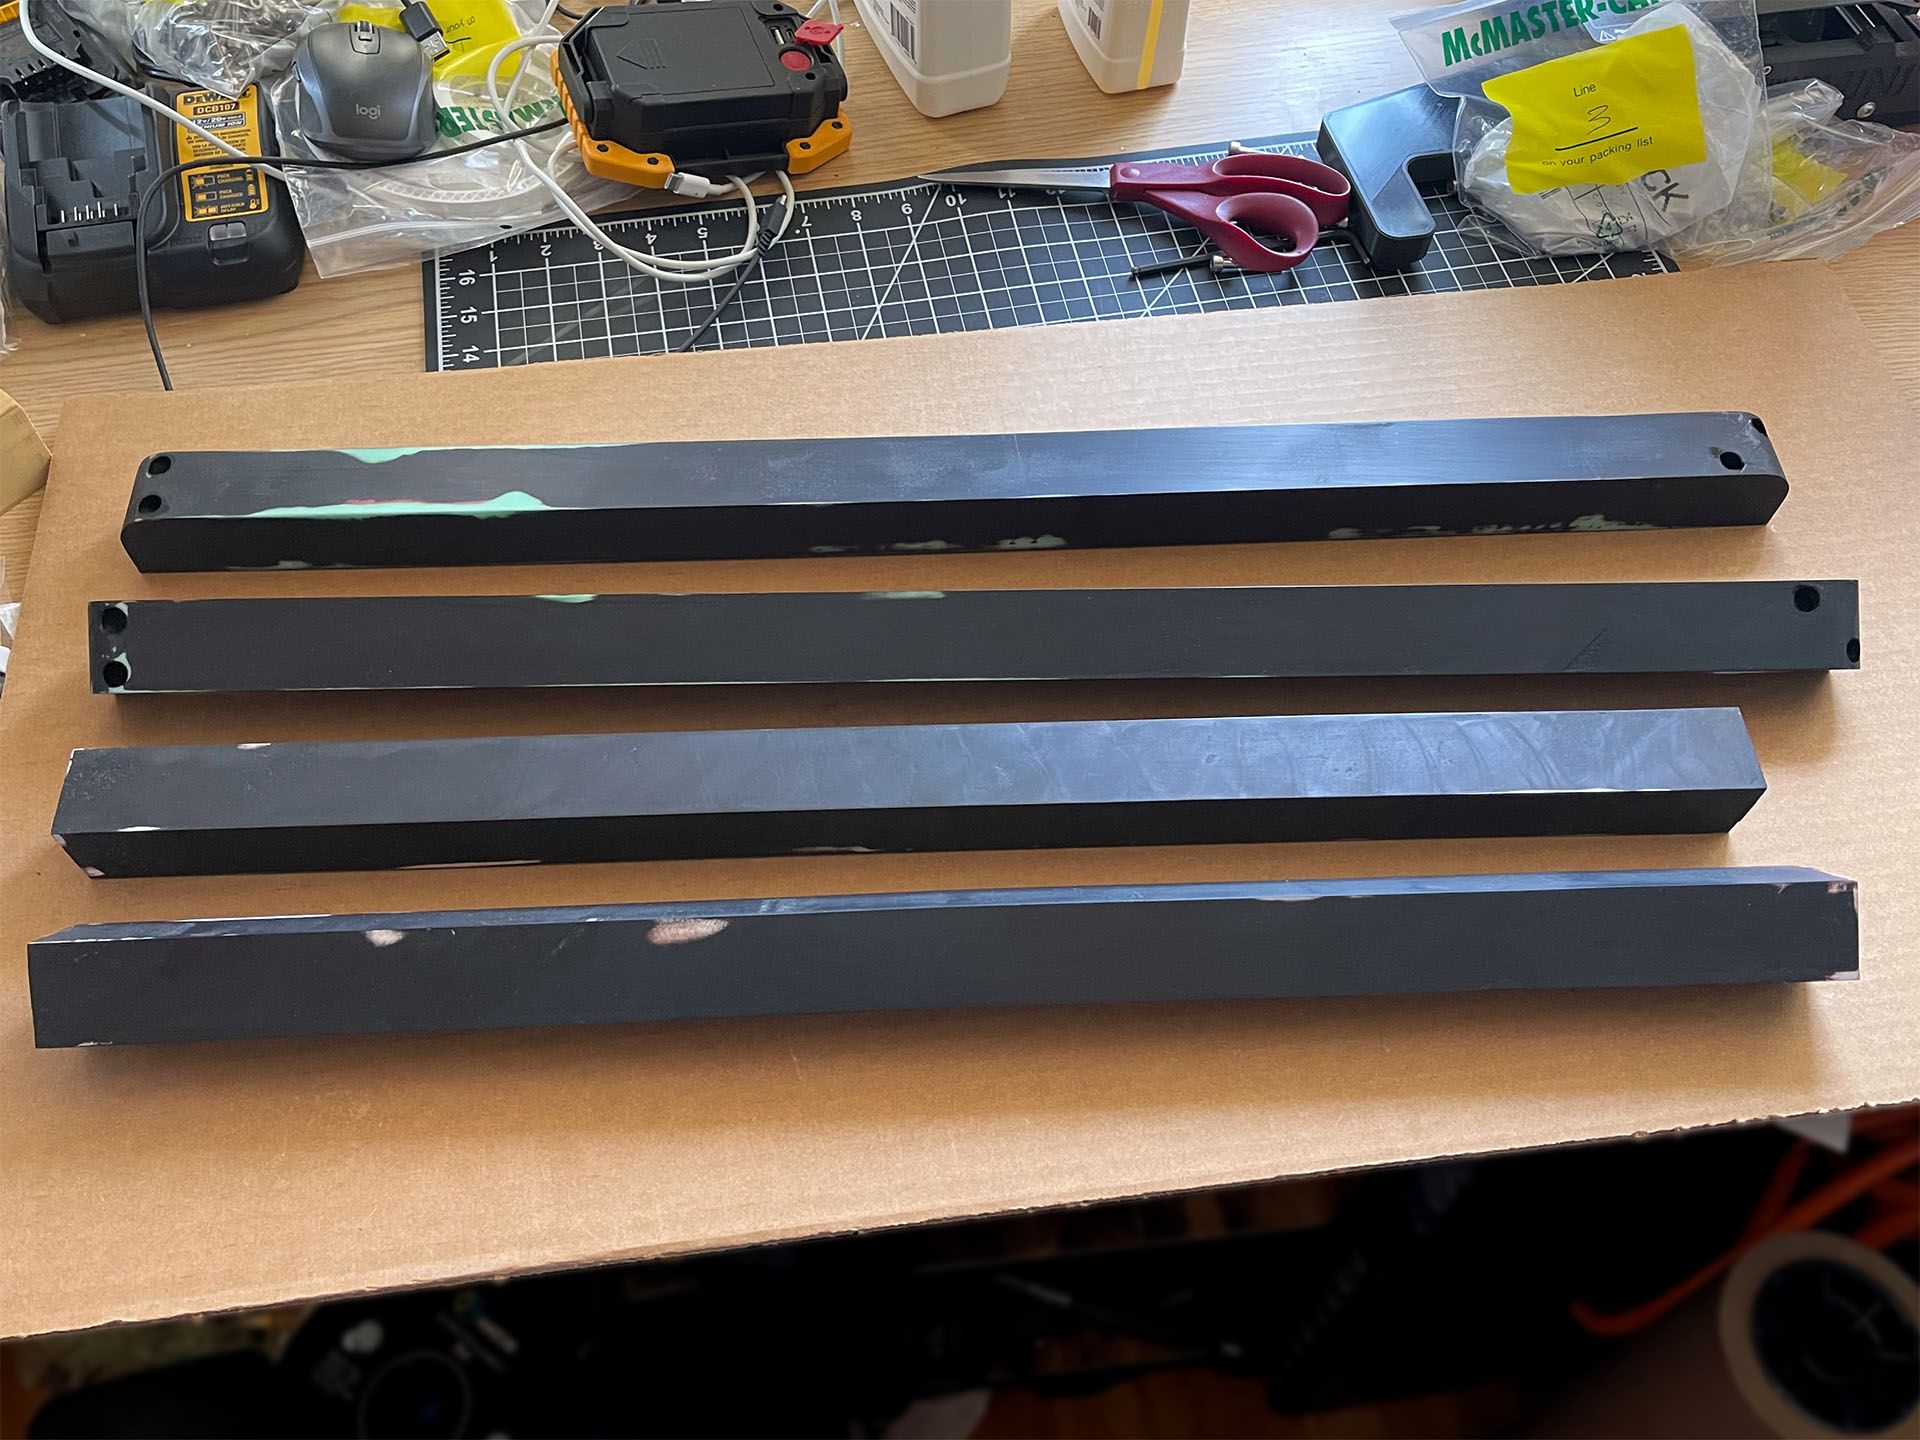
A couple coats of filler primer fills in any minor imperfections. After a light sanding with 600 grit sandpaper the rails are ready for paint.
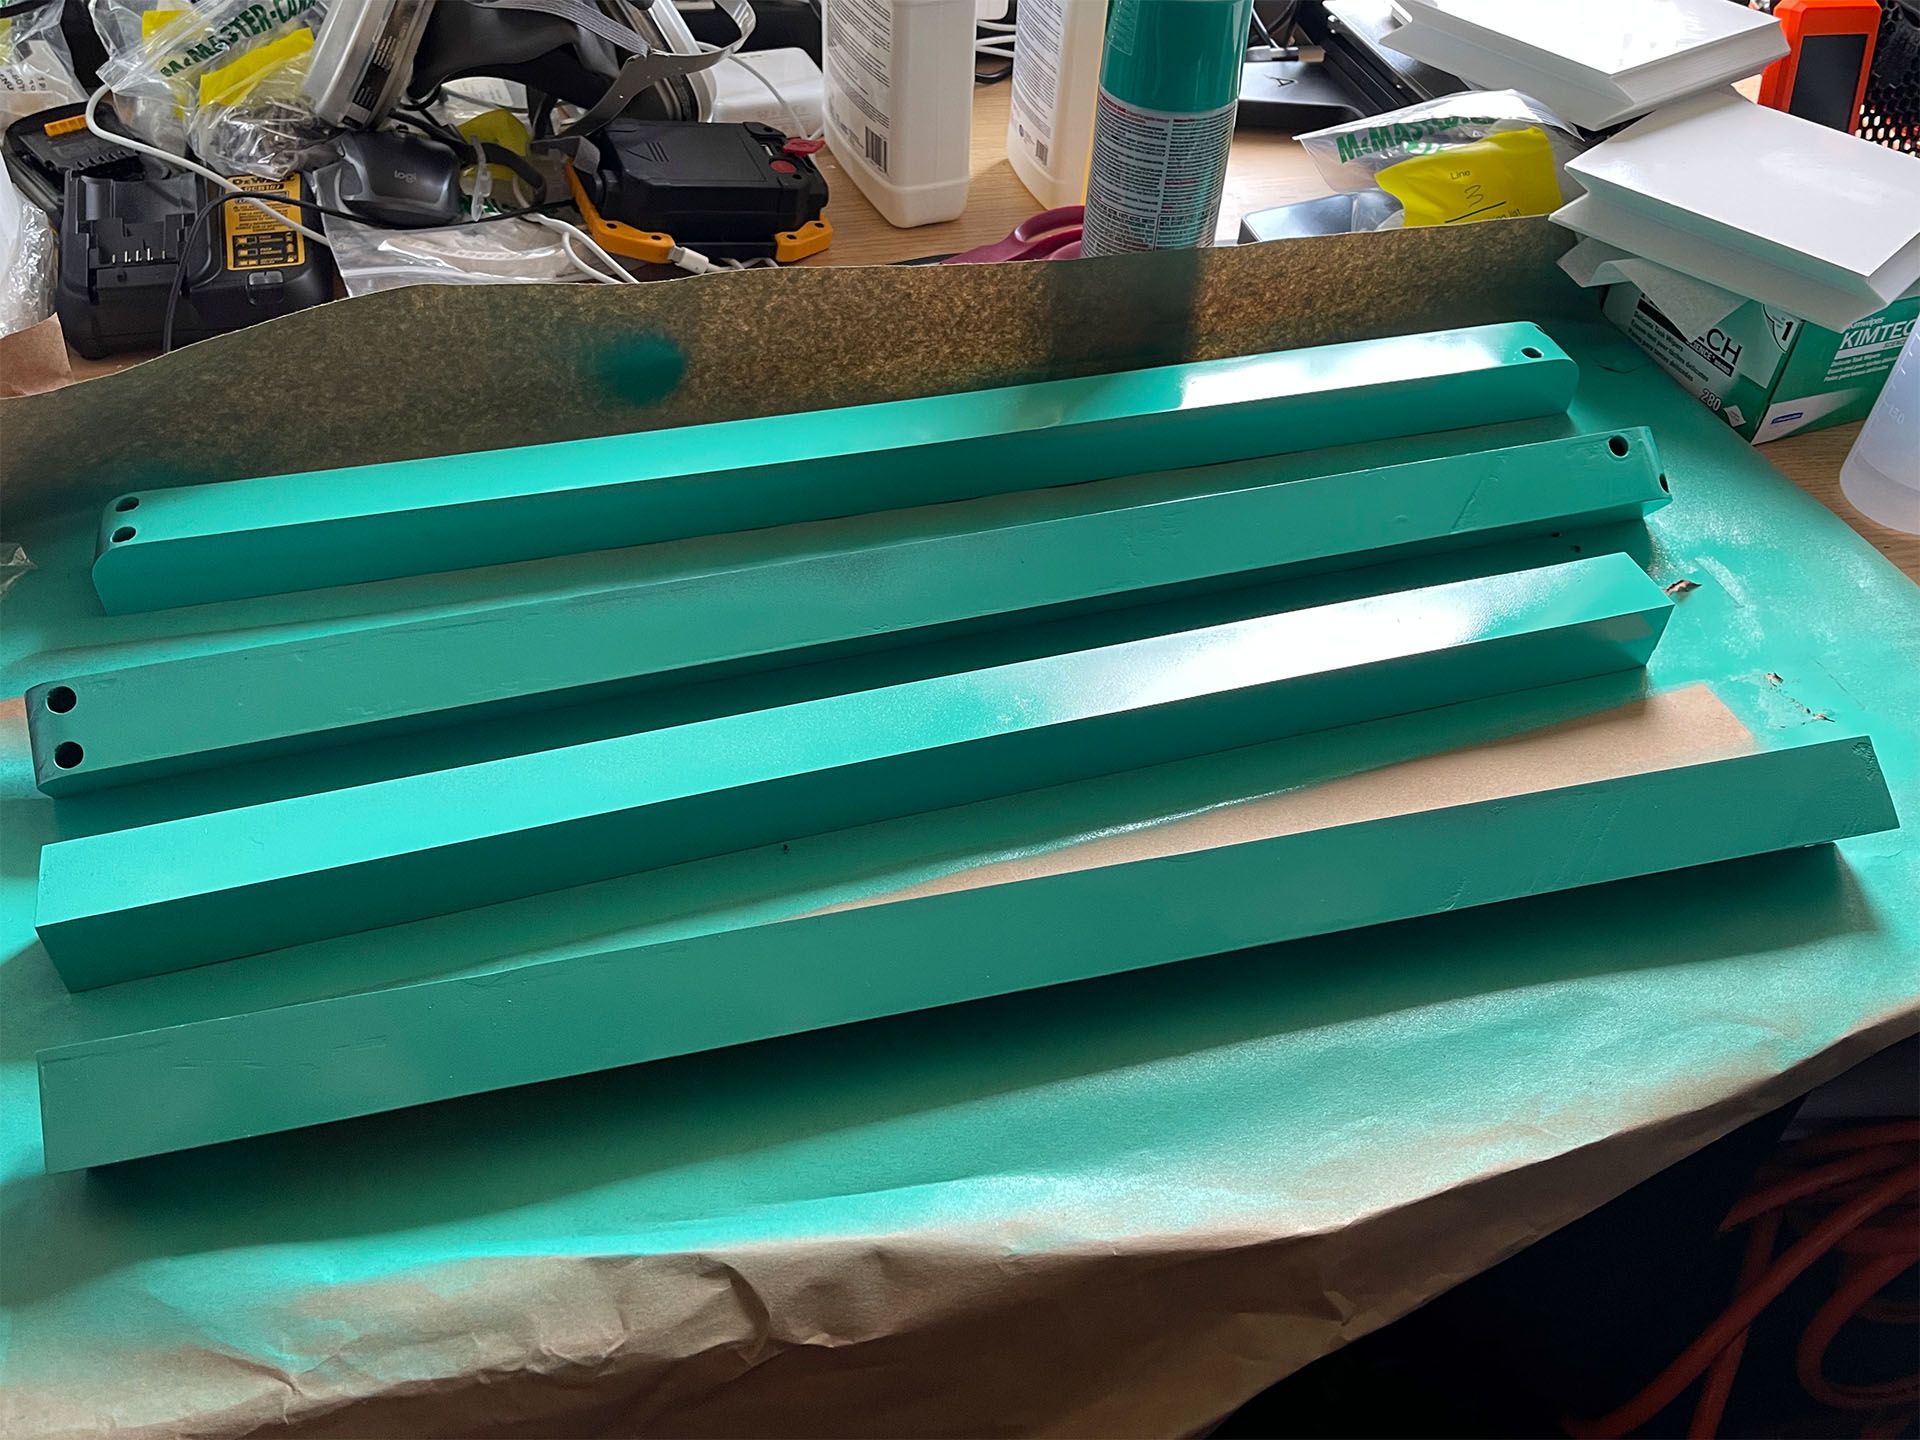
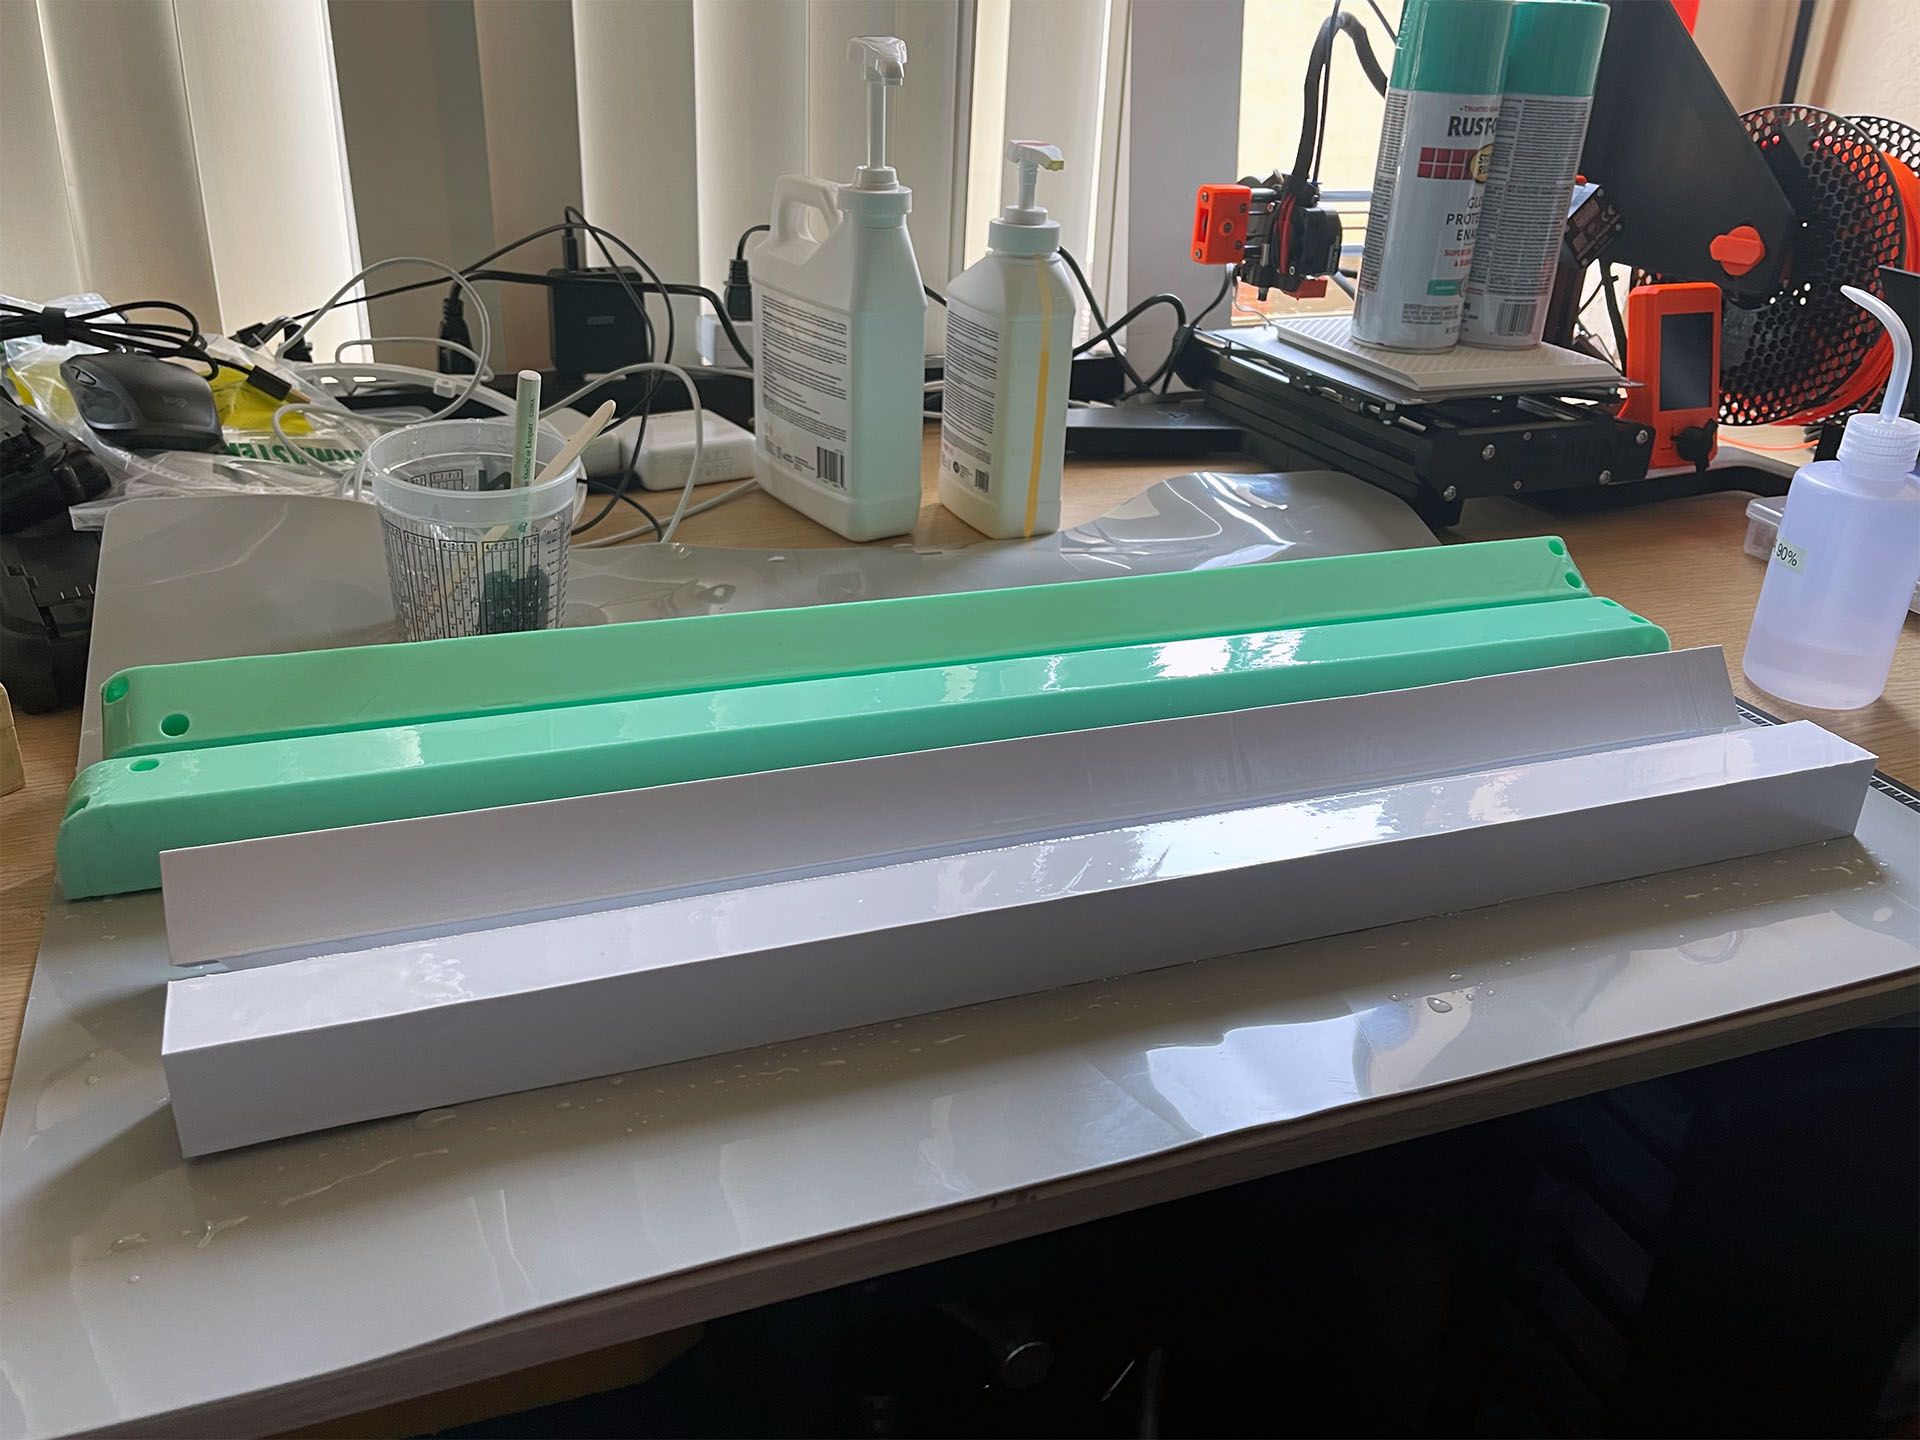
Rust-Oleum Gloss Deep Mint provides a great shiny coat to the frame rails. The paint was allowed to fully cure before the next step.

To allow the puzzle pieces to move smoothly against the rails, a layer of felt was glued into place. The compressibility of the felt takes up some of the looseness from tolerance stacking.
The final assembly of the frame requires an exact order to allow all the pieces to fit into place and the rails to bolt together.
At this point over 3 weeks have gone into the puzzle, but most of the time was the 3D printing and waiting for things to cure or dry.
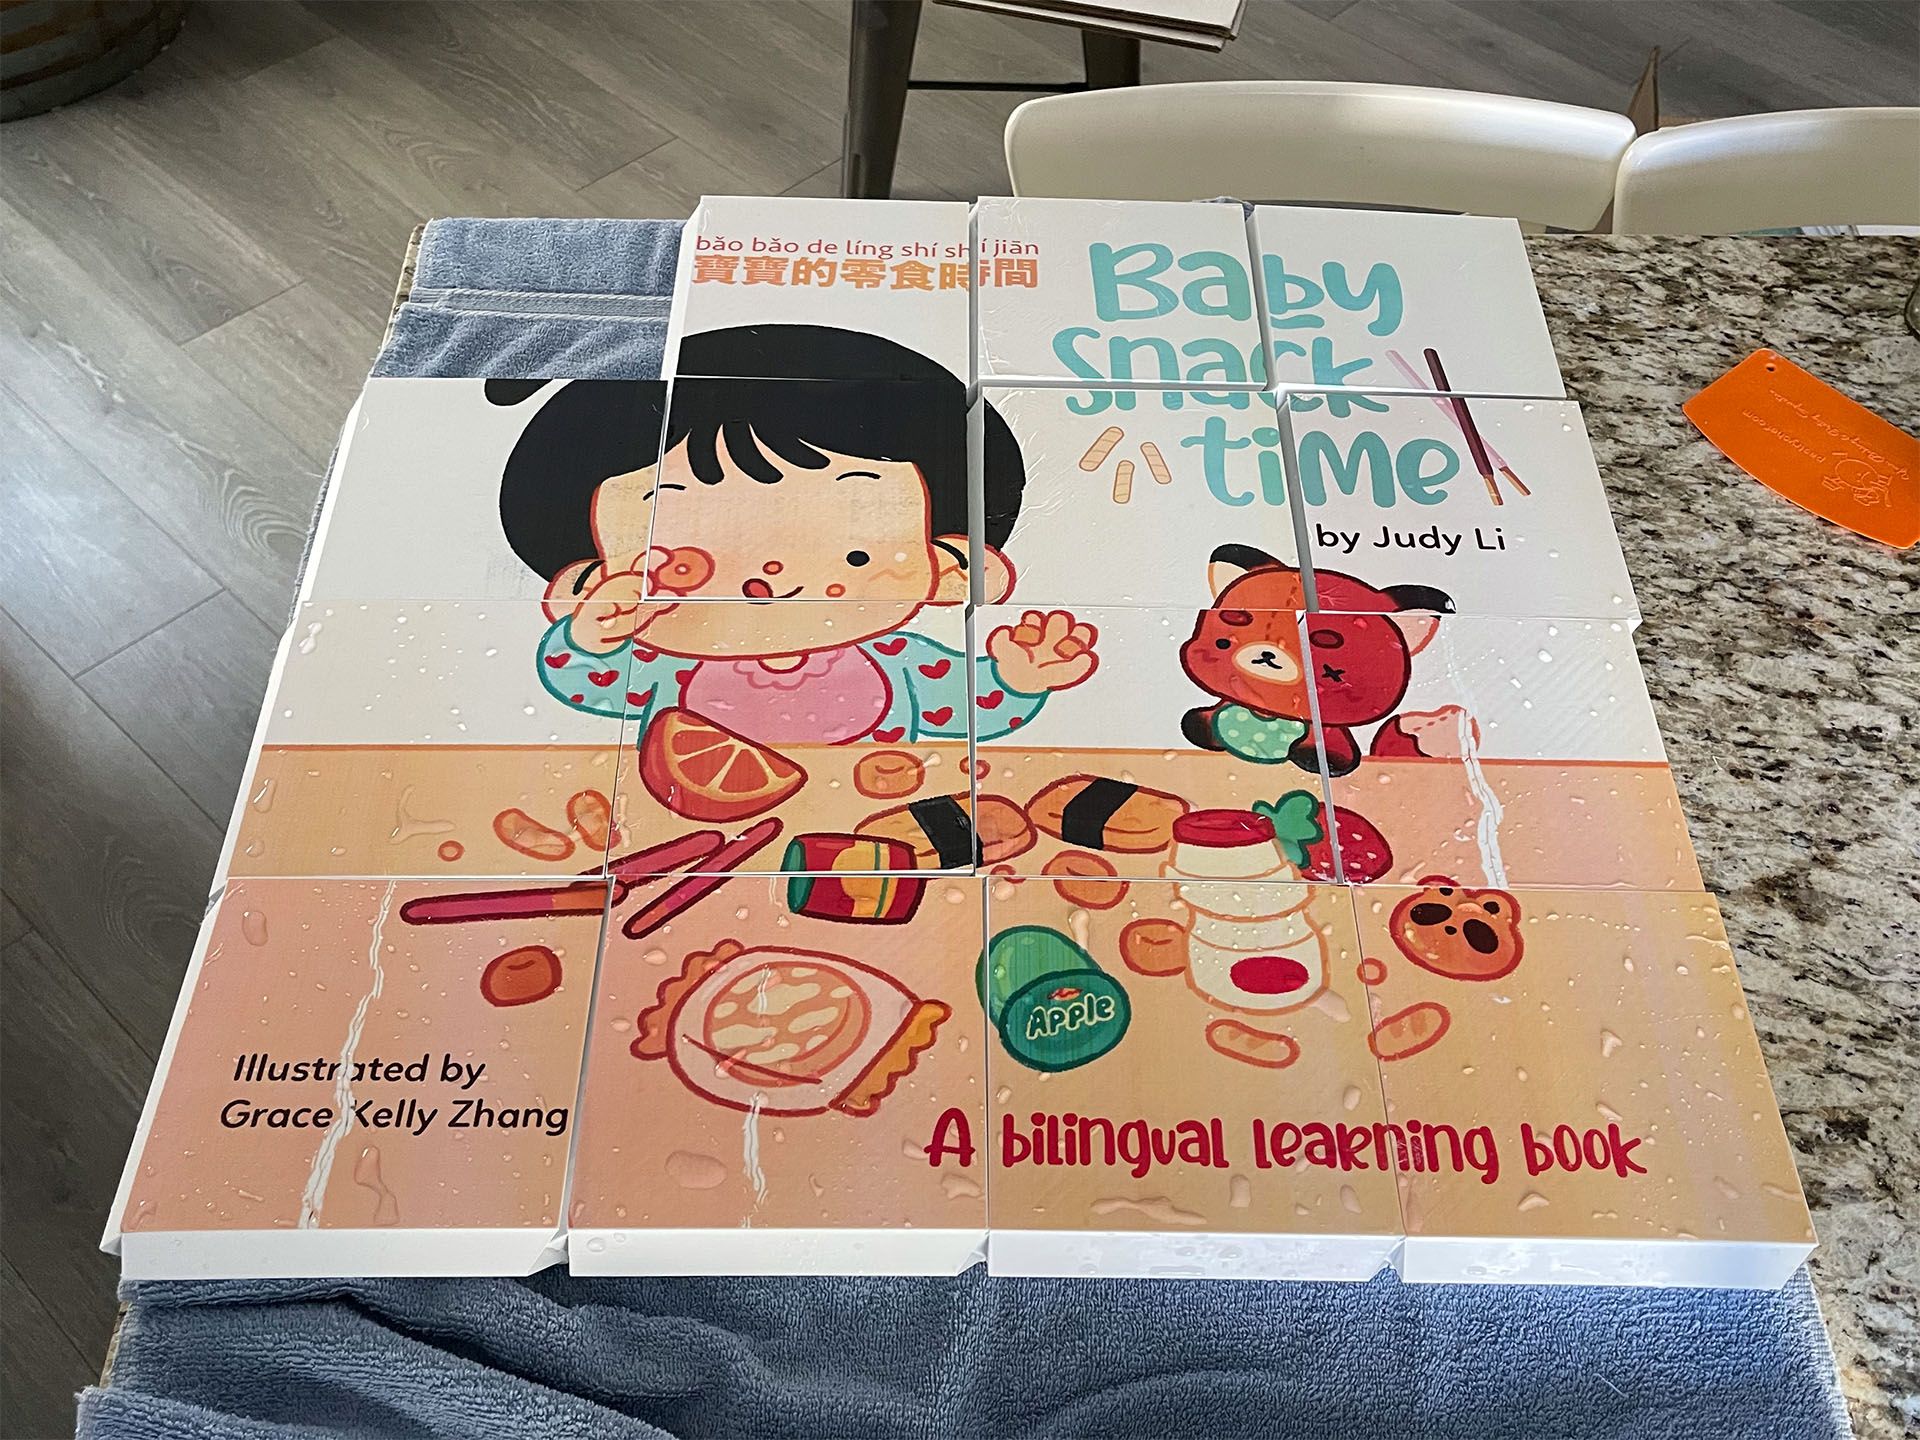
Water slide decals was the first method to apply a graphic to the puzzle. The results weren’t great, so a set printing in vinyl was ordered.
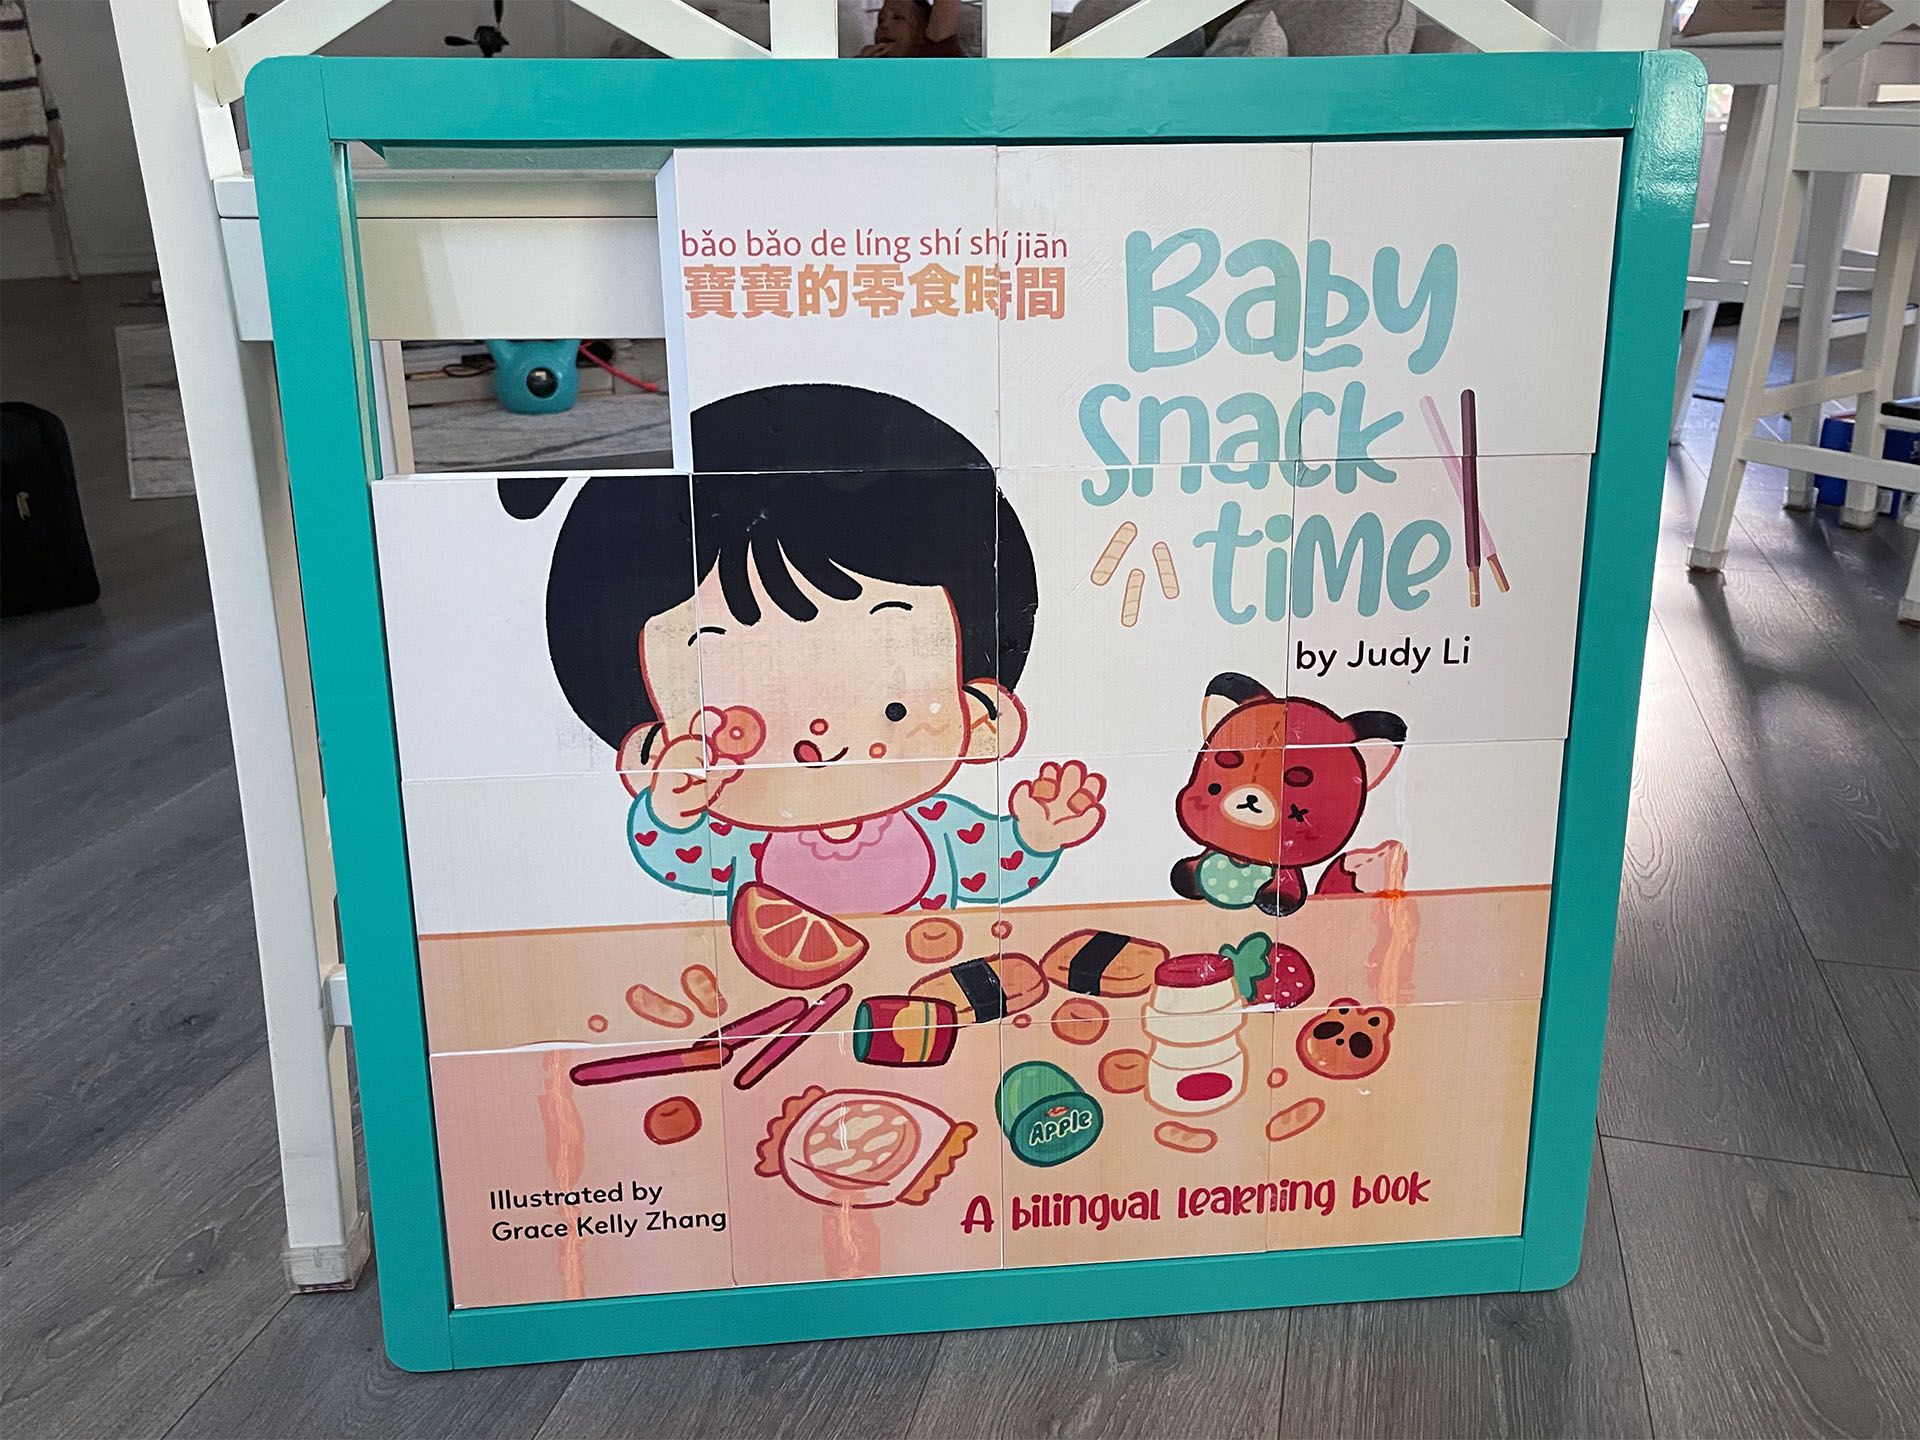
The completed puzzle looks quite good despite the issues with the graphics.
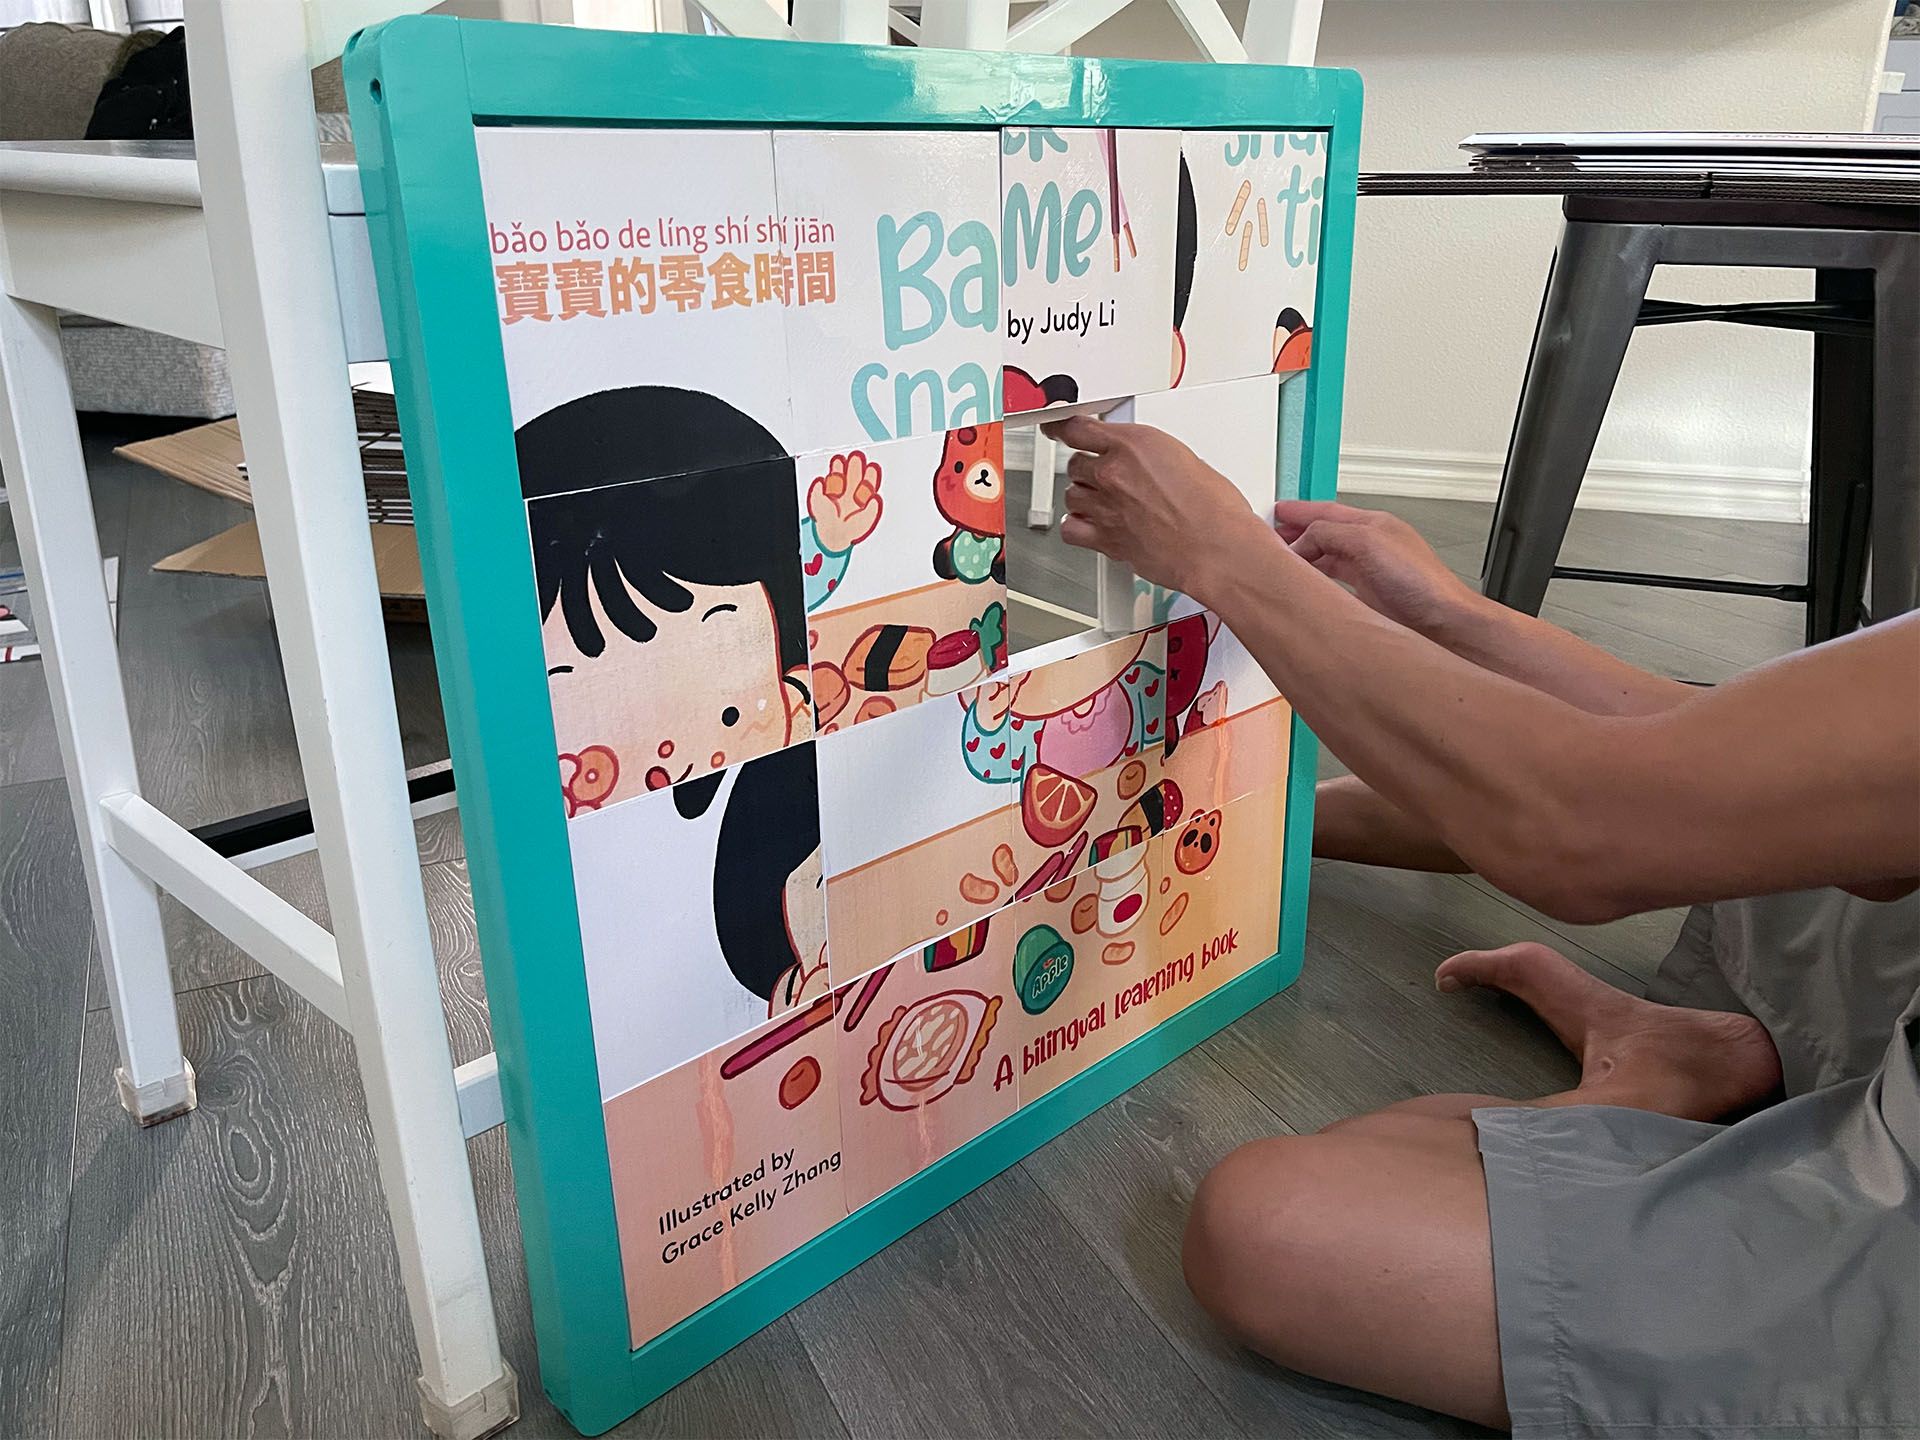
One issue, if you’re not great at puzzles, is trying to put the puzzle back into the correct order.
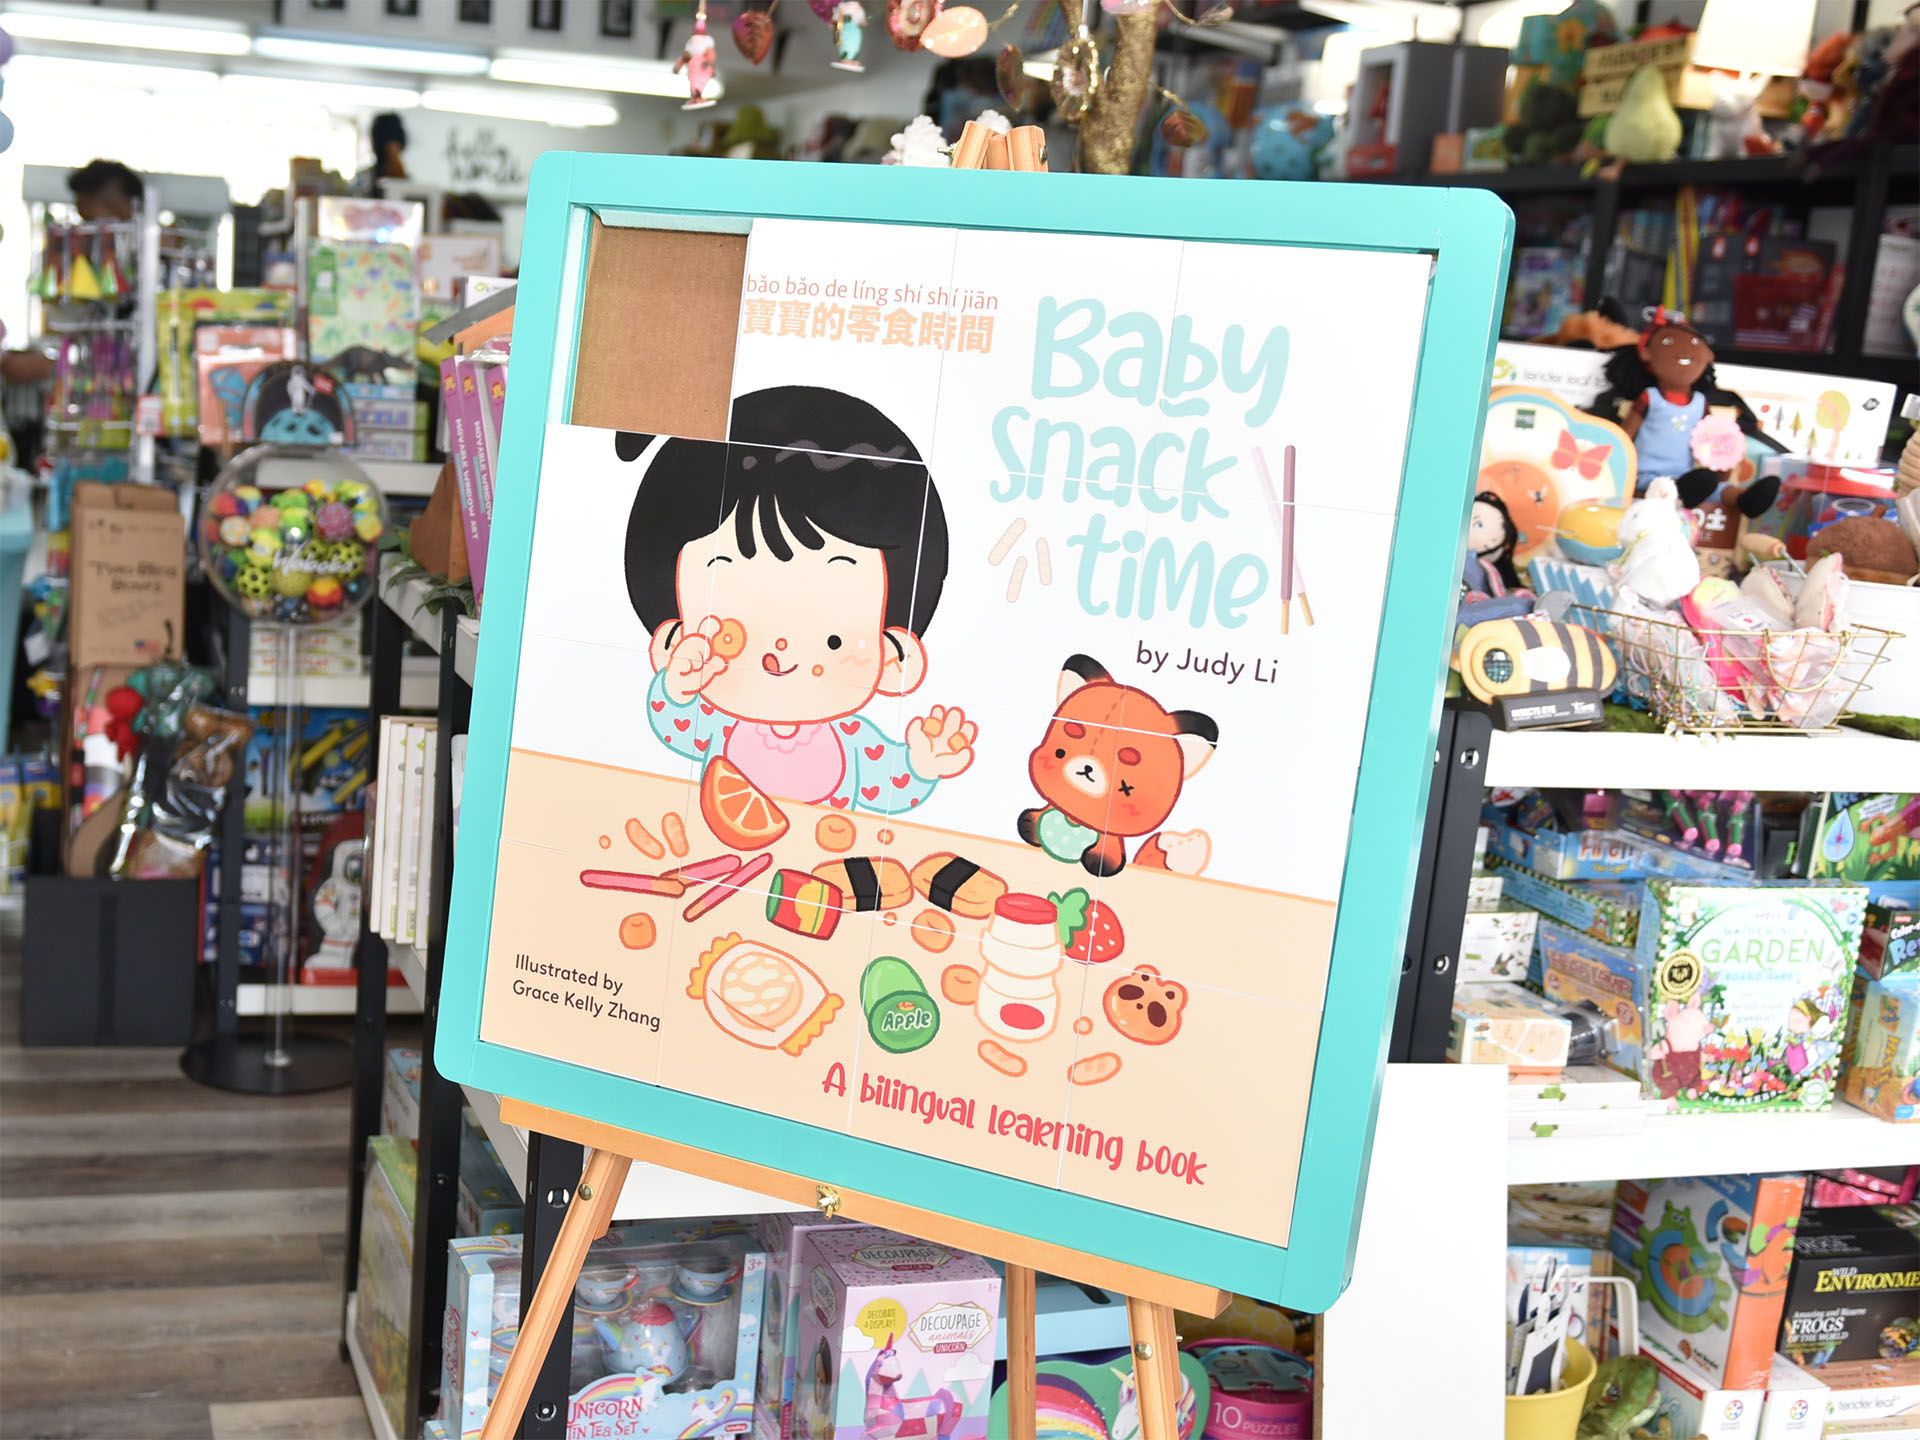
Eventually the printed vinyl arrived and was applied to the puzzle. The new printed vinyl looks much better than the water slide decals. So far, the puzzle had held up to the abuse of being a promotional tool.