The next step in this continuing build of the Vive Accessory, was to design and fabricate the adjustable stock. The stock was designed in pieces that would fit in my 200mm by 200mm x 180mm print volume. Using the prototype design from Part 1, the linear guide rods and lead screw were sized to provide enough support and to ensure that they could be reliably printed. Parts were designed with a specific print orientation in mind. The chamfer on the stock pad linear parts are there so that support structure wouldn't be necessary.
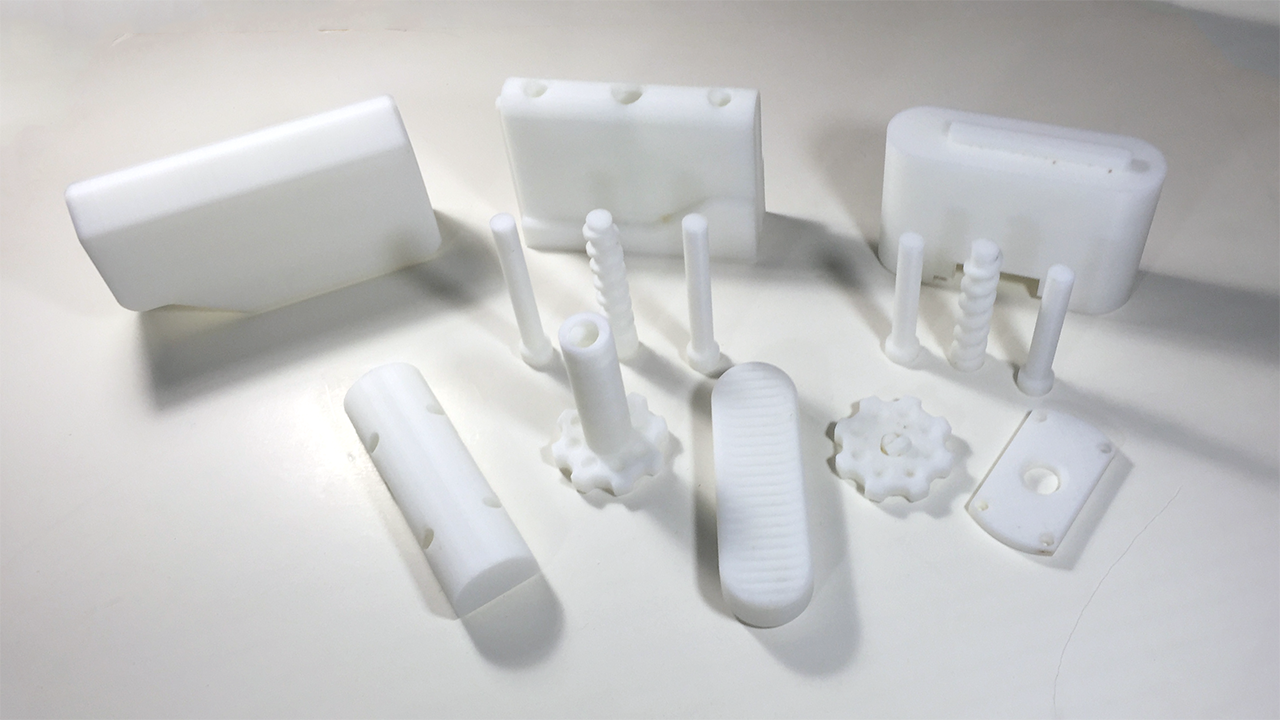
All the pieces came out well, with some slight warping on the bottom cover. Initial fitting validated the tolerances of the CAD model. However, when everything came together, the cheek rest didn't quite feel right. It was shorter than it should have been. It was bad enough that it had be redesigned and re printed.
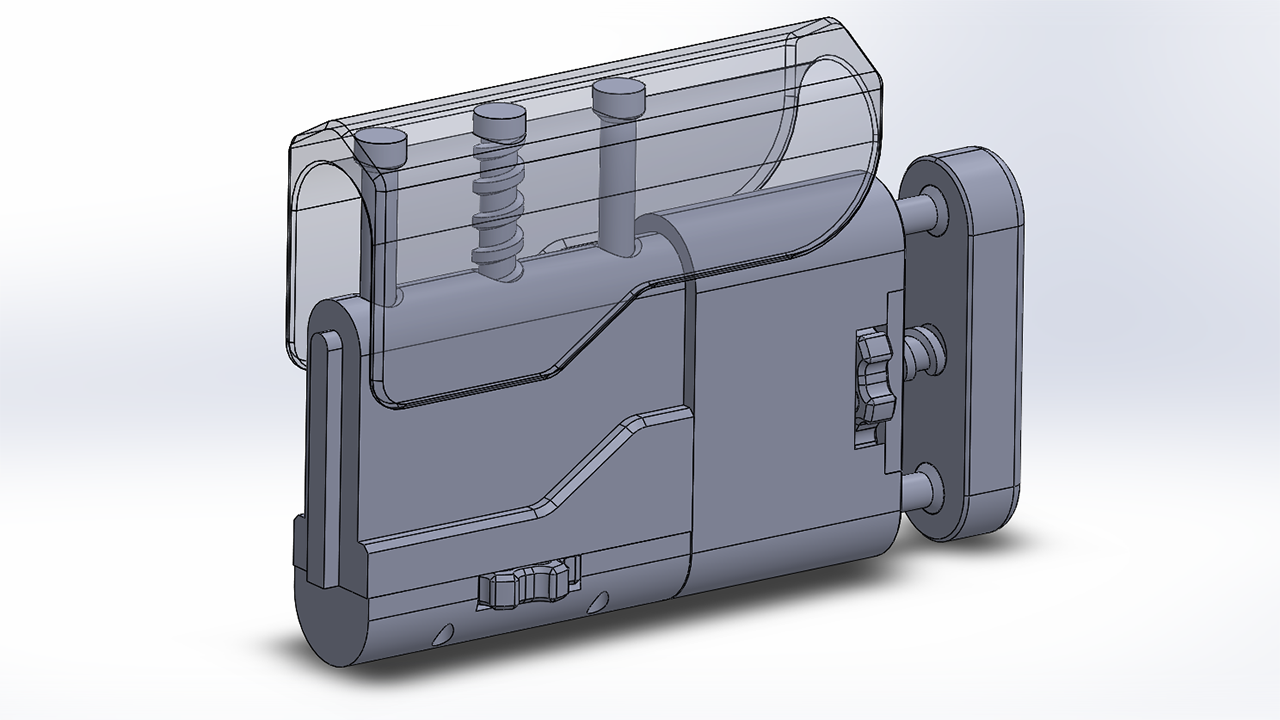
The cheek rest was modified to be longer and more volume efficient. The height was very close to the maximum print height on the Zortrax M200. After a 13 hour print, the new cheek rest turned out well.
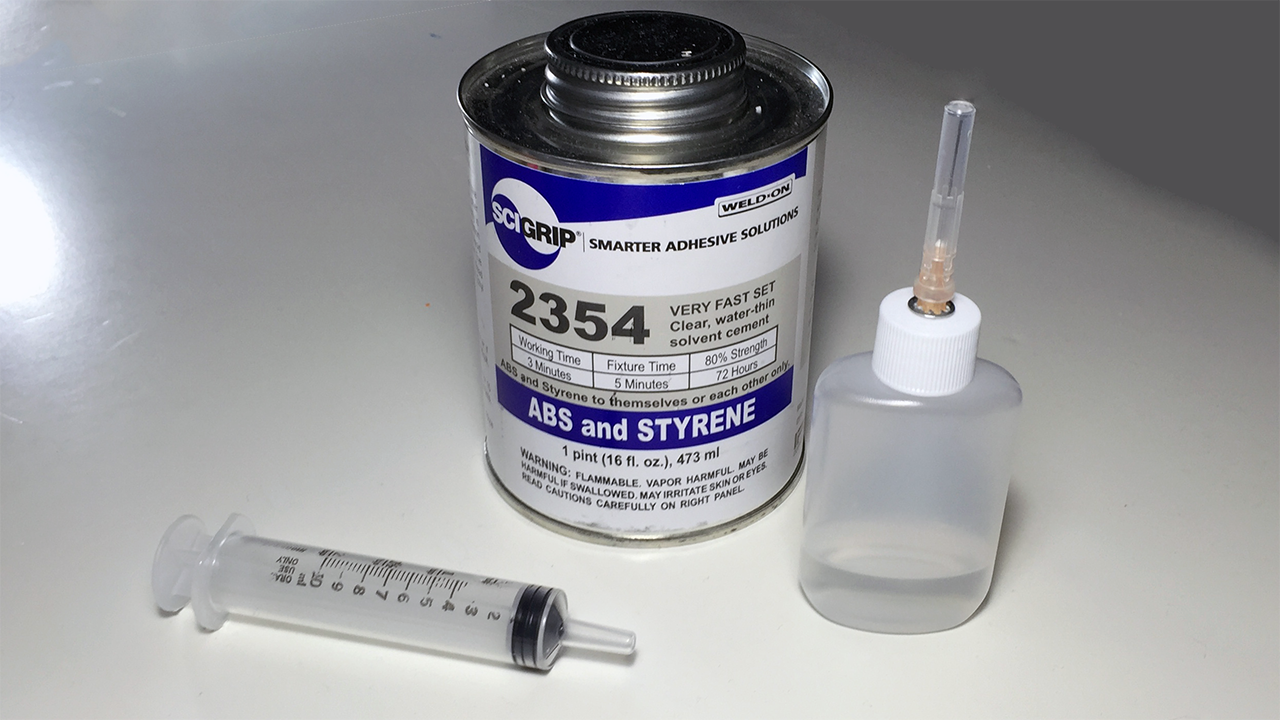
When assembling ABS parts I use 2354 from SCIGRIP, formerly Weld-on. It's a very fast set adhesive with a thin, near water-like, viscosity. I extract the amount I plan on using a syringe and deposit it in a bottle with a needle tip. The needle tip makes dispensing the exact amount of adhesive very easy.
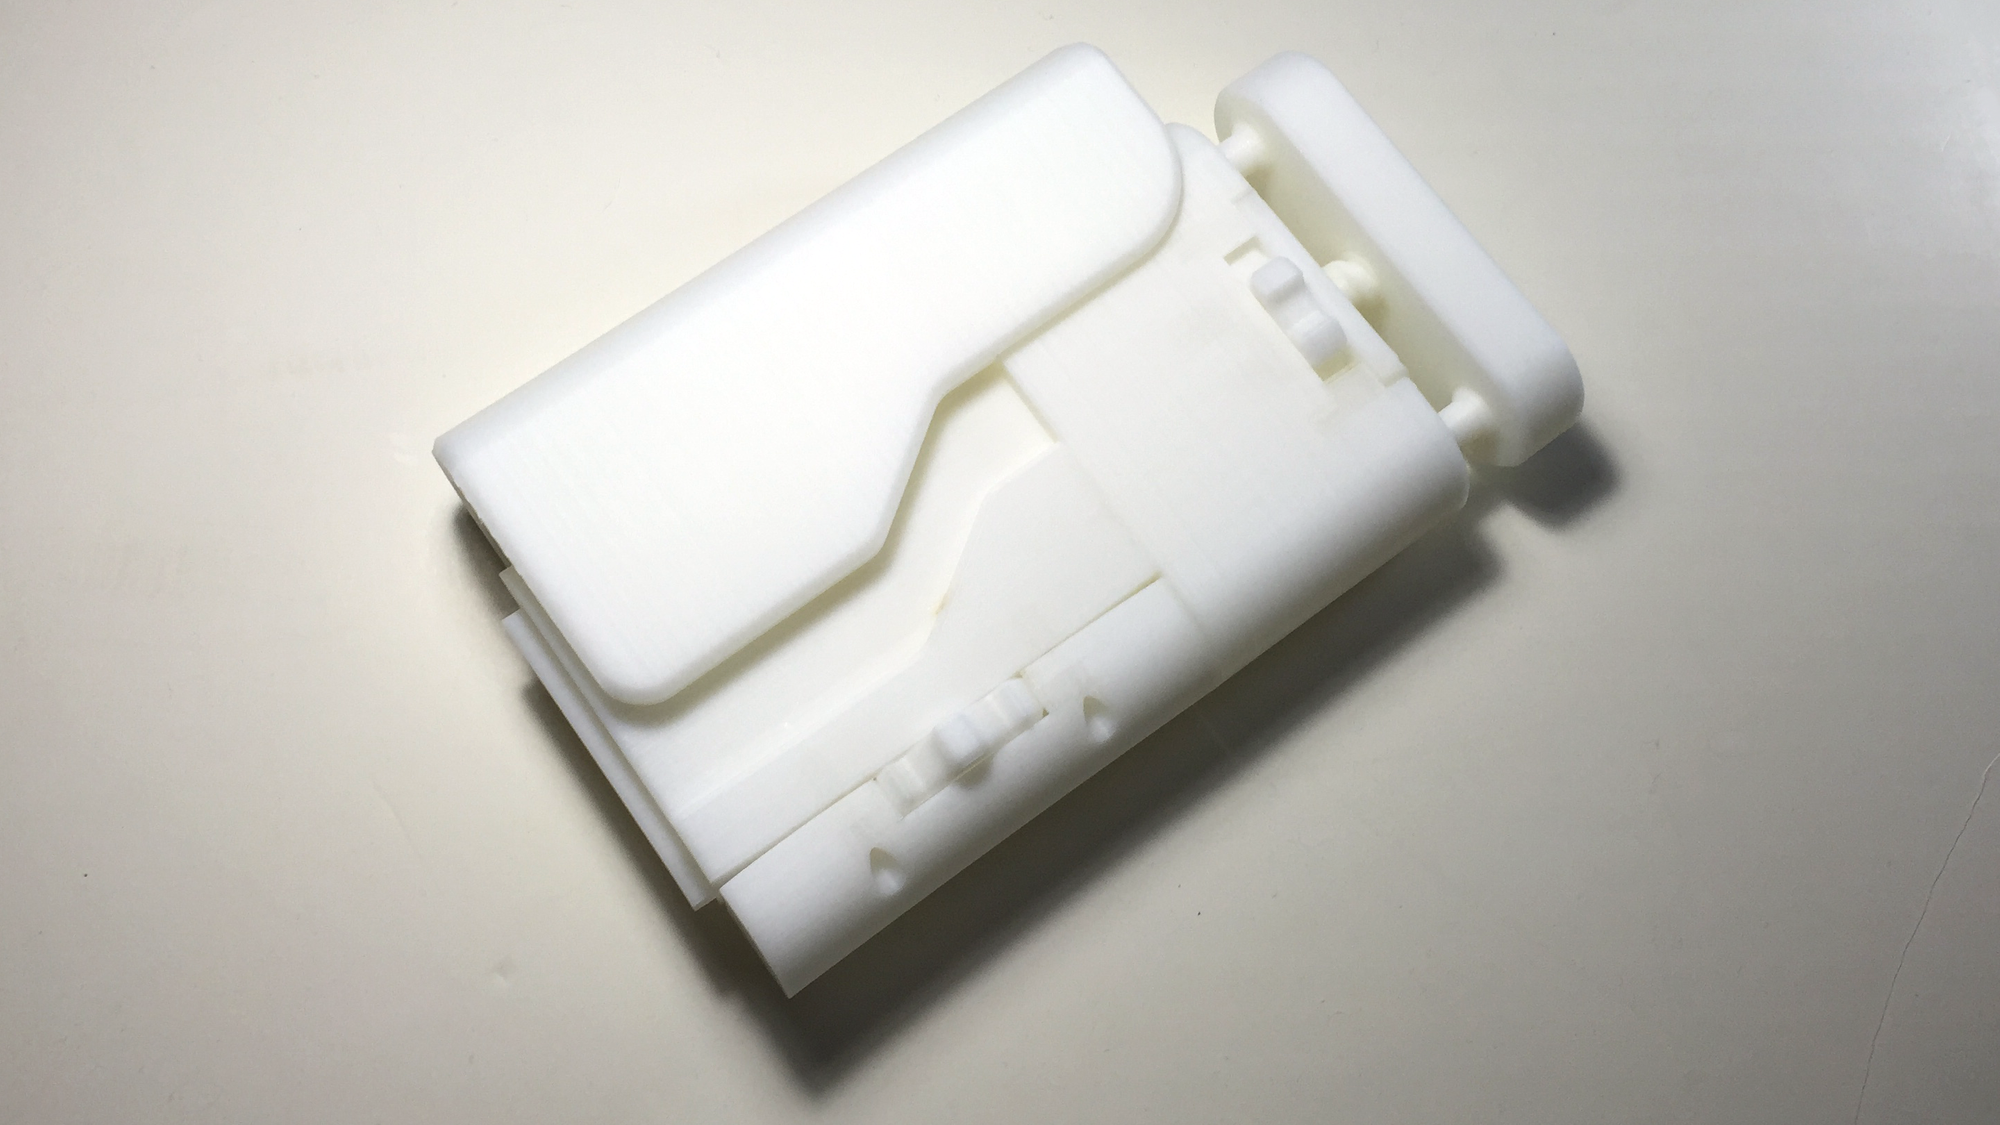
The various parts of the linear rods and lead screws were attached to their respective parts. The two major stock pieces were glued together and held with a clamp to ensure a strong bond. The moving parts were assembled and secured with #6-32 socket cap screws. Overall the stock assembly seemed solid and the adjustment points actuated correctly.
I'll be going over the mechanism design of the controller holder in the next part of this series.