When I first ordered the Prusa Mini, I did so with full confidence in the product. Prusa printers have a reputation of being reliable and easy to use, which was exactly what I was looking for. Having a workhorse printer that did not require constant adjustments and tuning seemed great. The Mini's build volume would cover most of the parts I print often. With all this in mind, I placed my order.
It was a few months before the printed was shipped. In that time, Prusa had upgraded a few parts and it became the Prusa Mini+. It was a nice gesture to update the printers that had been ordered, but not yet shipped. However, once it arrived I immediately started having problems.
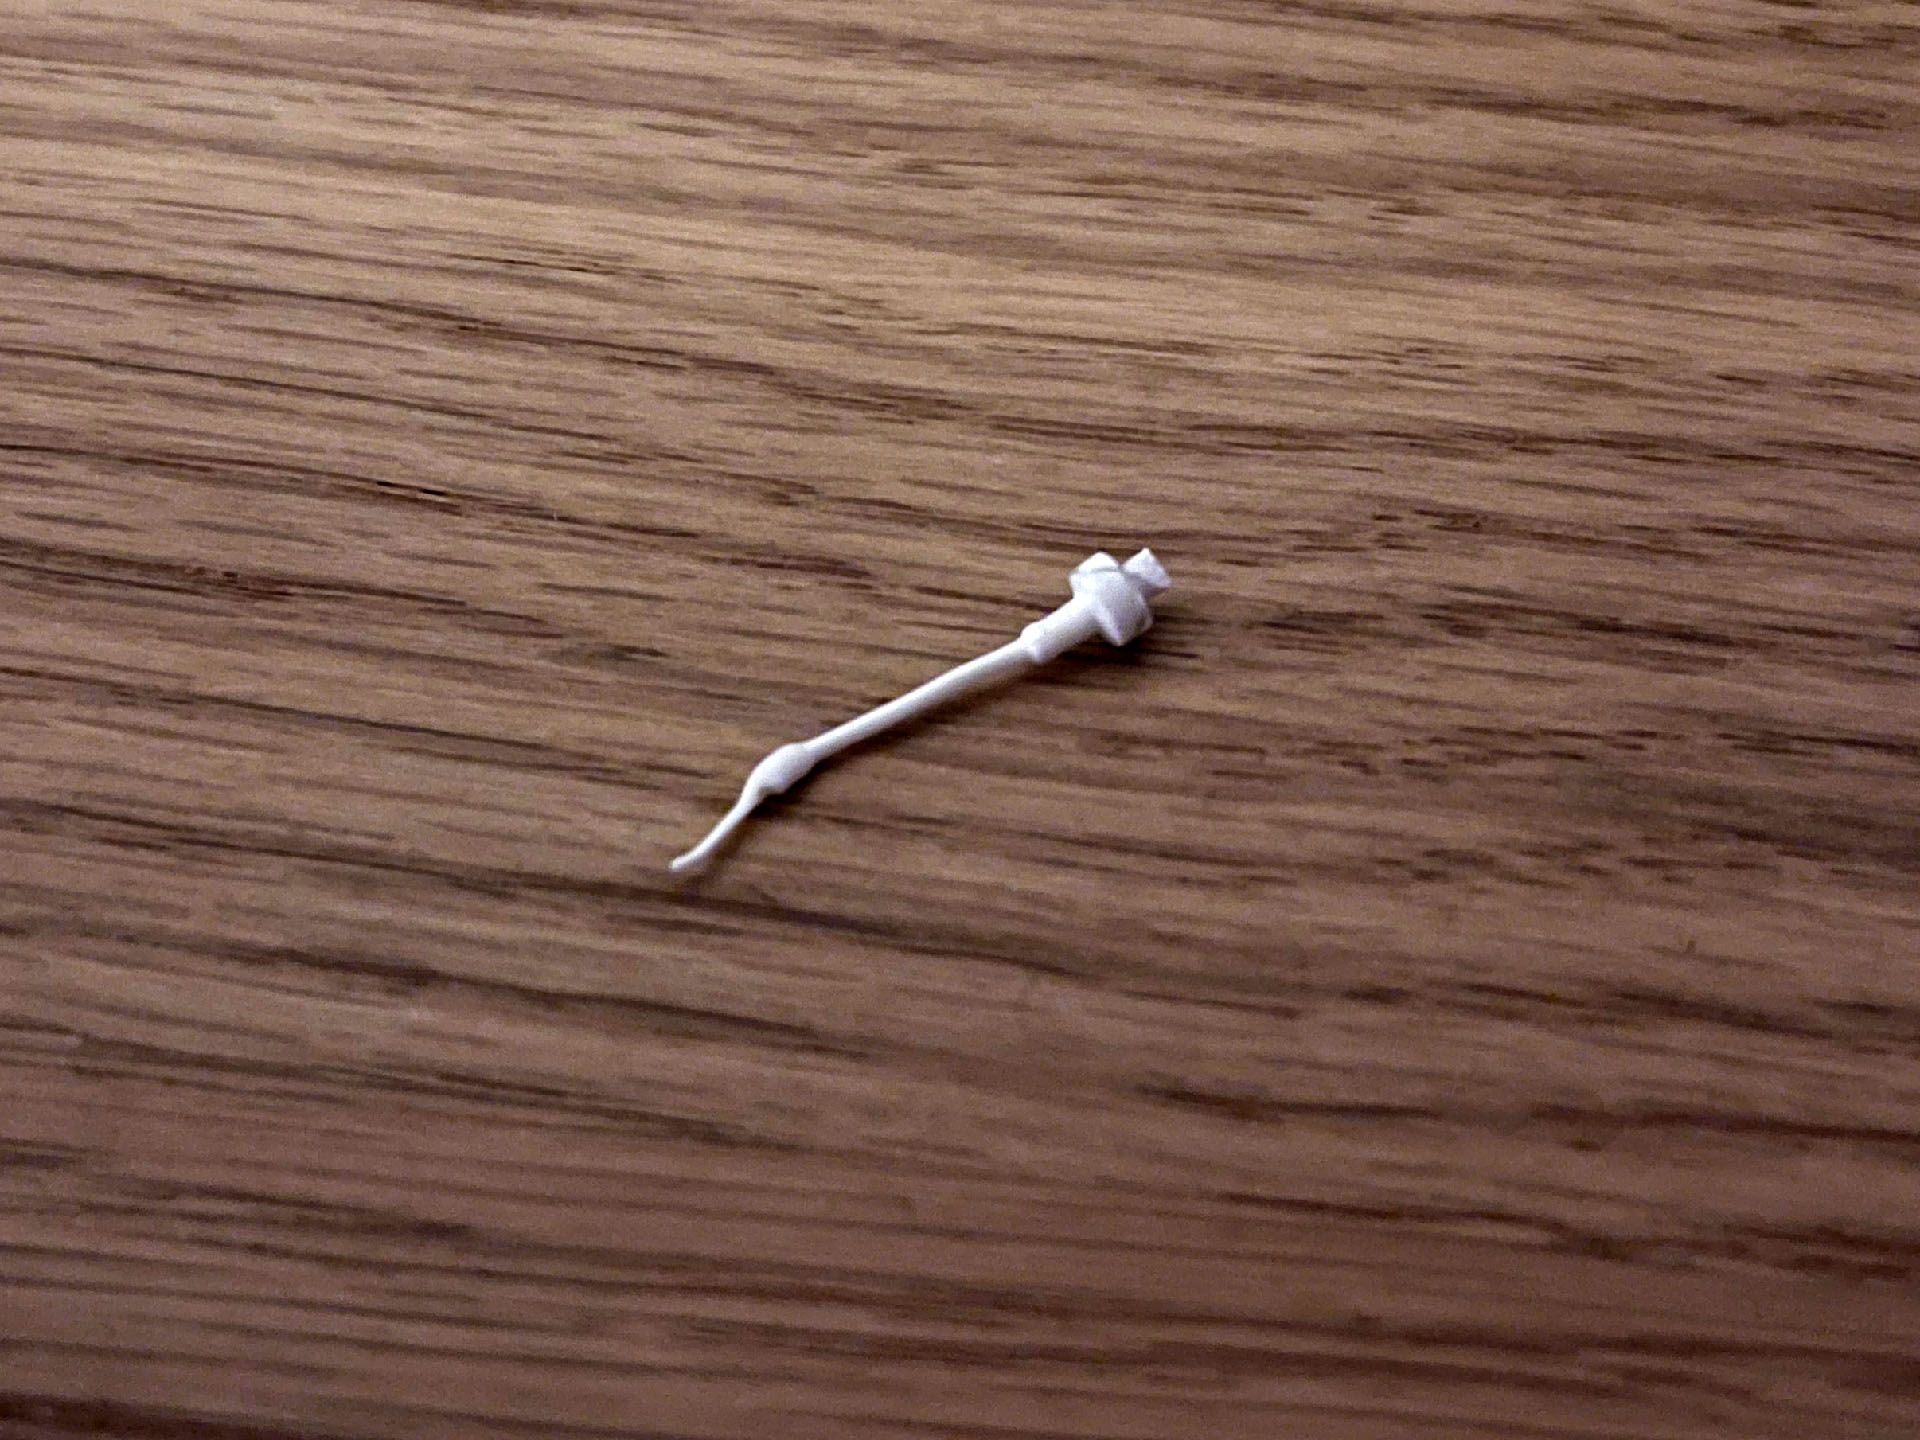
The bowden tube between the extruder and the hotend is actually two tubes. The first tube is connected via compression fittings to the extruder assembly and the hotend, with ferrules crimped onto the PTFE tube. A second tube guides the filament from the compression fitting down into the heatsink. I was getting this clog pictured above. It sat at the interface of the second tube and the heat-break, which brings the extrusion to a halt.
After replacing tubes, tightening screws, and hours of tinkering, I made no progress. It wasn't a great initial experience. Eventually, the compression ferrule came off the tube. It wasn't worth the effort source a new ferrule and crimping tool. Instead, I ordered the Bondtech extruder for the Prusa Mini, the Bondtech heat-break, PC4 M8 x 1.25 quick insert connectors, and some Capricorn PTFE tube.
The new quick insert connectors would allow a single tube to go from the extruder down to the heat-break, bypassing the need for two separate tubes. This proved to the best solution, and with auto bed leveling issues aside, the printer could now print reliably.
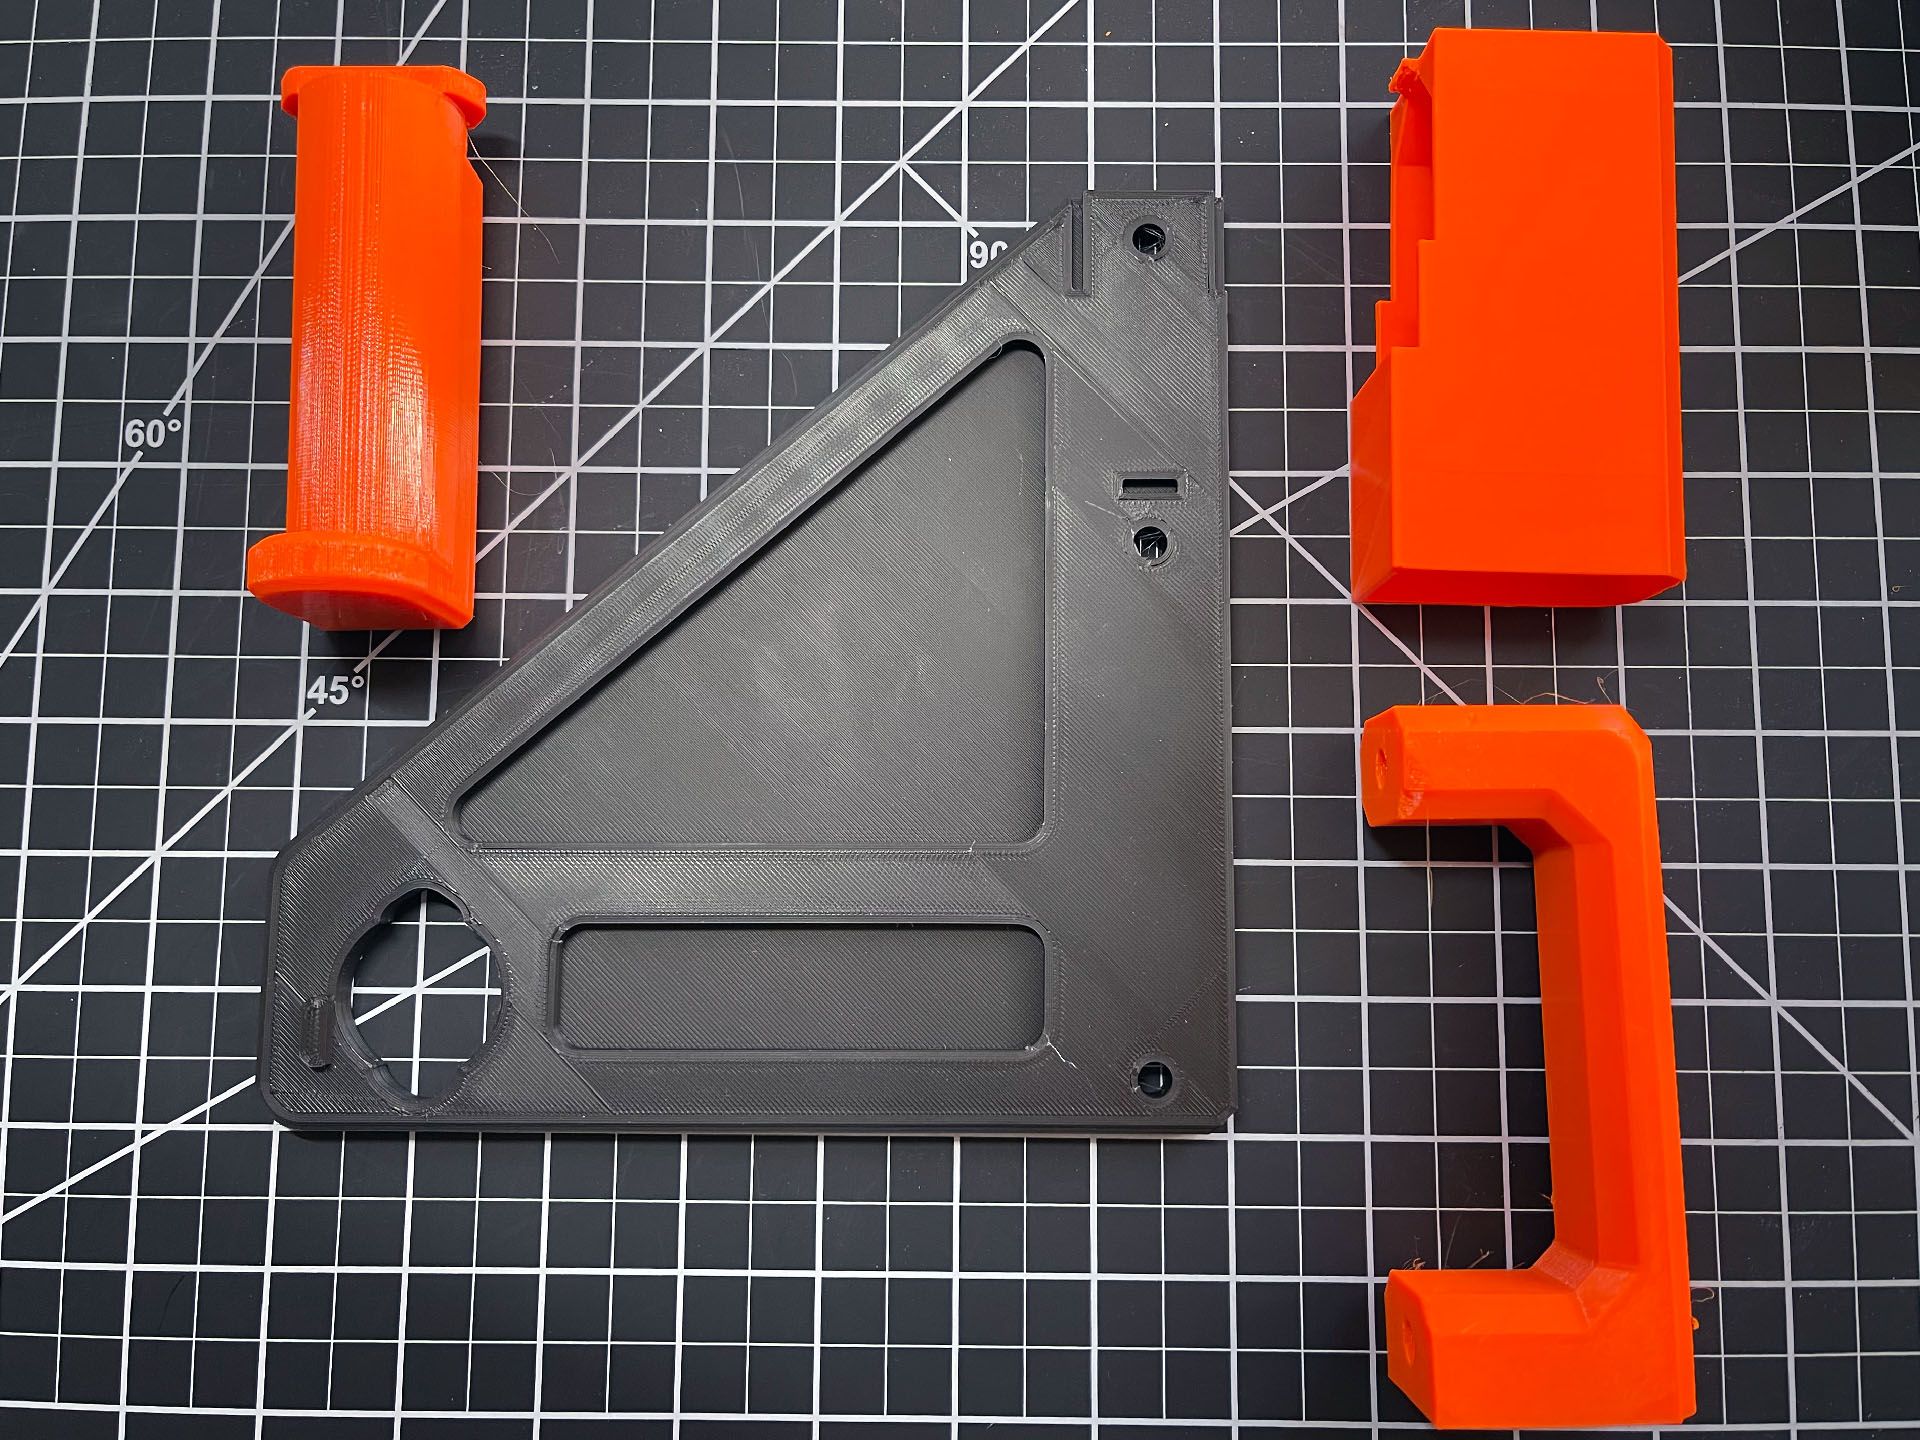
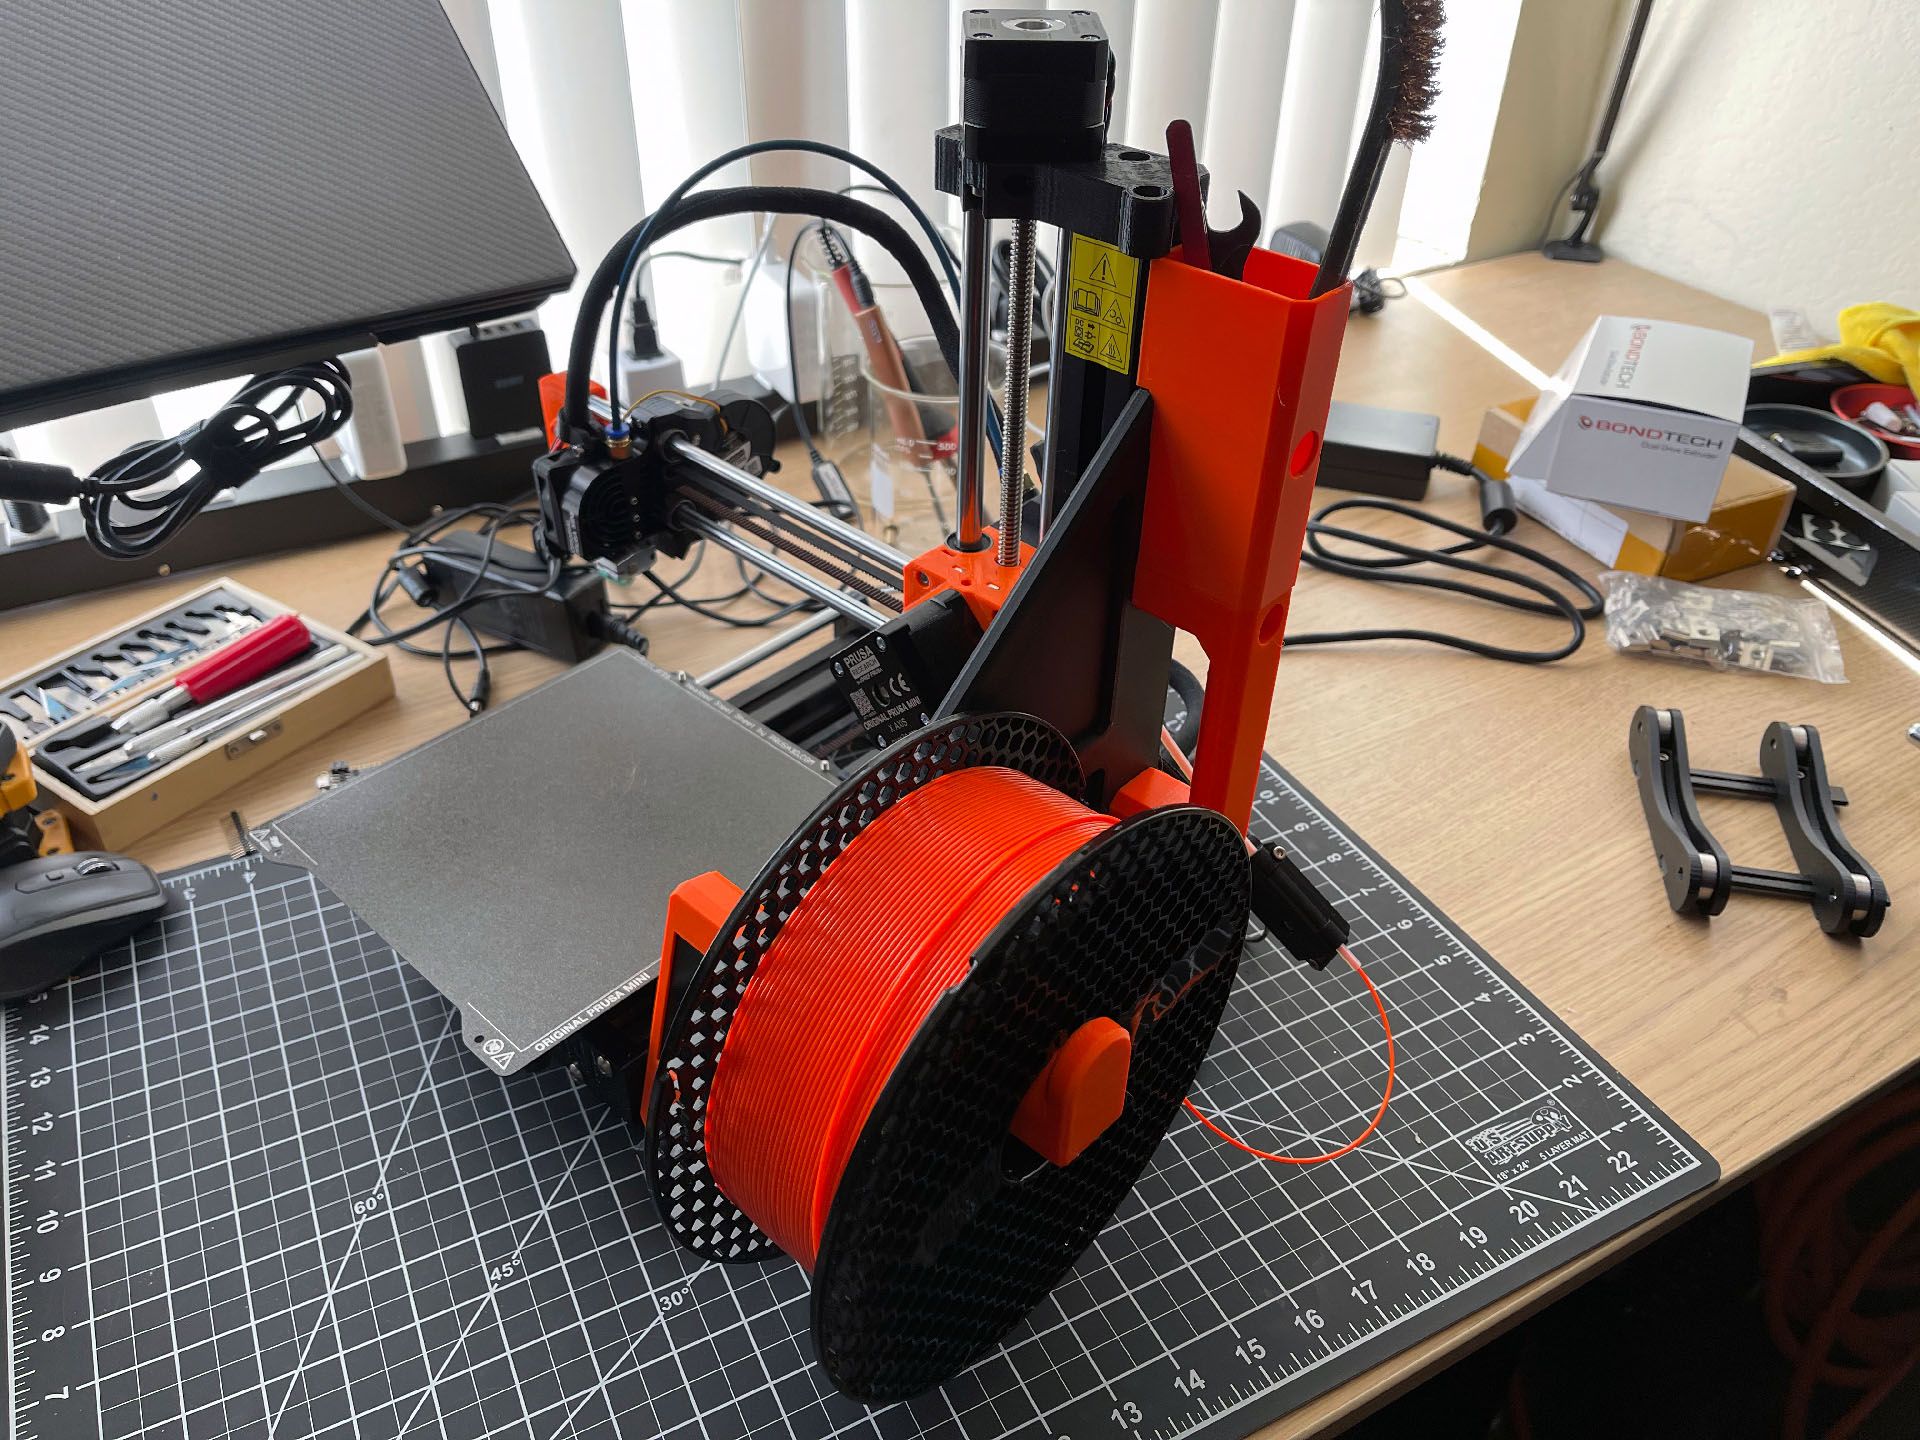
To make the Prusa Mini+ a nice complete package I added an attached filament spool, tool holder, handle, and feet. The parts were designed to fit inside the 180mm by 180mm build area. Prusament PETG was used to match the colors and materials already used on the Mini. Roll-in M6 T-nuts and M6 bolts are used to attach the parts to the extrusions.

The spool holder has a bayonet style lug that twists into the frame.
The handle and tool holder have access holes for the M6 socket cap bolts.

The feet are attached to the bottom and rubber or foam feet can be stuck on. I also made a shorter version of the feet, but I opted to have a wider base footprint.
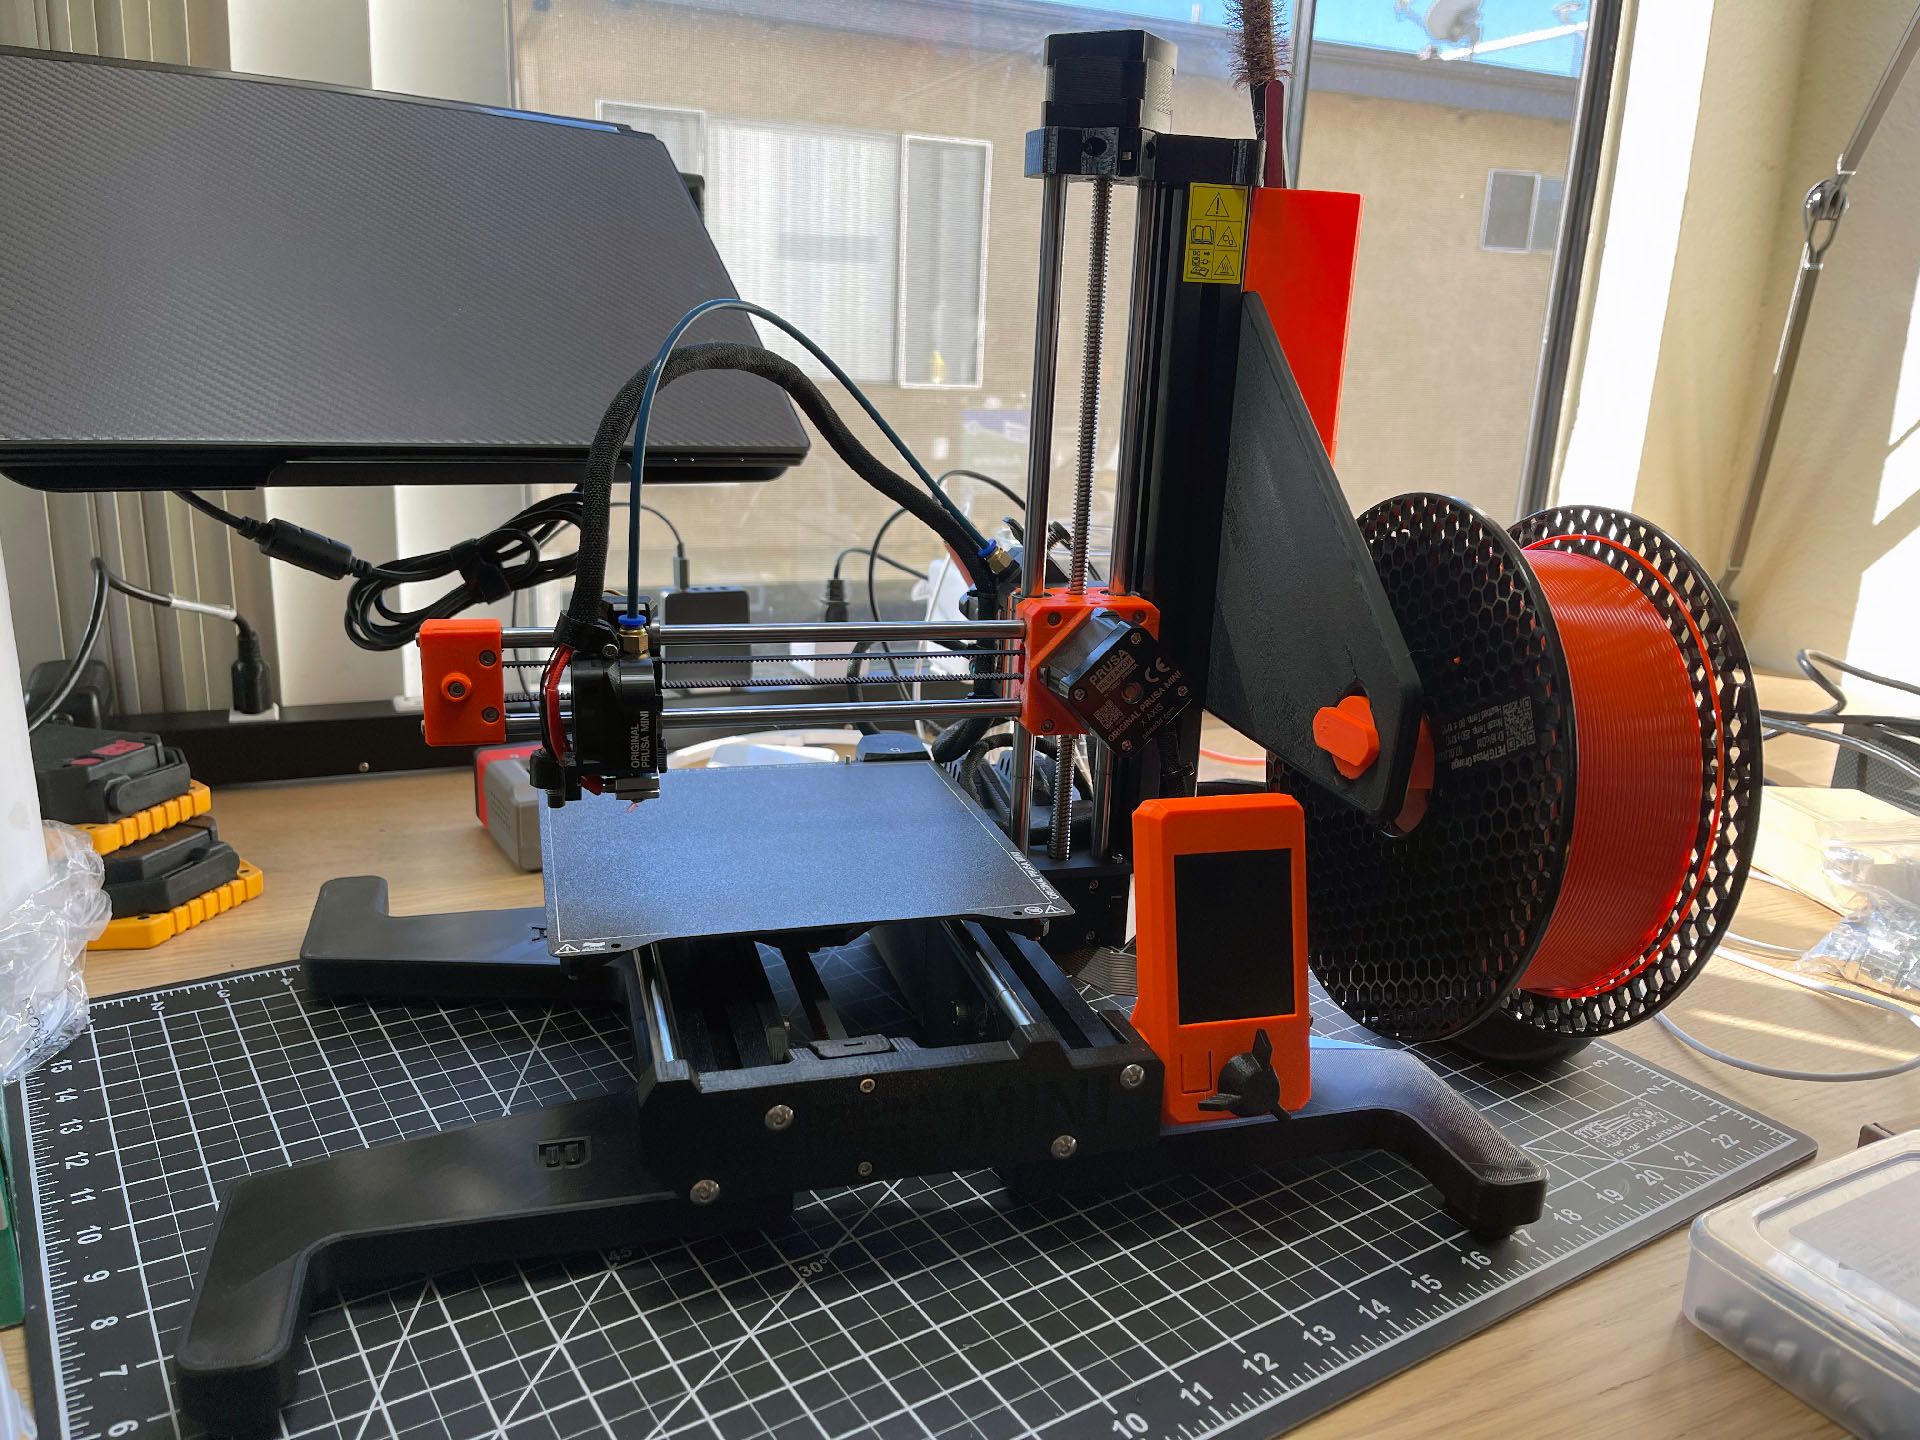
After the upgrades and some adjustments, the Prusa Mini+ seems to be working well. It has some limitations, but for what it is it certainly performs well enough. The models are available on Prusa Printers or Thingiverse.